
Knowing how to professionally blur a photo can tell the difference between an expert and an amateur photographer. The best way to blur your photos would be to use a professional-grade camera with blur settings. But, not everyone has the luxury of buying a high-quality expensive camera to fuel their passion for capturing photos.
Highly advanced photo editing software such as Photoshop has made people’s work shine by allowing limitless opportunities for editing images professionally. It has everything you can possibly imagine to edit your photos but it comes at a cost, a pretty hefty cost to be exact.
So, how do you professionally blur your photos without breaking the bank? Our free online photo editing tool, BunnyPic can help you. BunnyPic is an online tool that has almost all the same features as Adobe Photoshop and can help you achieve the same results.
How to Blur Photos Online with BunnyPic
We have to work smartly with our photos when choosing to blur them. BunnyPic has different tools and filters you can use but you have to know which one to use where. Below we’ll look at some common scenarios where blurring your photos works and some techniques on how to apply it successfully.
How to Blur Backgrounds in Photos
Blurring the background of an image can lead to some stunning results by shifting the focus to the subject. Most professional quality cameras nowadays tend to do this automatically however if yours doesn’t have the capability or isn’t to your liking you can use free photo editing software to achieve a good result.
Follow the steps below to blur the background using BunnyPic:
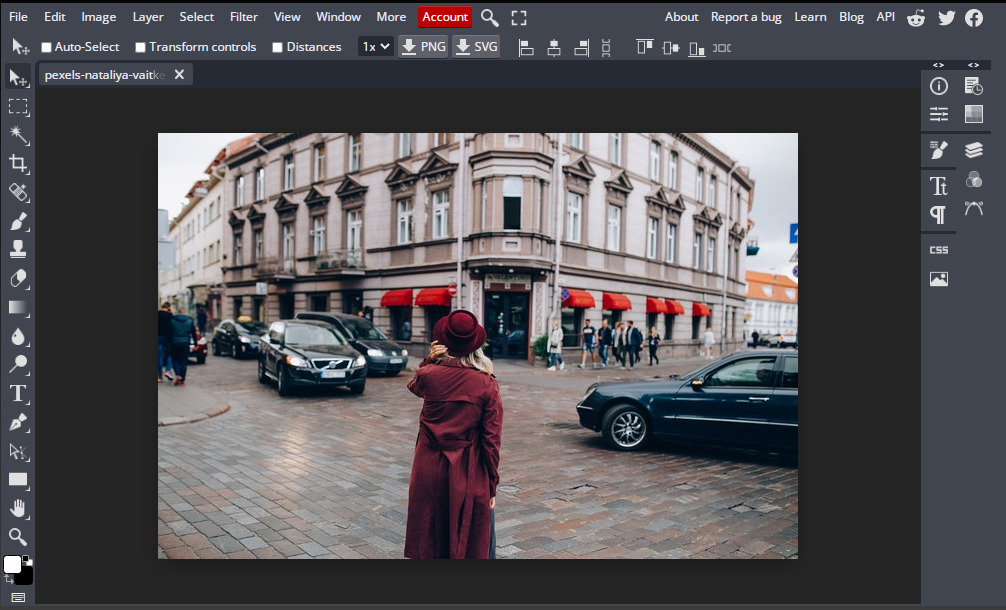
- Go to the BunnyPic Editor and choose Open from Computer. Select the image you want to blur the background of.
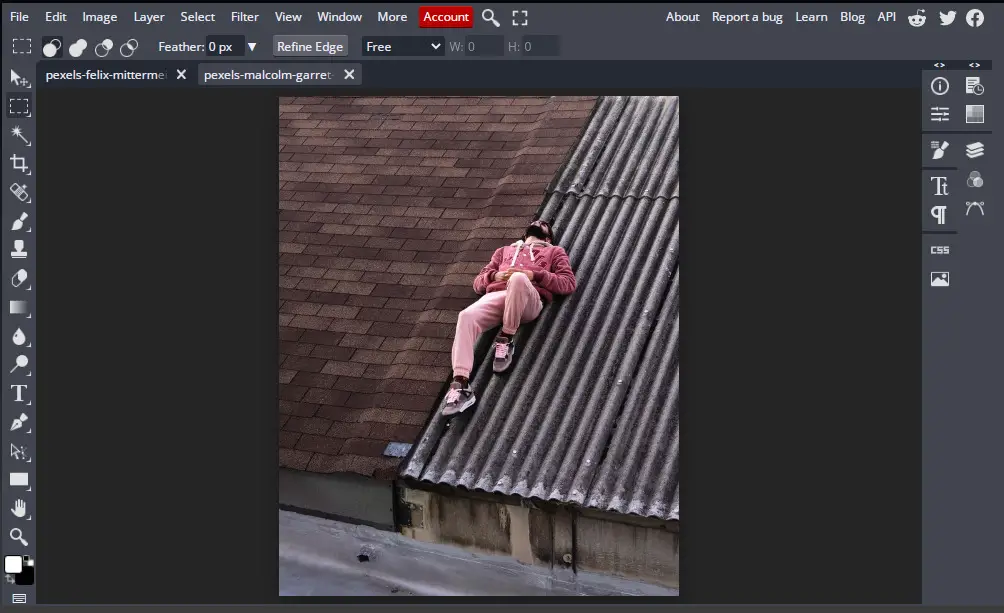
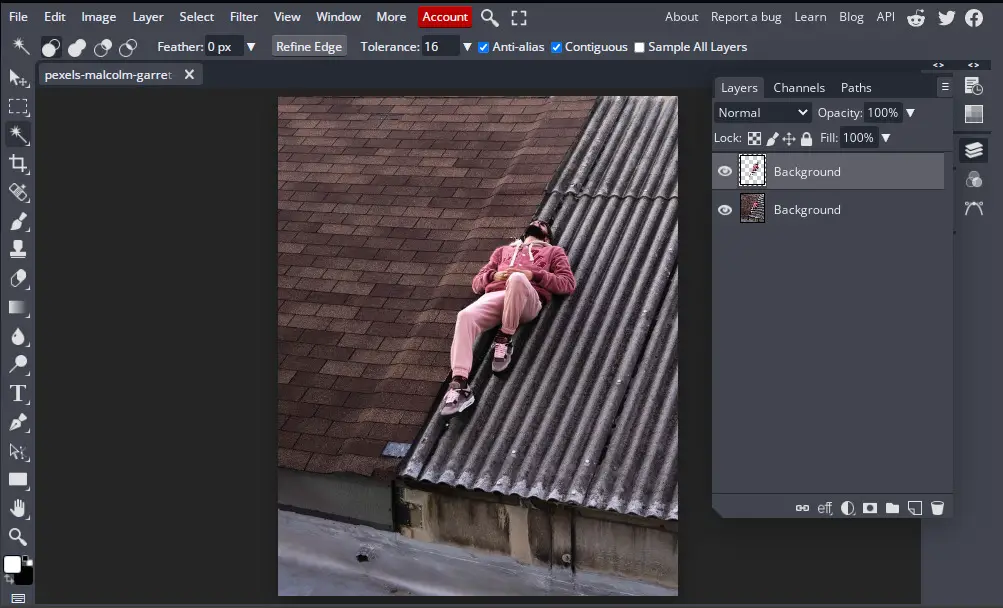
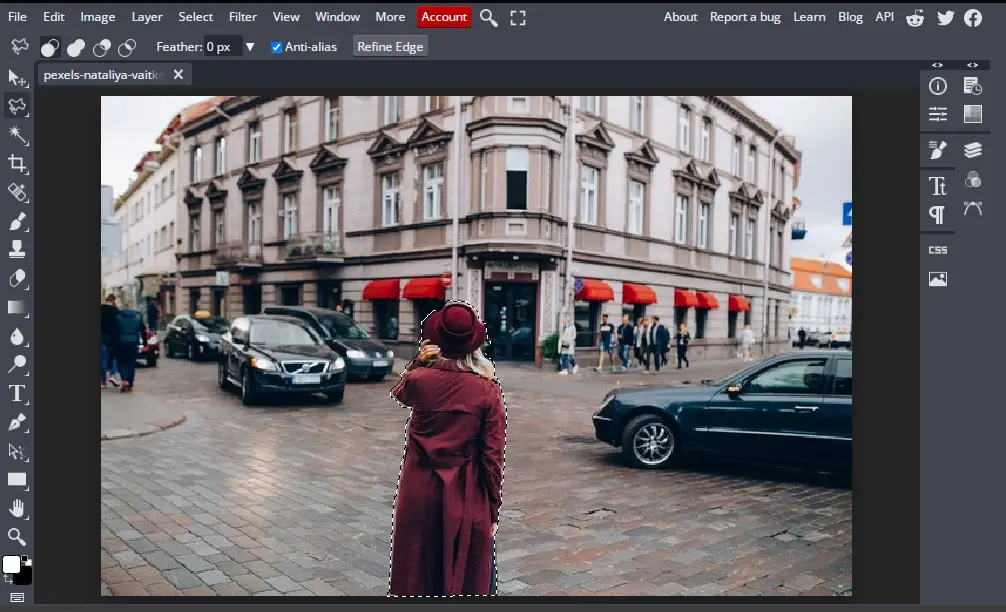
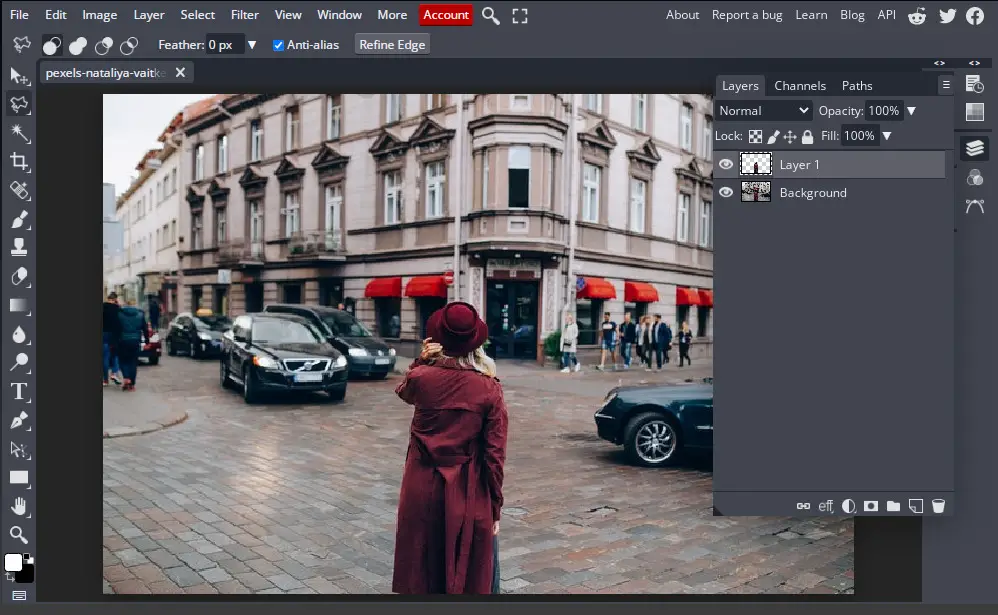
- Once open, select your subject and copy it on a new layer. There are many ways you can do this through the selection tools provided in the left toolbar however, I will be using BunnyPic’s Magic Cut tool. The magic cut tool will use A.I to detect the subject and crop it to a new layer.
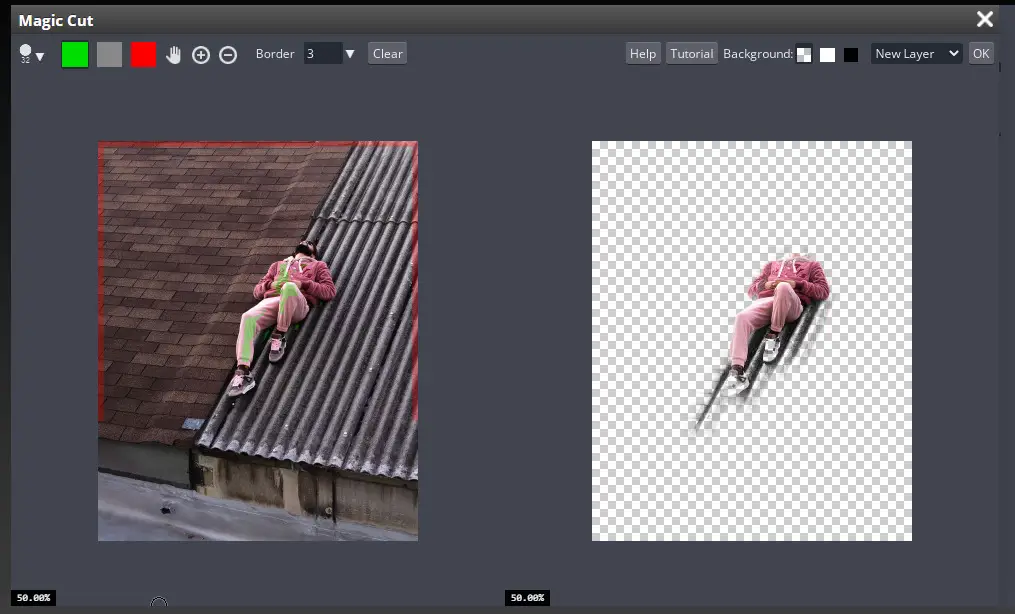
- As you can see our selection isn’t perfect so we’ll have to refine it. Use the green color to paint the parts you want to keep (subject) and red color to paint the parts you want to remove (background). Once done hit OK.
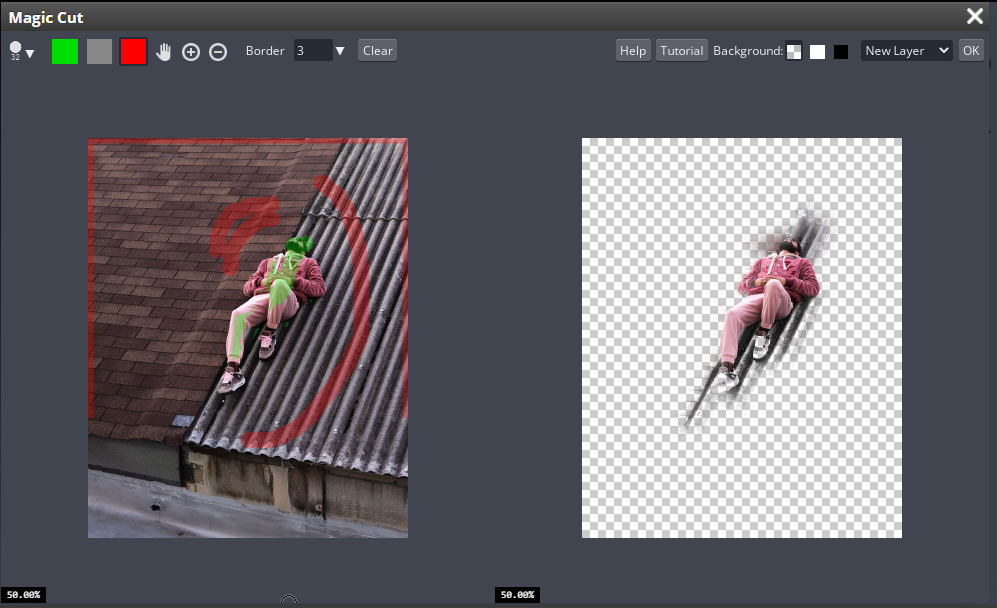
- Now you would have 2 layers – the original and the subject. Click on the eye icon to the left of the background layer to make it visible.
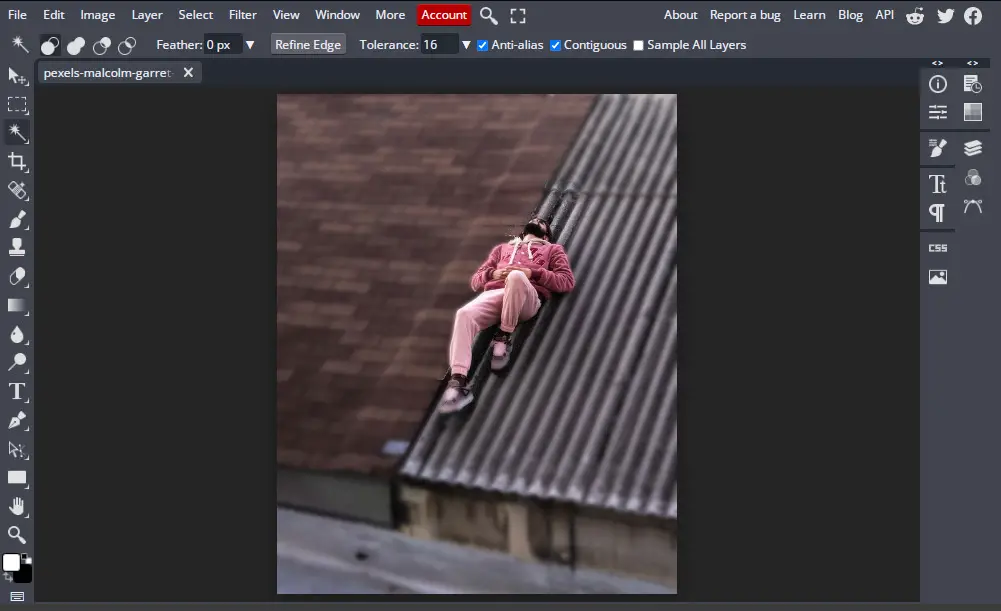
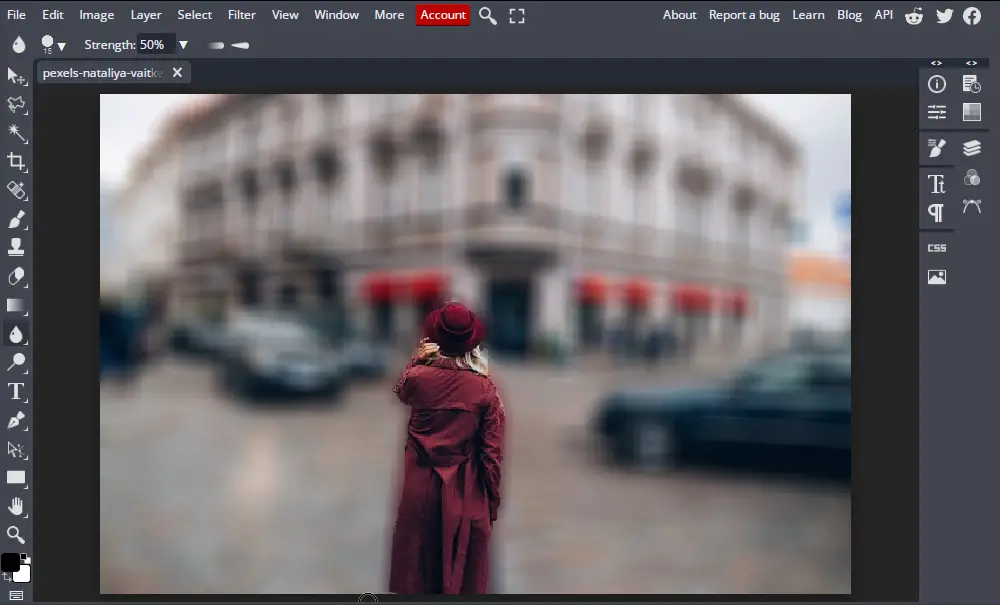
- With the background layer selected, go to Select > Select All or press CTRL+A to select the whole layer.
- Next, go to Filter > Blur > Gaussian Blur and set the blur value to your liking. Once set click OK and deselect the layer by going to Select > Deselect or pressing CTRL+D.
If you are struggling to get a good selection on your subject with the magic cut tool, I would advise you to try the selection tool. Complex images or subjects such as detailed features and hair might be difficult for the BunnyPic A.I to read which might make it better to use the quick selection or pen tool.
You can see this great in-depth tutorial by tutvid who goes over different ways to make difficult selections in Photoshop.
Now we’ll look into other ways to use the blur feature in BunnyPic.
How to Blur Faces and License Plates
Another common reason to blur photos is to hide sensitive information such as license plates and credit card numbers or faces for privacy reasons. Blurring faces in BunnyPic is easy.
- Go to the BunnyPic Editor and open your image.
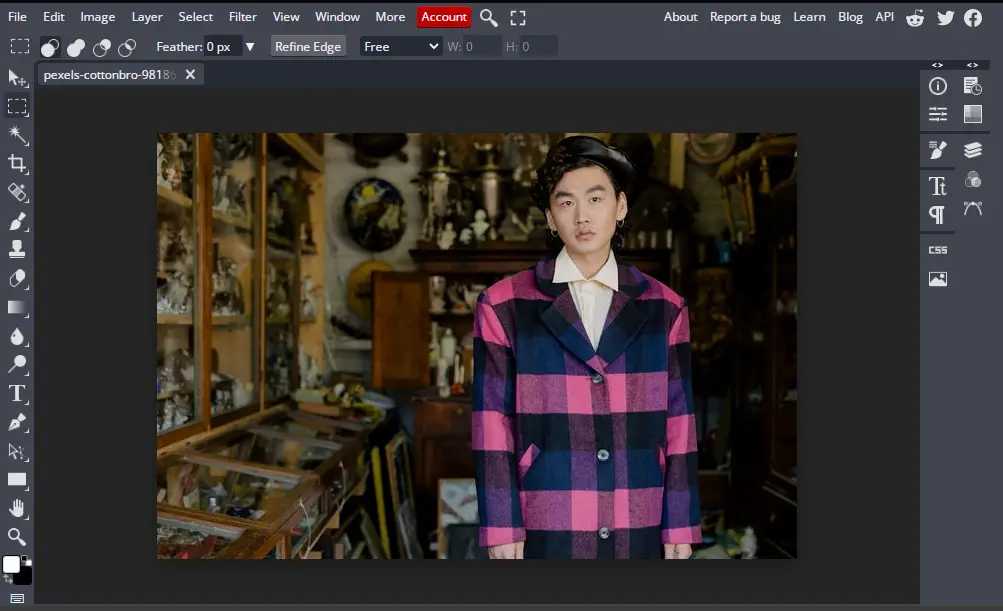
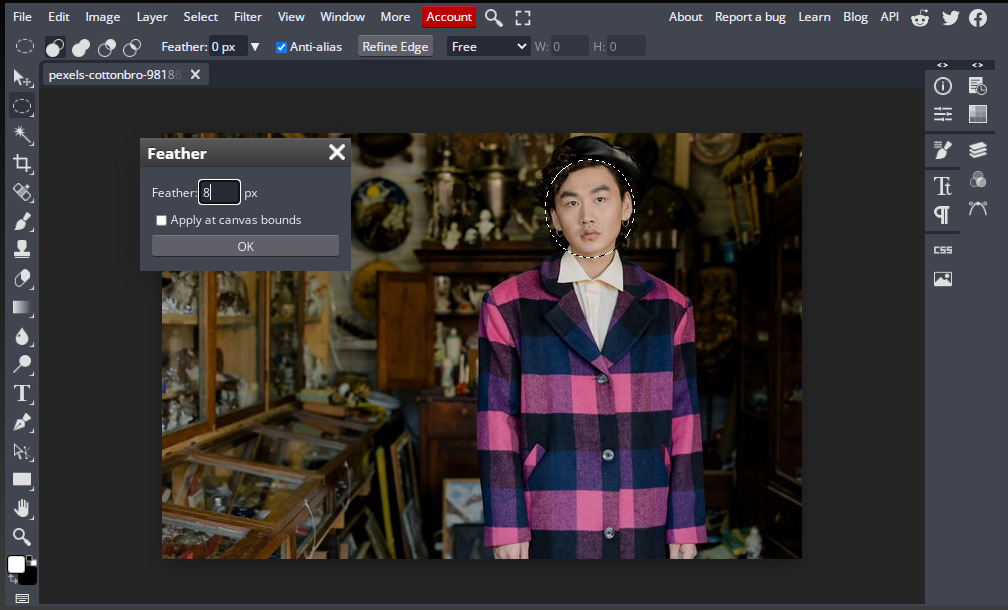
- From the left toolbar, click and hold the Rectangle selection tool and select the Eclipse selection tool.

- With the eclipse selection tool select the face of your subject.
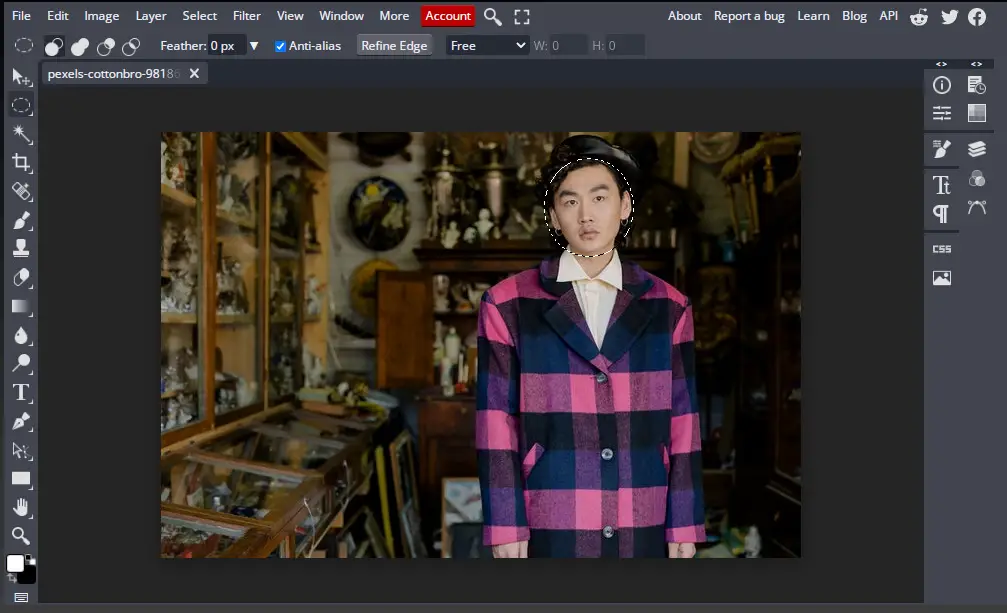
- With the selection active go to Select > Feather and set a value of 5 – 10 pixels and hit OK. This will make the edges of our selection softer. When you’ll apply the blur effect, having a feathered selection will make it more realistic.
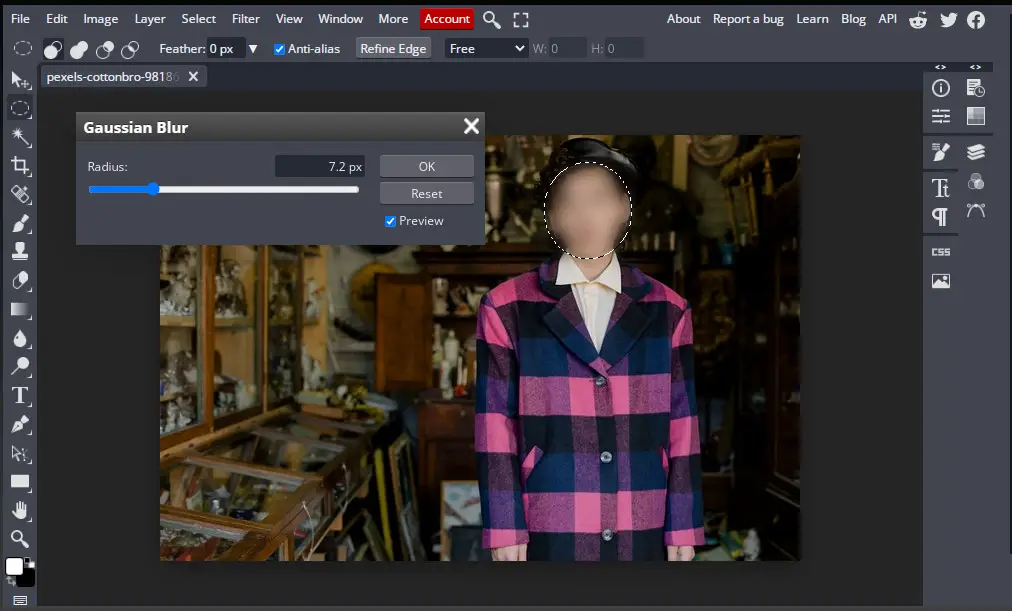
- Next, go to Filter > Blur > Gaussian Blur and adjust the radius until the face starts to become unrecognizable. When done click OK.
Alternatively, another popular way to blur faces is by pixelating them. You can do this by following steps 1-4 exactly but other than applying Gaussian blur go to Filter > Pixelate > Mosaic and adjust the radius to your satisfaction.

How to Add Cool Blur Effects to Your Photos with BunnyPic
People commonly use blur to add a subtle effect to their images so that the focus could be shifted to the subject. However, what if we wanted to put the blur in the spotlight? Other than having it as a subtle effect we can use it to enhance the overall vibe of the image.
Since BunnyPic has a wide variety of tools to help with this we’ll look into some awesome blur effects that you can apply to your photos.
How to Add Box Blur Effect to Your Photos
The box blur effect is an interesting filter where the blur would be applied in small boxes to fill the image. This means that the pixels are square-shaped giving you a clean pixelated style blur. To apply this blur effect to your photos using BunnyPic:
- Go to the BunnyPic editor and open your image.
- Select your subject by using any of the selection tools available to you. In this case, I’m using the Polygonal Selection tool.
- Create a copy of the selection on a new layer by right-clicking on the selection and pressing Layer Via Copy or press CTRL+J.
Tip: To make your selection more accurate you can click on Refine Edge from the top toolbar. This will open up a new window giving you a brush to refine the selection. Use the black color (background) to remove the background and the white color (foreground) to select the subject.

- Next, from the Layers panel, select the Background layer and go to Filter > Blur > Box Blur. Adjust the radius to your liking and hit OK.
How to Add Blurred Bokeh Lights Effect to Your Photos
The Bokeh light effect is a beautiful way to make your background aesthetically appealing. The Bokeh effect occurs when the light behind your subject is out-of-focus in such a way that it enhances the effect of light in the image.
To add a Bokeh light effect to your images you need to have a photo that has a few light sources in the background such as spotlights, candles, lamps, or bulbs. With your photo ready go to the BunnyPic Editor and follow the steps outlined below:
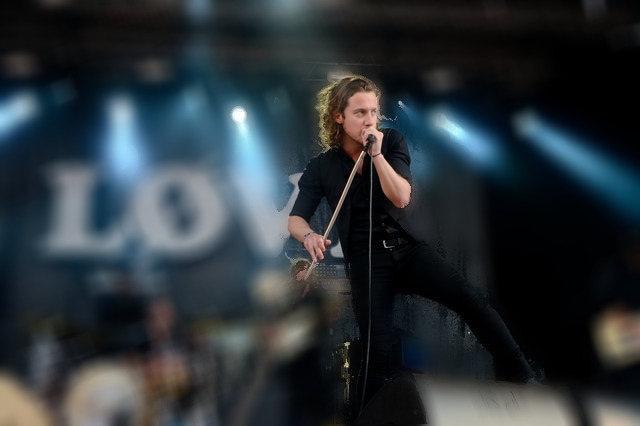
- Open the photo you want to add a bokeh effect to. The photo I have chosen has spotlights as the light source behind the singer.
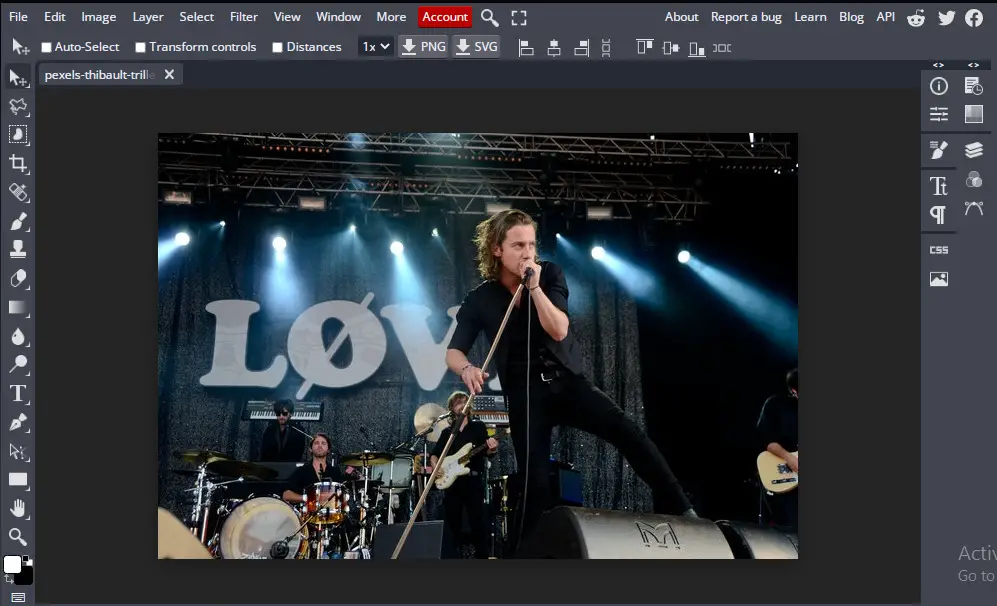
- As discussed above, the Magic Cut tool can help us separate the subject from the background.
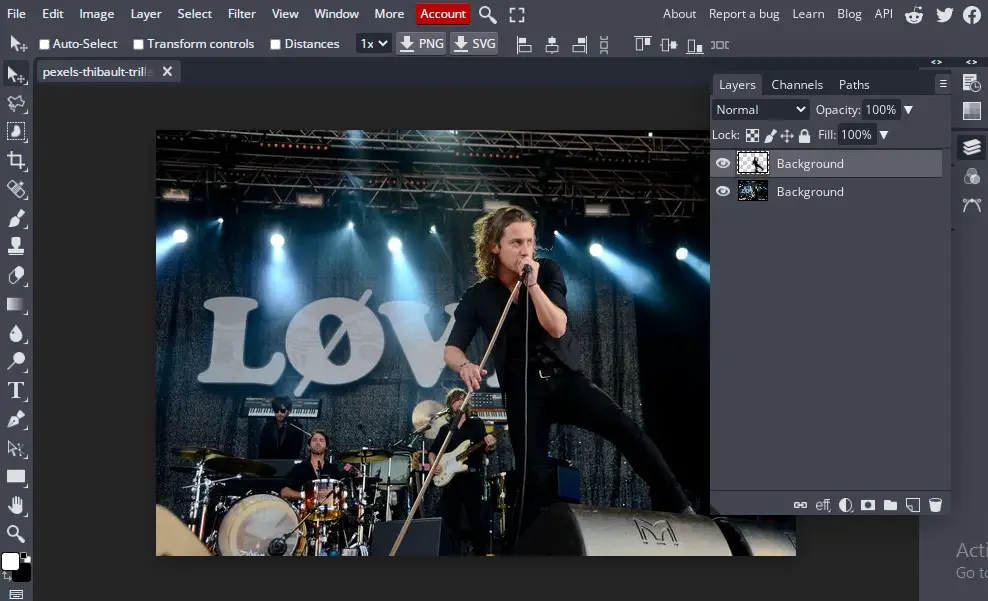
- Next, with the background layer selected go to Filter > Blur > Lens Blur. A menu should pop up. From this menu you can play around with different adjustments until you get your desired effect. In this case I have set the Focal distance: 137, Radius: 54, Angle: 66, and the shape to square. The shape refers to what kind of shape to you want the blurred pixels to be in.
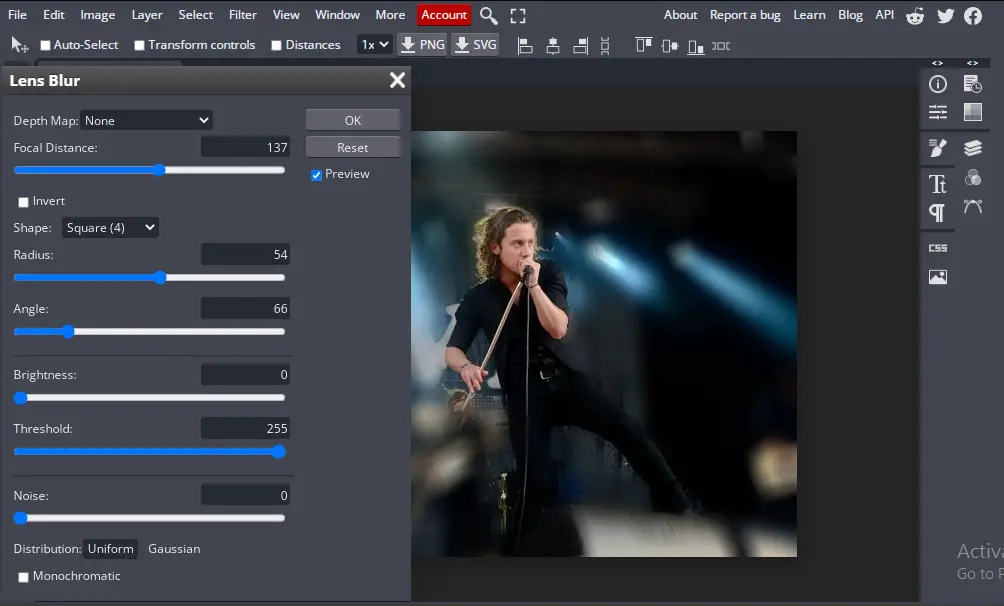
- When you have made the adjustments click OK to save them.
Here’s our final result:
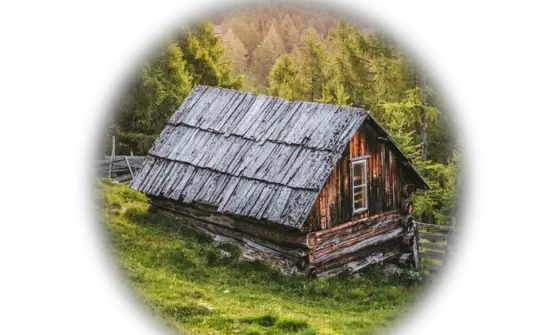
How to Add Blur to the Edges of Your Photo
Blurring the edges of your photo is an easy and effective way to shift the focus of your image directly to your subject. This blurring technique is best for photos with the subject in the center. To blur the edges of your image using BunnyPic follow these steps:
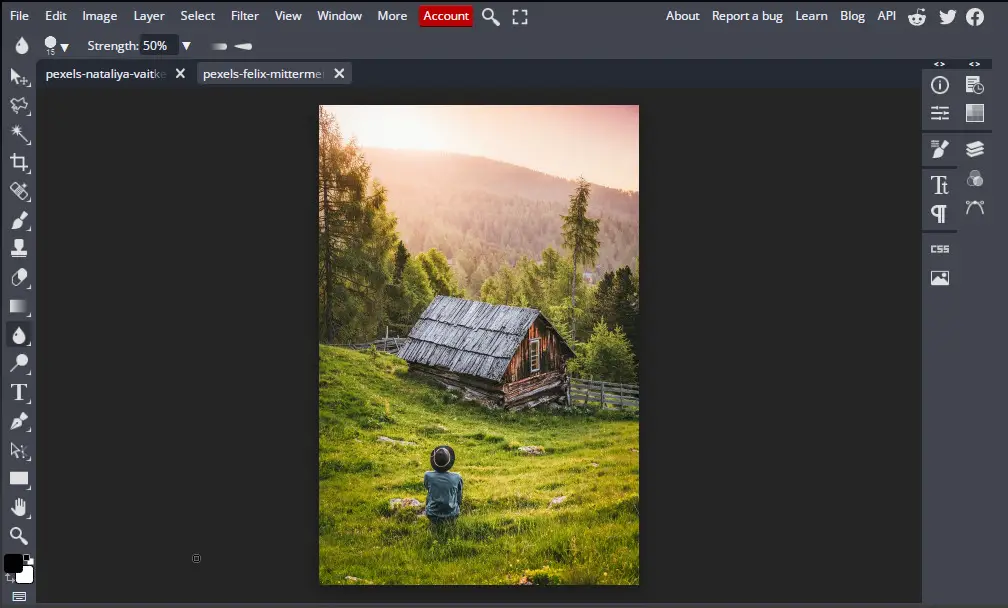
- Open your image in the BunnyPic Editor.
- From the left toolbar, click and hold the Rectangle selection tool and pick the Eclipse selection tool from the drop-down menu.
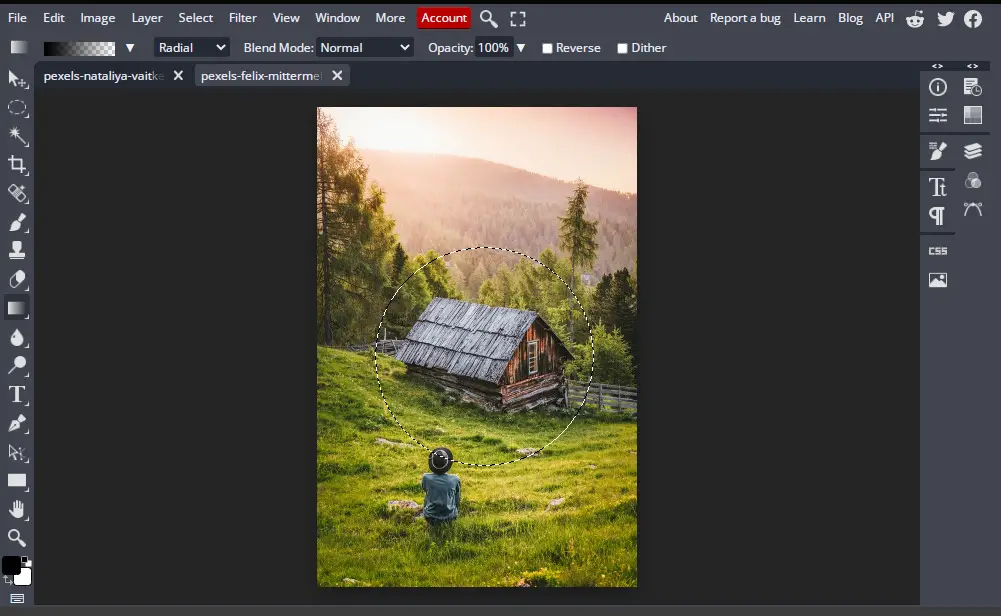
- Select your subject with the Eclipse selection tool and go to Select > Modify > Feather and adjust the feather amount. This is the amount of blur that would be applied to the edges of your photos.
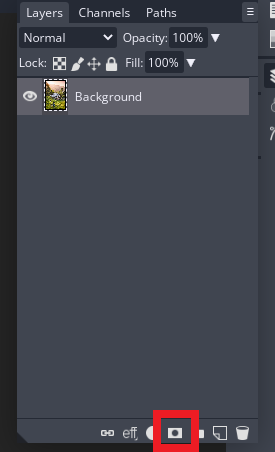
- Once done, open the Layers panel and click on the Raster mask icon to create a layer mask. This will separate your selection from the background and reveal the blur around your image.
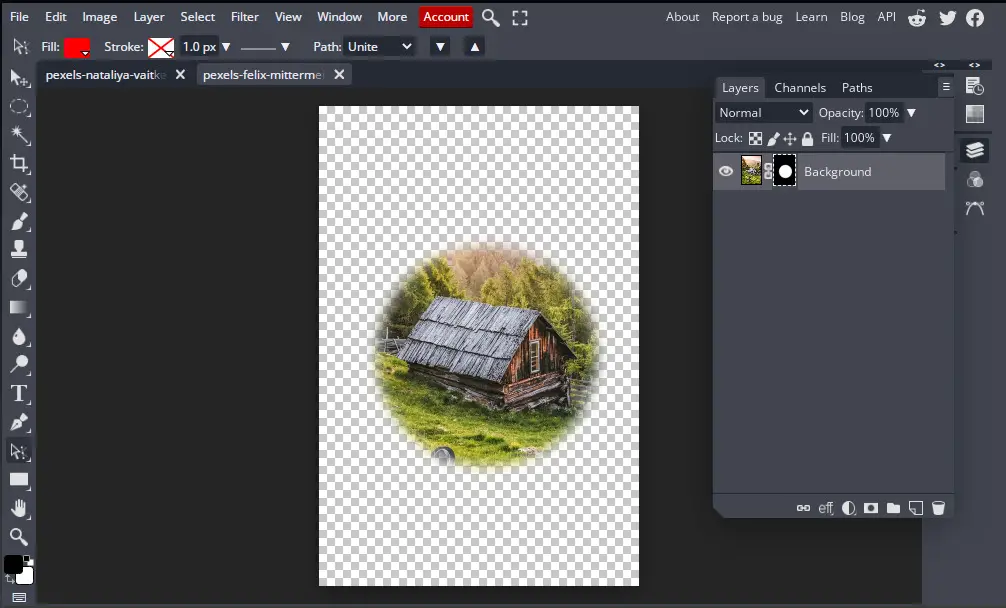
- Finally, all that’s left is to save the image. Go to File > Save As > PNG. It’s important to save the image as a PNG as it maintains the transparency of the background.
How to Add Motion Blur to Your Photos
We have already written a detailed step-by-guide to add motion blur to your photos. Check out our article, How to Add Motion Blur to a Photo without Photoshop.
How to Fix Blur in Photos Using BunnyPic
Even though blurring your photos can lead to some professional-quality photos there are times when you may want to remove the blur from your existing photos. This may be due to unnecessary blurring which may cause the subject in your image to be distorted.
Fortunately, it’s very easy to fix blurry out-of-focus pictures in BunnyPic. All you need to use is just one tool.
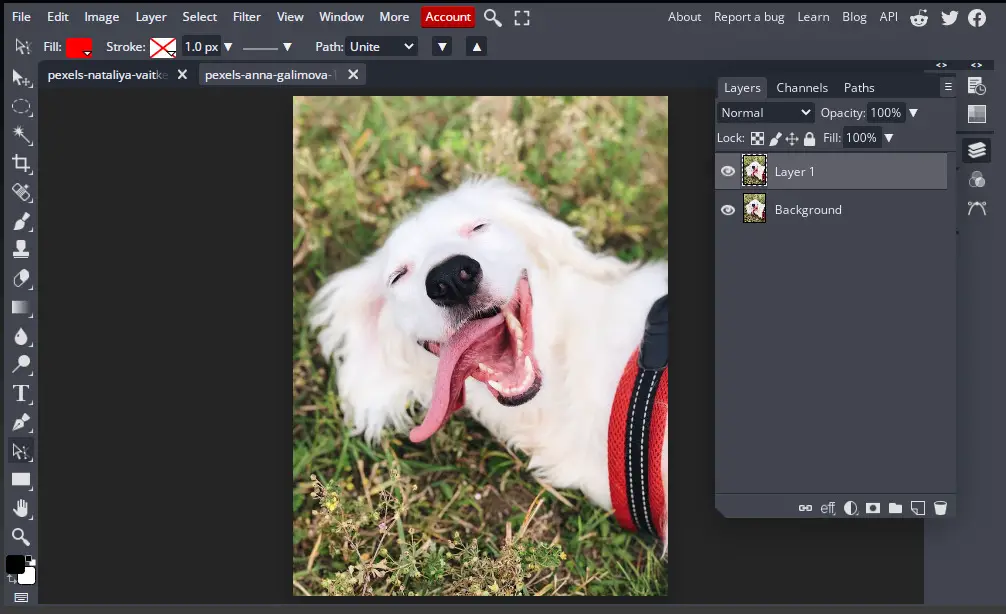
- With your image open make a duplicate layer by going to Layer > Duplicate Layer or pressing CTRL+J.
- With the duplicate layer selected go to Filter > Sharpen > Smart Sharpen. Adjust the amount and the radius to make your image sharper and hit OK. This will reduce the blur.
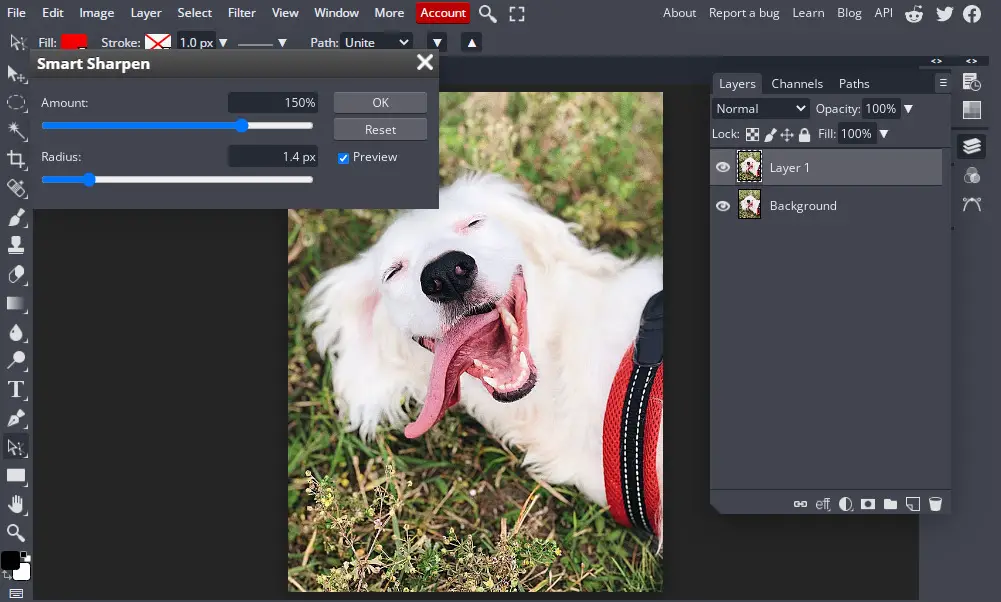
Here’s a side-by-side comparison of the two images:

Conclusion
In this article we looked at multiple ways to add blur to our photos using the free online Photoshop editor, BunnyPic. BunnyPic is totally free-to-use and doesn’t require any installation or sign-up. We also looked at some ways to add awesome blur effects enhancing the vibe of our image and how to fix blurry photos correcting out-of-focus images. This guide should have you covered for all your confusion regarding blur.