From the Young Hare of Albrecht Durer to the Love’s Messenger by Marie Spartali Stillman; watercolor paintings can turn heads as the unique effect captures colors like no other. It comes as no surprise that some people would want to transform their own photo to watercolor painting online.
If you aren’t a graphic designer then you may try a few online tools to turn your photos into watercolors. But, these tools don’t give the same effect and the paid versions may be too expensive. That’s why it would be better to use a smart free tool that gives you the same feel as Photoshop without blowing the bank, like BunnyPic.
BunnyPic is a free online photo editor that features similar tools to Photoshop. Adding the watercolor filter on your photos with BunnyPic is easy, even if you don’t have any previous photo editing experience. In this guide we’ll look at how to turn your photos into a traditional watercolor painting step by step for free online.
How to Turn Photos into Watercolor Paintings Online with BunnyPic
With BunnyPic we can use a range of filters to turn our photos into watercolor for free. You don’t need to sign up or pay anything while getting full control over your image. Below is a step by step tutorial breaking it down, let’s dive in.
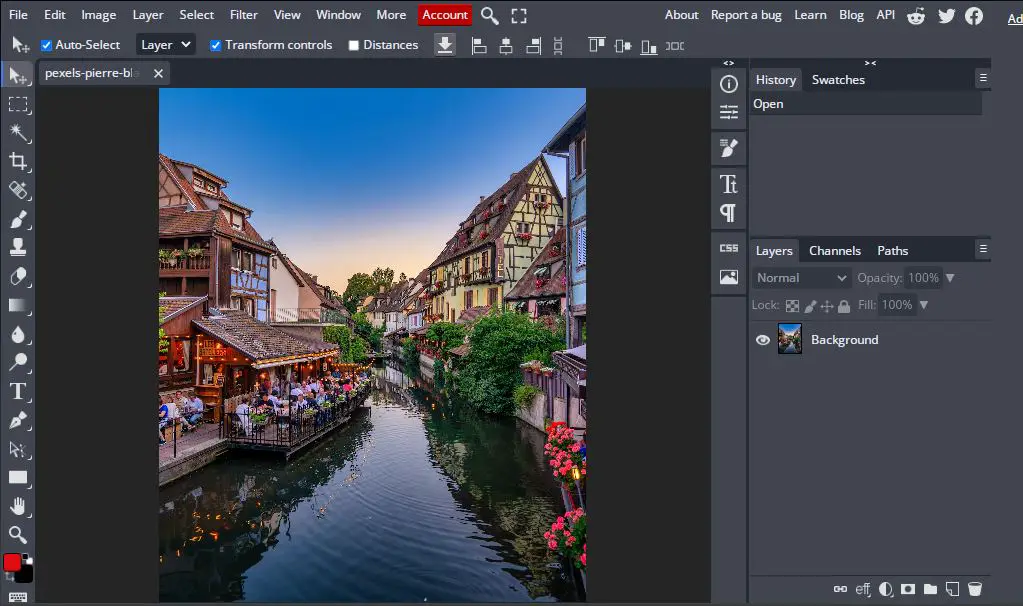
1. Open Your Photo in the BunnyPic Editor
Go to the BunnyPic Editor and open your photo by click on Open from Computer and selecting the photo you want to edit. You can also directly drag your photo into the editor and it will upload it.
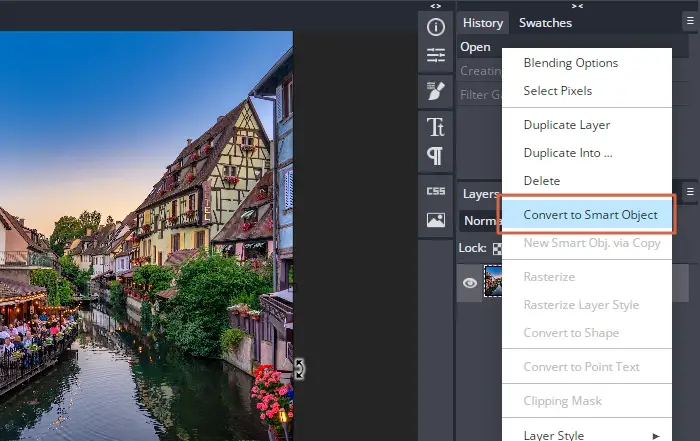
2. Convert Image to Smart Object
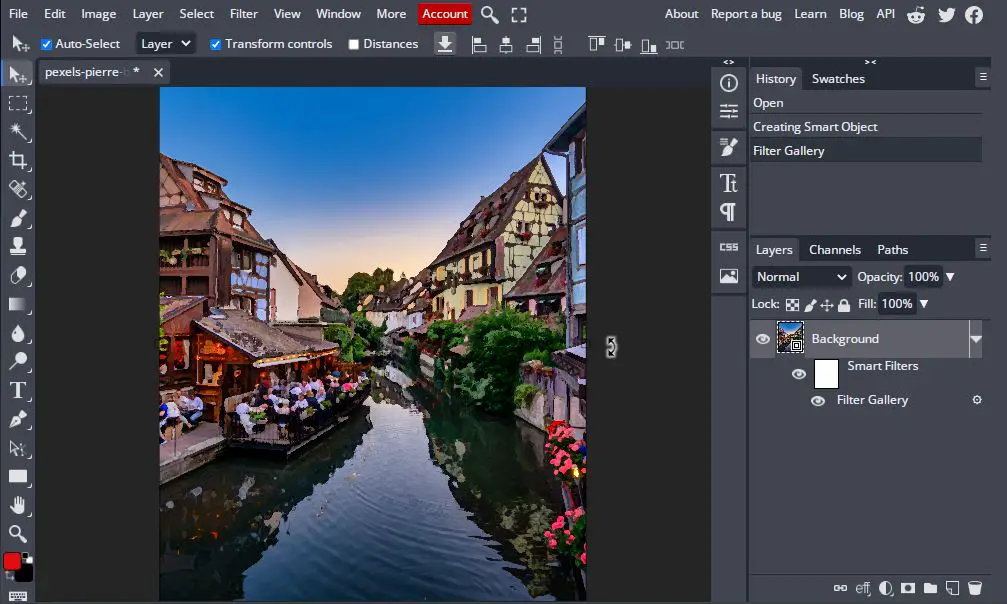
Turn your image into a smart object by opening the Layers panel from the right side (if it’s not already opened.) You can do that by clicking the stacked layers icon in the right toolbar.
Right-click on the layer and select the option “Convert to Smart Object” to turn your image into a smart object.
Alternatively, you can also select the layer and from the top toolbar go to Layer > Smart Object > Convert to Smart Object. You’ll know your image has been converted to a smart object as a small square will appear on it like this:
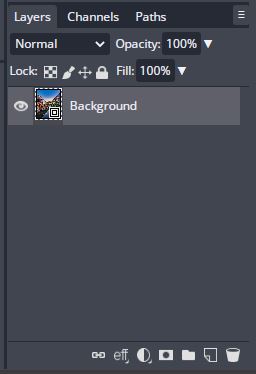
Making our image a smart object will give us more control over the filters we’ll add. It’ll give us the ability to add smart filters which can be re-edited once applied.
3. Apply Dry Brush Filter
We’ll start exploring the true potential of BunnyPic through a range of different creative filters. The Dry Brush filter will give our photo a nice painting feel with visible strokes. To apply this go to Filter > Filter Gallery.
A popup should appear with different filter options. From the filters select Dry Brush and set the Brush Size to 10, Brush Detail to 10 and Texture to 1.
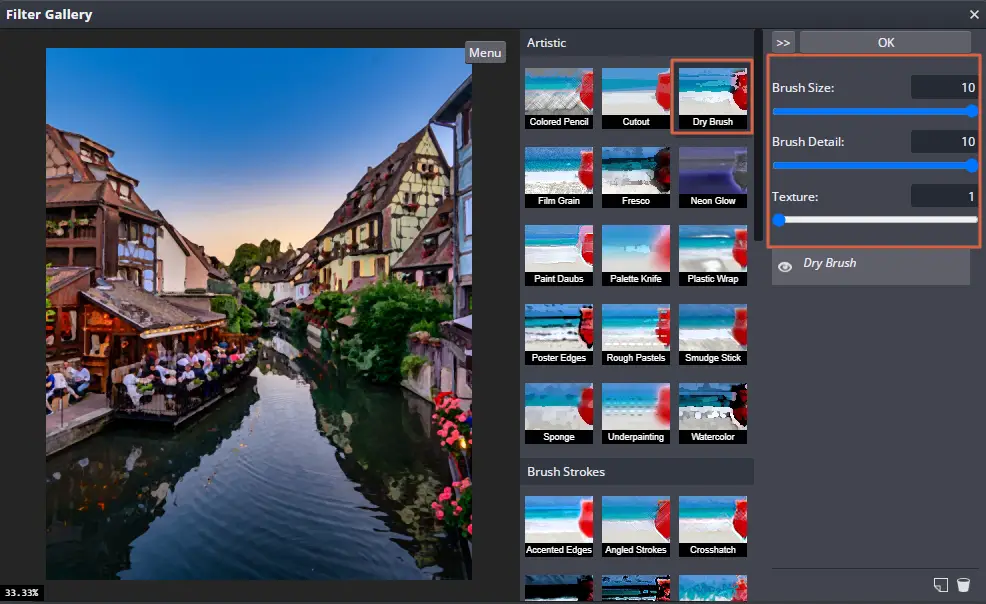
After applying the filter click OK. This is what our image is currently looking like:
4. Apply Cutout Filter
After applying the Dry Brush filter our image is looking a bit cartoony. We’ll take it one step further and add a cutout filter. The Cutout filter simplifies the image by reducing details and limiting the amount of colors. This gives it a nice toned-down look which is what we’re going for as watercolor paintings don’t include a lot of fine details
To apply the Cutout filter go to Filter > Filter Gallery. Just like before you’ll be greeted with a popup and a range of filter options. From those select the Cutout filter and adjust the Number of Levels to 5, Edge Simplicity to 4 and Edge Fidelity to 1.
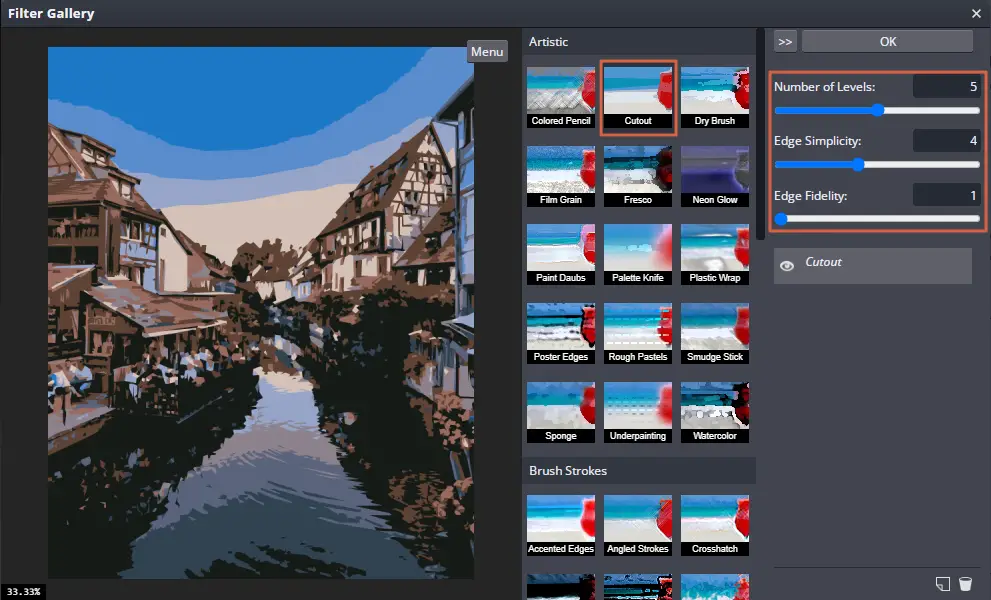
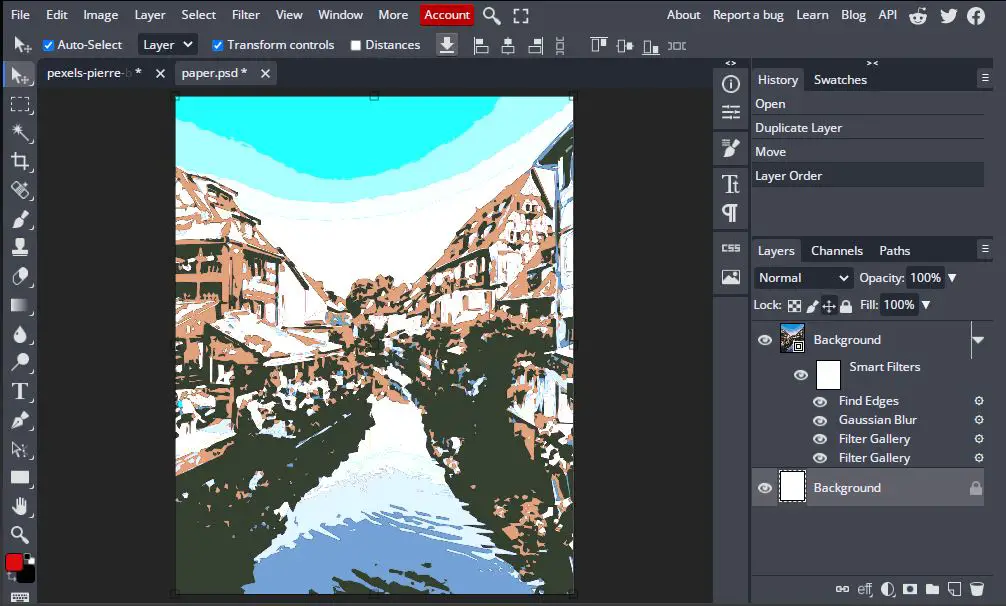
After setting the filter click OK. This is what our image is now looking like:
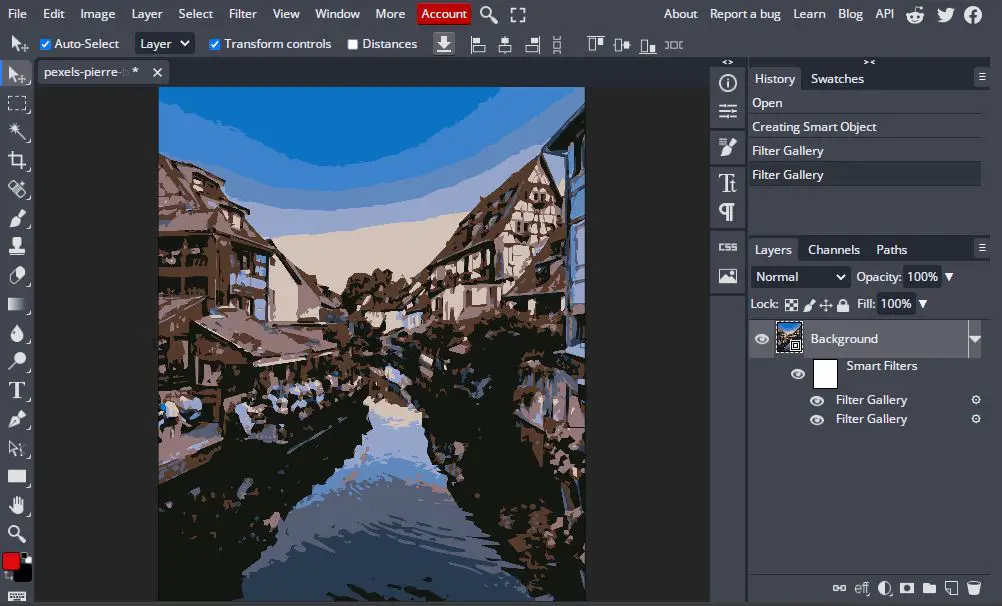
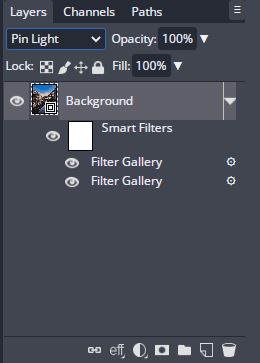
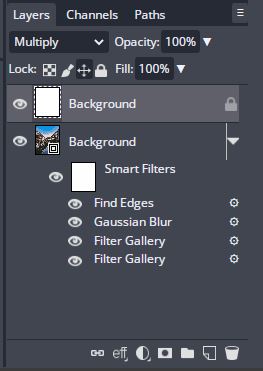
The image got darker so we’ll add the Pin Light blending mode to our original image layer to blend the two filters together.
5. Apply Gaussian Blur
This is an additional step to refine the image a bit. Although the cutout filter effectively reduced some details you can still see some visible strokes from the dry brush filter. This makes the image look a bit fake, as if we just put a filter on top of it.
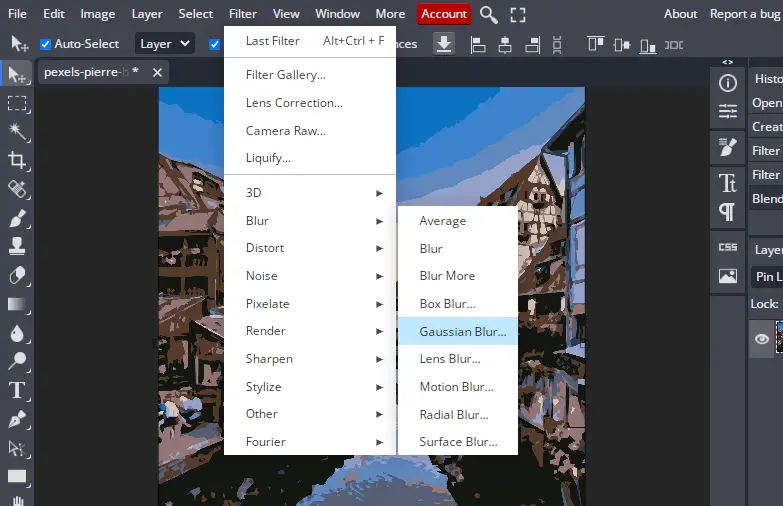
To fix this we’ll add a slight Gaussian blur. A Gaussian blur will help blend the color a bit more naturally. To apply the blur go to Filter > Blur > Gaussian Blur.
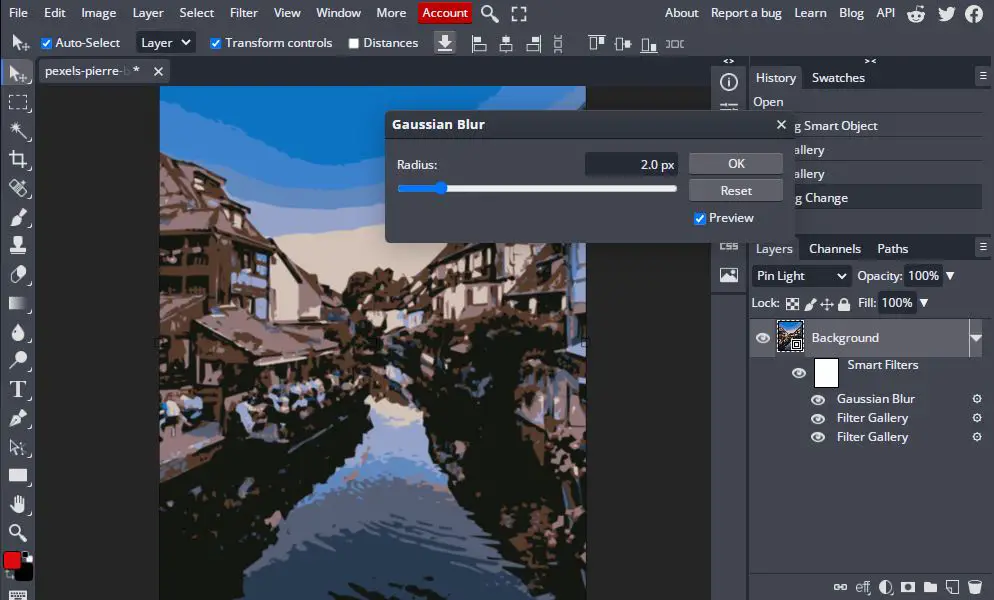
From the prompt adjust the slider to 2px or any value you see fit. Make sure the blur doesn’t cause the image to lose too much detail. After making the adjustment click OK to apply it.
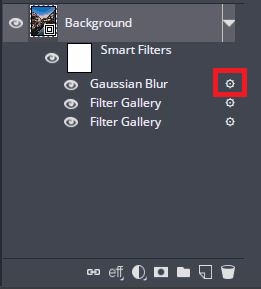
Since we converted our image into a smart object beforehand we can adjust the blur layer to make it blend better through blending options. To make changes to the layer select the Gaussian Blur layer and click the small gear icon in front of the name of the layer.
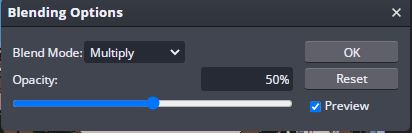
This will open up a new window. Click where it says “Normal” and it will open a drop down with different blending options. Select the blend mode Screen and turn the opacity down to 50%.
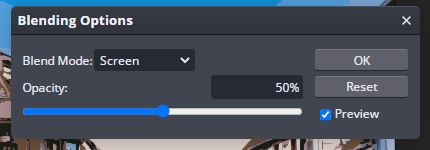
To save the changes click on OK.
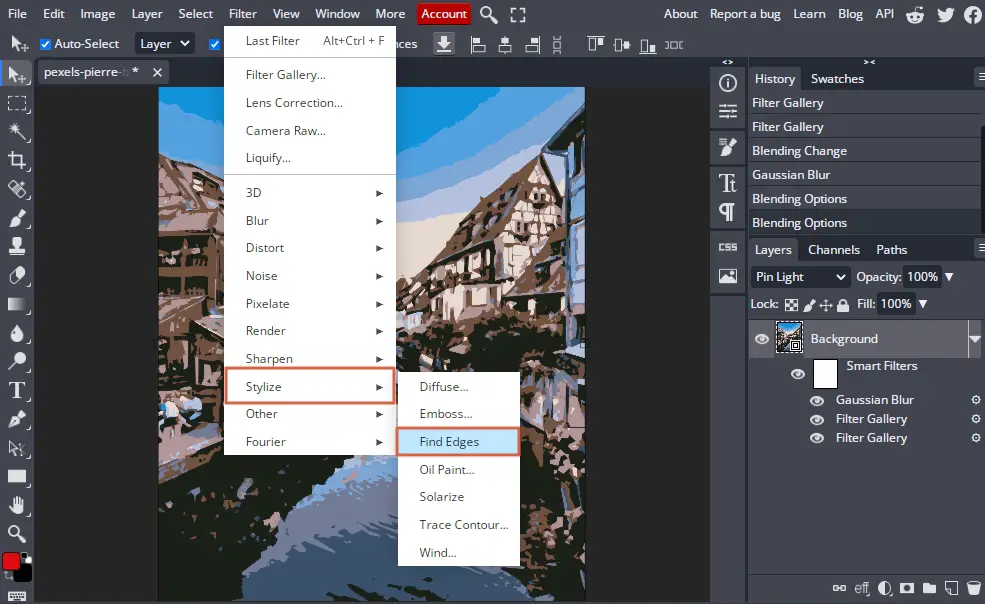
6. Apply Find Edges Filter
The final filter we’re going to apply is the Find Edges artistic filter. This filter will identify the edges of the photo and highlight them to add some sharpness to the strokes of our watercolor painting. To apply the Find Edges filter go to Filter > Stylize > Find Edges.
You’ll instantly get weirded out by how your image would be looking right now:
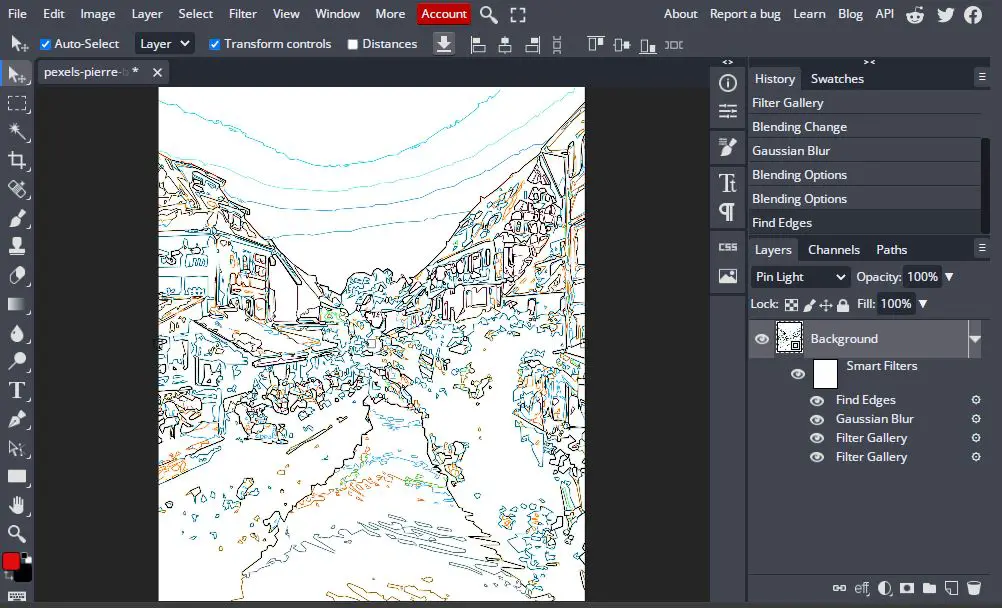
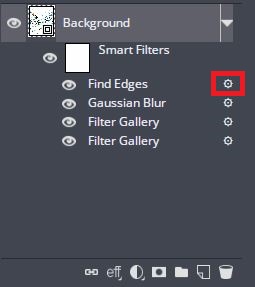
Don’t worry! Everything’s going as planned. After applying the filter, click on the gear icon on the find edges layer to re-edit it.
From the prompt window apply the blend mode to Multiply and set the opacity to 50%.
7. Create a New Document
Our watercolor effect is done and all that’s left to do is adding the final touches. To finish it off, we’ll be giving it a “watercolor on paper” feel which will tie the whole photo together and make it look like a realistic watercolor painting.
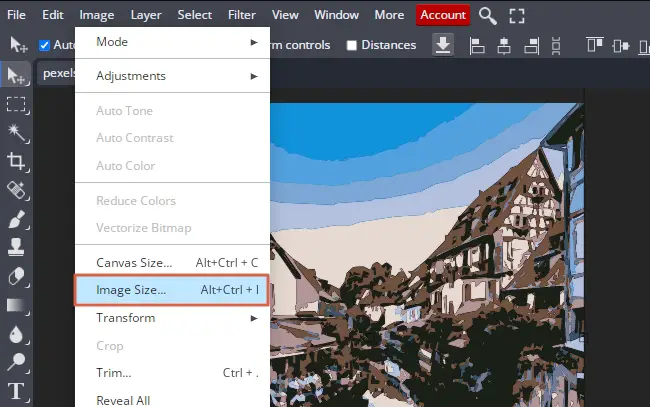
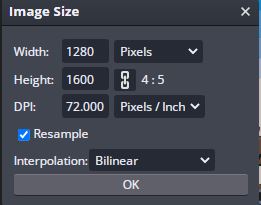
To do this create a new document of the same size of your image. If you don’t know what your image dimensions are you can check this by going to Image > Image Size and note the width and height of the photo.
Then create a document by going to File > New and on the new window adjust the width and height of the document and click Create.
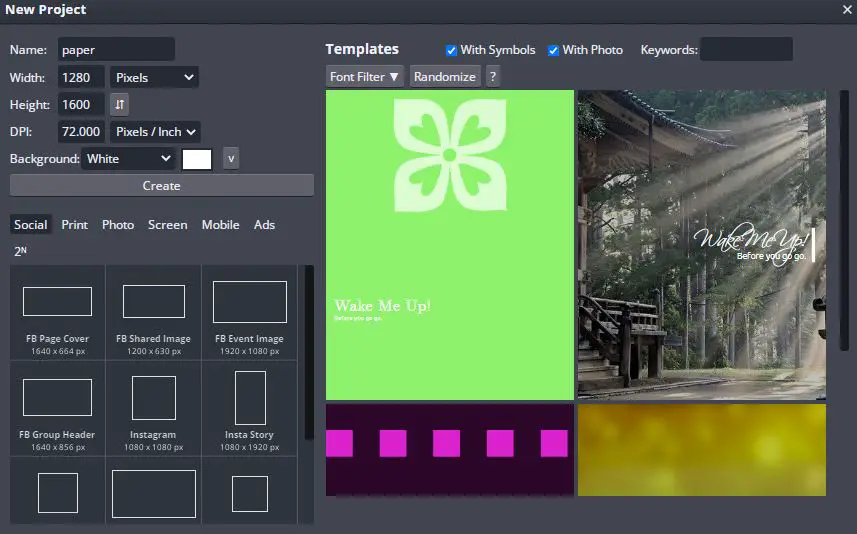
After clicking create your new document will be created:
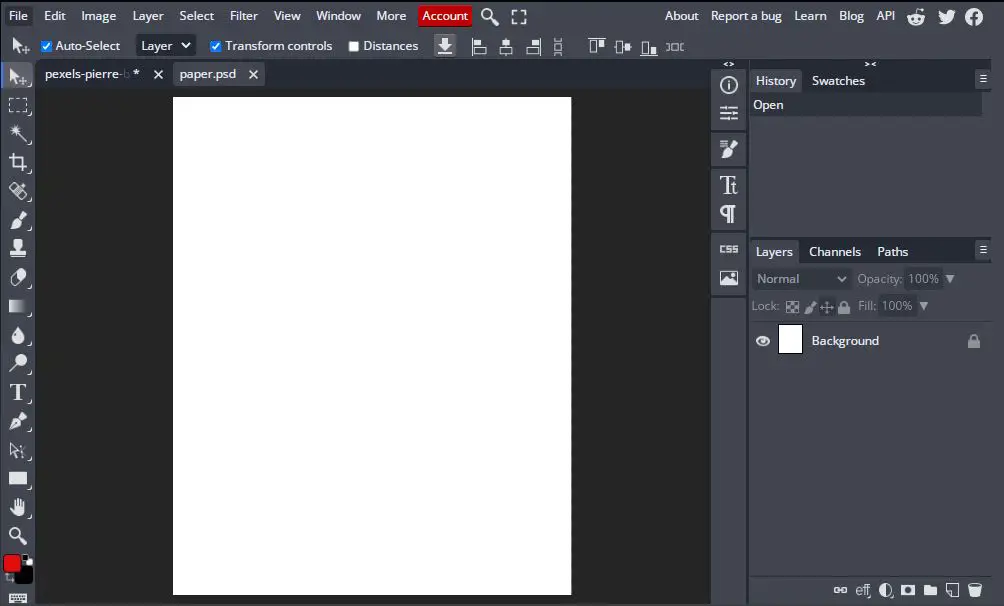
8. Place Watercolor Photo on New Document
Using our new document as a watercolor paper background, we’ll create a nice effect for our image similar to a color splash effect. To get started we need to copy our watercolor photo on to the new document.
Do this by going to your watercolor photo tab and drag it to the new document.
Next, drag the Background layer of the document and place it on top of the watercolor photo.
9. Add Watercolor Brush Splash Effect
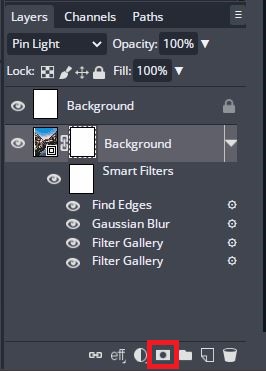
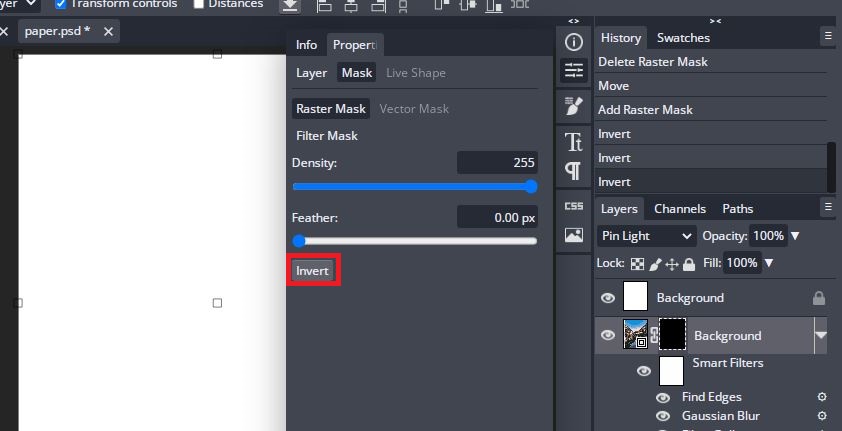
Finally we’ll add the watercolor brush effect to enhance the photo. To get started add a raster mask to the watercolor photo by clicking the raster mask icon (highlighted below.)
You should see the properties window open up after adding the raster mask. From there click on Invert to invert the foreground and background colors of the Raster mask.
Next we’ll need to use a watercolor brush to paint the image on top. But, unfortunately BunnyPic doesn’t come with a preset watercolor brush. So, you can download a free brush set here and load it into the editor.
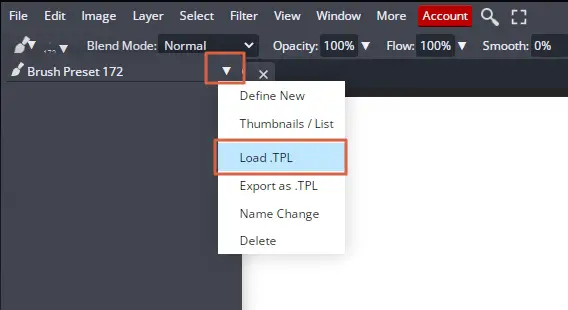
To load the brush set into the editor select the brush tool from the left toolbar and from the top click on the brush icon. Now click on the small downward arrow and select Load .TPL.
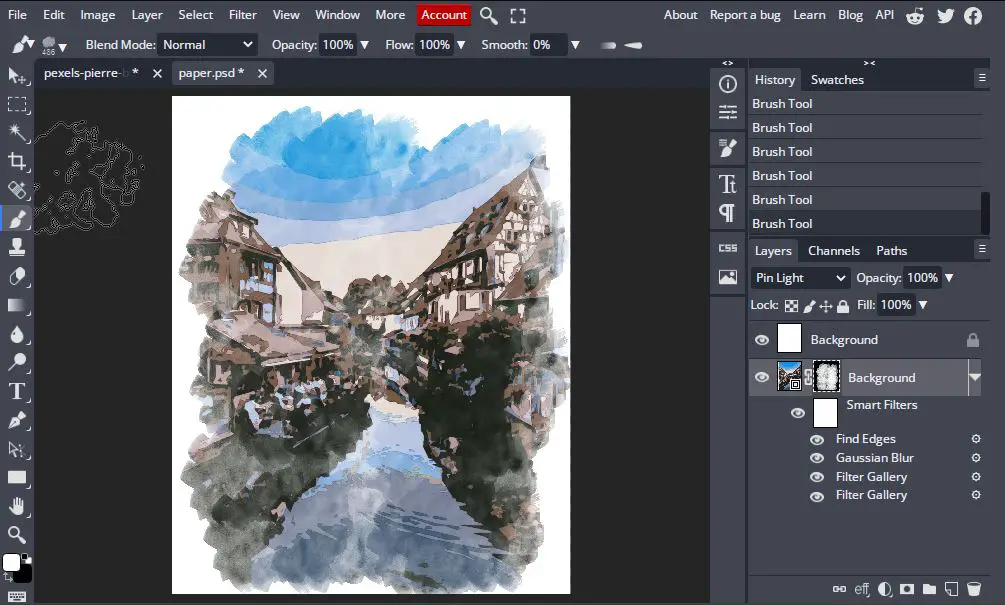
From the new window click and select the file and it should be uploaded. After adding it select the new brush and start drawing over your document. Don’t click and drag but rather tap your pointer in different places to give it that “dabbed effect.”
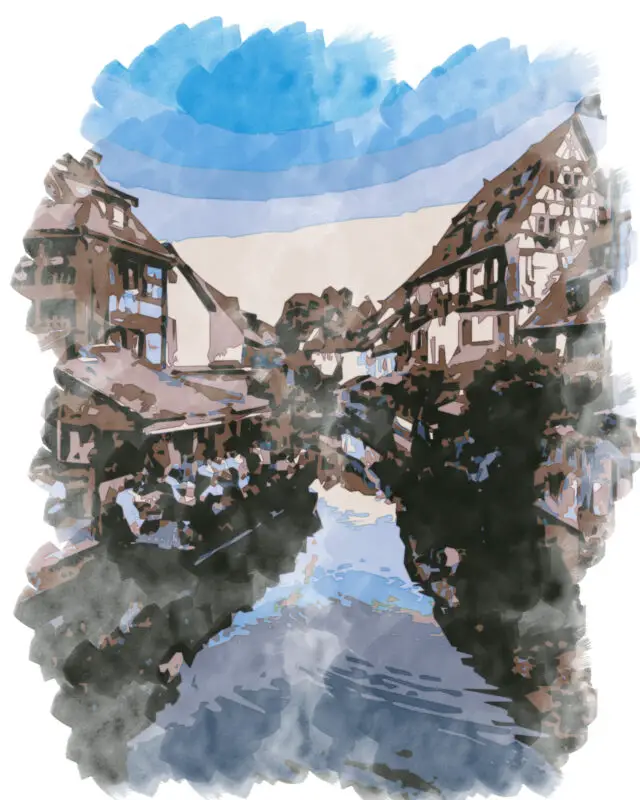
After doing so for a while, here’s what our image looks like:
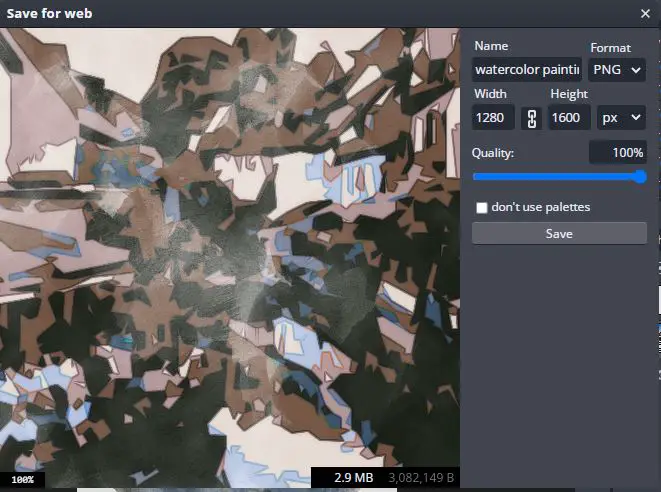
10. Save Your Image
Congratulations! You’ve transformed your photo to a beautiful traditional watercolor painting. Now, all that’s left to do is save your new masterpiece.
To do that go to File > Export As > PNG. Saving as PNG is better than JPG as it will preserve the colors keeping the image looking colorful.
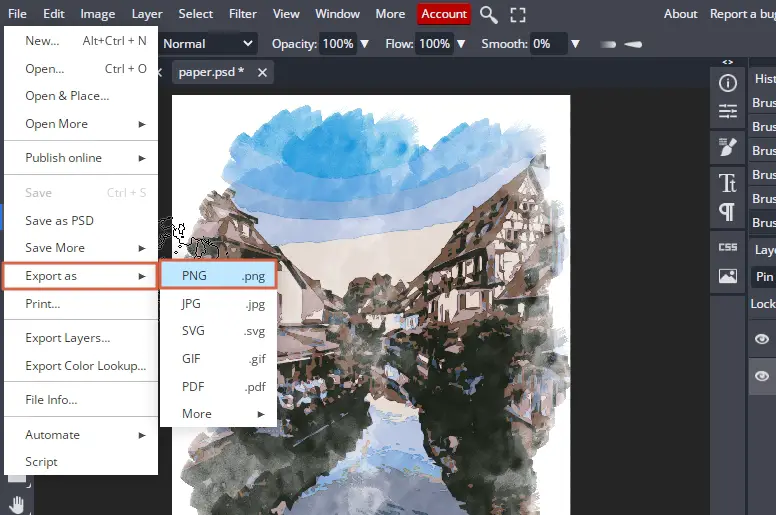
Finally to download the image click Save.
Here’s what our final image looks like: