
Whether you’re a photographer or just like to take selfies and photos for fun it can get repetitive. Taking the same old photos can get boring pretty fast. But, adding some cool new effects and stickers can really bring some life into them.
Thanks to Instagram, Snapchat, and Whatsapp people have found new ways to edit their photos. Stickers were first introduced on these social media platforms and they have boomed in popularity since then.
In this tutorial, We’re going to learn how to make and add stickers to pictures online using BunnyPic – our free online photoshop tool. The stickers you make in BunnyPic can even be used for your other projects.
How to Make a Sticker in BunnyPic
Creating a sticker in BunnyPic is way easier than using Photoshop. BunnyPic is a free online photo editor that doesn’t require any installation or sign-up. It has similar tools to Photoshop and will help you design high-quality stickers.
Let’s dive into how to actually make a sticker of your images in BunnyPic.
Setting Up
If you already have a sticker you want to use for your image you can skip ahead to the steps.
First, we’ll have to download an image that we will convert into a sticker. The main feature of a sticker is the white stroke that indicates its sticky side.
You can explore sites such as Pexels, Unsplash, or Pixabay and download a free-to-use, non-copyright image from there. If you want to turn an icon into a sticker you can check out Flaticon, which is the best resource for high-quality icons.
Follow the below steps to get started:
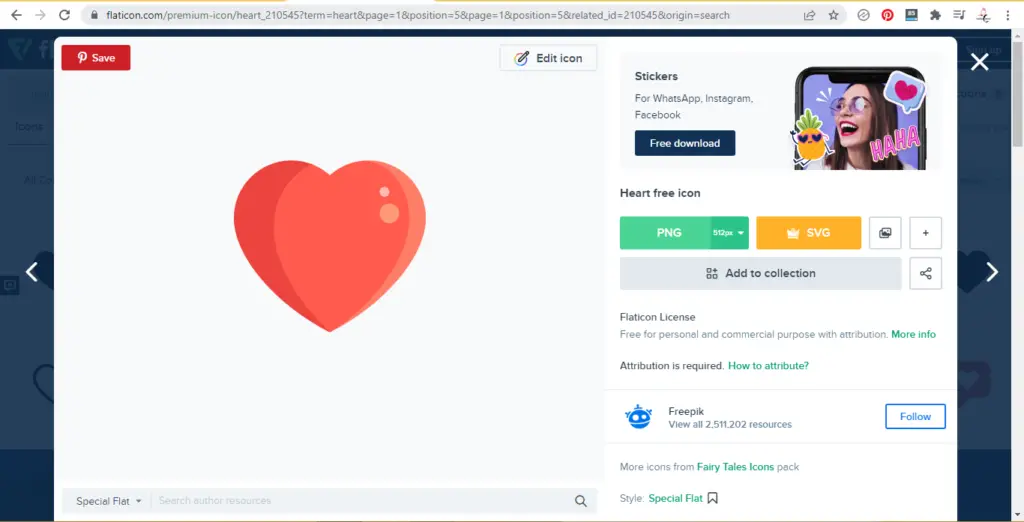
- Go to Flaticon and type in the icon you want to download as a sticker.
- From the library of options click on the one you best like.
- On the new screen click PNG > Free Download. This will download the icon with a transparent background.
Now that we have our icon, it’s time to use BunnyPic to create it into a sticker.
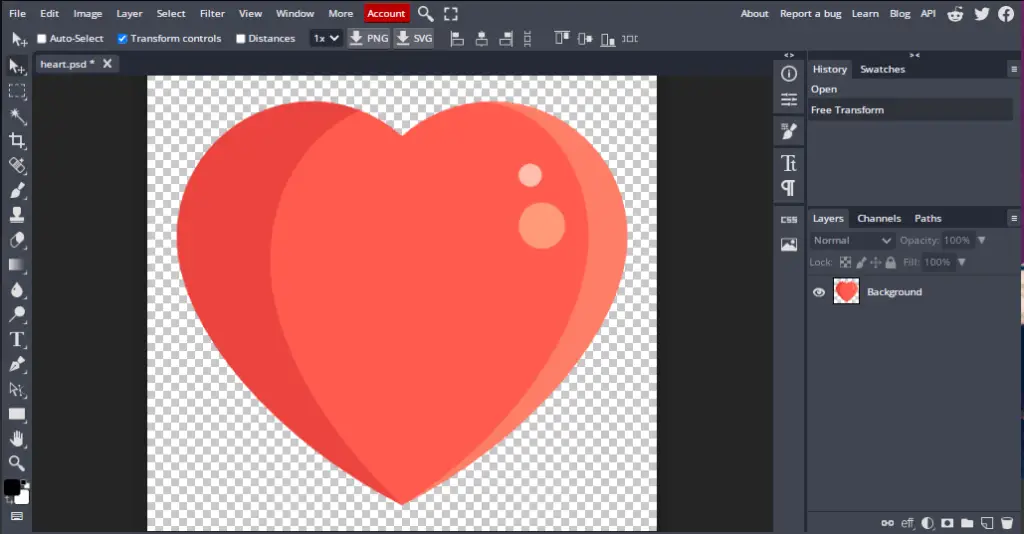
1. Open Your Image in BunnyPic
Go to the BunnyPic editor and add your image by clicking Open from Computer and selecting your image or dragging it into the editor.
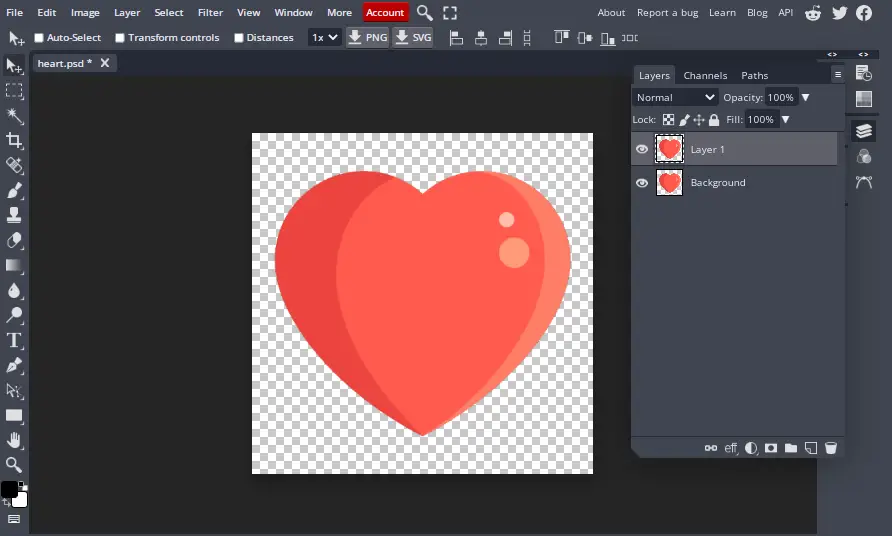
2. Duplicate Your Layer
We don’t want to edit the original layer in case we want to get back to the original layer. This is called non-destructive editing and preserves the original image.
To duplicate your layer open the Layers panel from the right, right-click on your layer, and select Duplicate layer or Press CTRL+J.
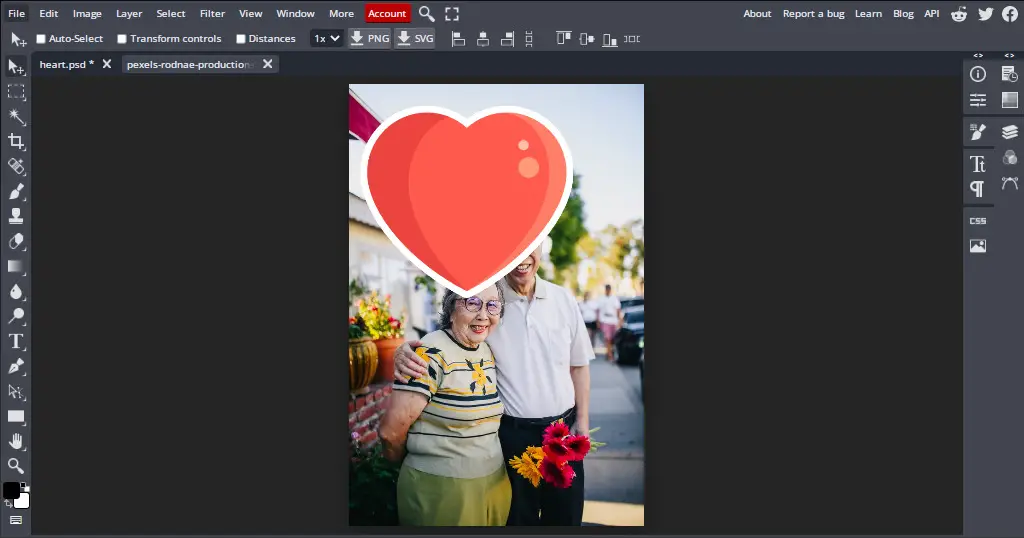
3. Add a Stroke
On the new layer, we will add a stroke to our image to give it the effect of a sticker. To do this:
- Double-click on your layer “Layer 1”. This will open up a new window displaying the layer styles.
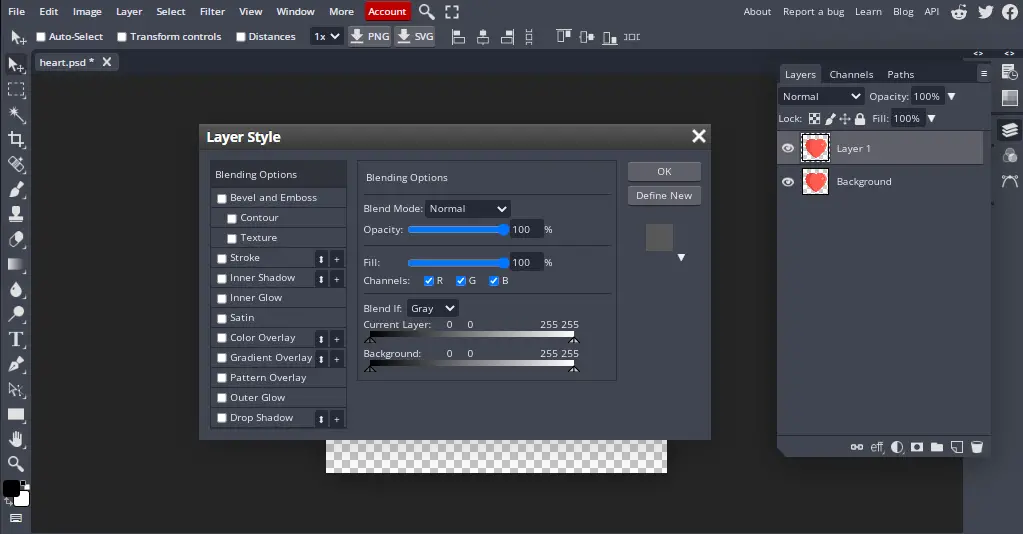
- From the layer styles on the left click on Stroke and adjust the stroke settings. You can adjust it as you like and BunnyPic will preview the changes in real-time. To give it a real sticker effect I’m going to adjust the size to 15px, Position: Outside and color it white.
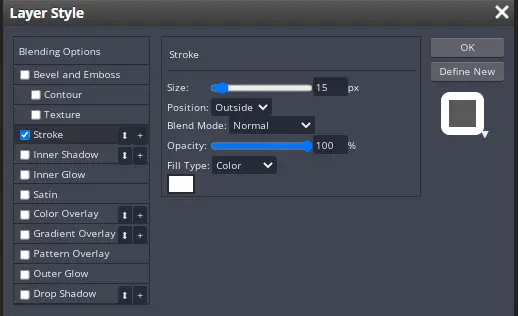
- Once you’re happy with the adjustments click OK to save the changes.
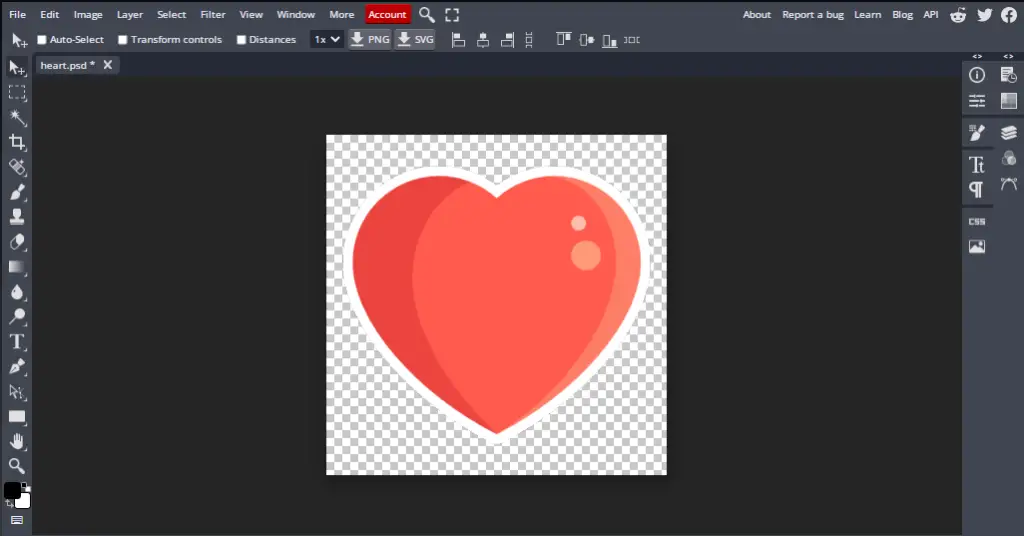
Our sticker is done now it is time to add it to our photos.
If you want to stop here and use your sticker for other social media platforms you can save your sticker. Go to File > Export As > PNG. You’ll need to download your sticker in a PNG format to keep the background transparent.
How to Add Stickers to Your Photos in BunnyPic
Now that we have our stickers it’s time to add them to our photos. Adding photos is really simple in BunnyPic and we’ll discuss some easy-to-follow steps below.
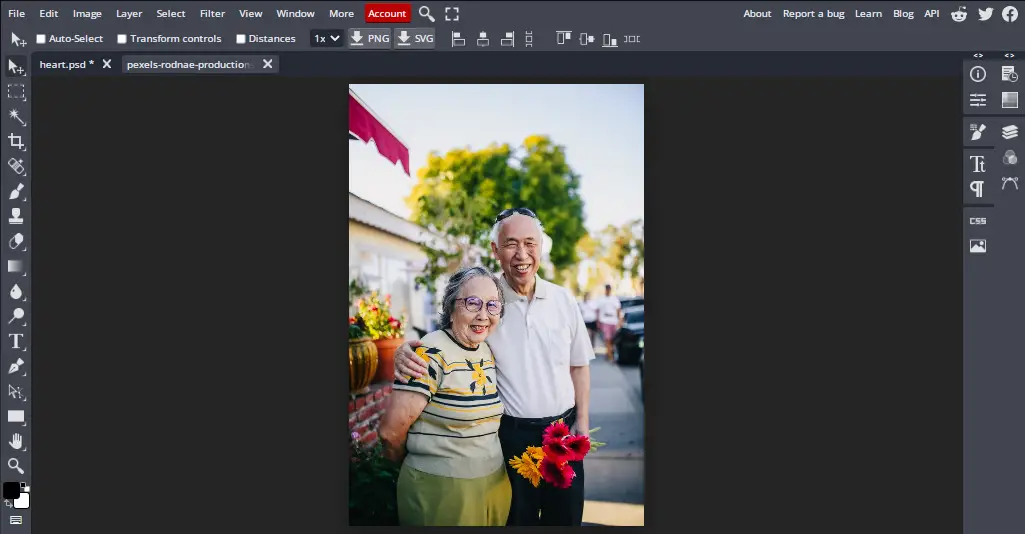
1. Open Your Image
If you’ve been following along, you may still have your sticker open in BunnyPic. To open an image on a new tab in the editor go to File > Open and select your image. This will open your new image whilst keeping your sticker file in the background.
2. Duplicate the Sticker to Your Image
Next, what we have to do is add our sticker to our image. We can do this by duplicating the sticker layer on top of our image. To do this:
- Go to your sticker image. If you don’t have it opened, then click on File > Open and open your saved sticker.
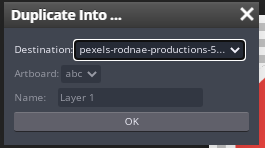
- Next, open the Layers panel and right-click on the sticker layer. From the options, click Duplicate into…
- From the new window, select the destination of your image where you want to add the sticker. Hit OK.
Another way to do it is to just drag your sticker to your original image and it will automatically duplicate it.
3. Adjust Your Sticker
We have placed our sticker on our image however it is not properly sized. BunnyPic gives you many ways to stretch, rotate, scale, and transform your sticker. To freely transform the sticker select the sticker layer and from the top toolbar click on Transform Controls. You will now see anchors at the edges of your sticker which you can use to adjust it.
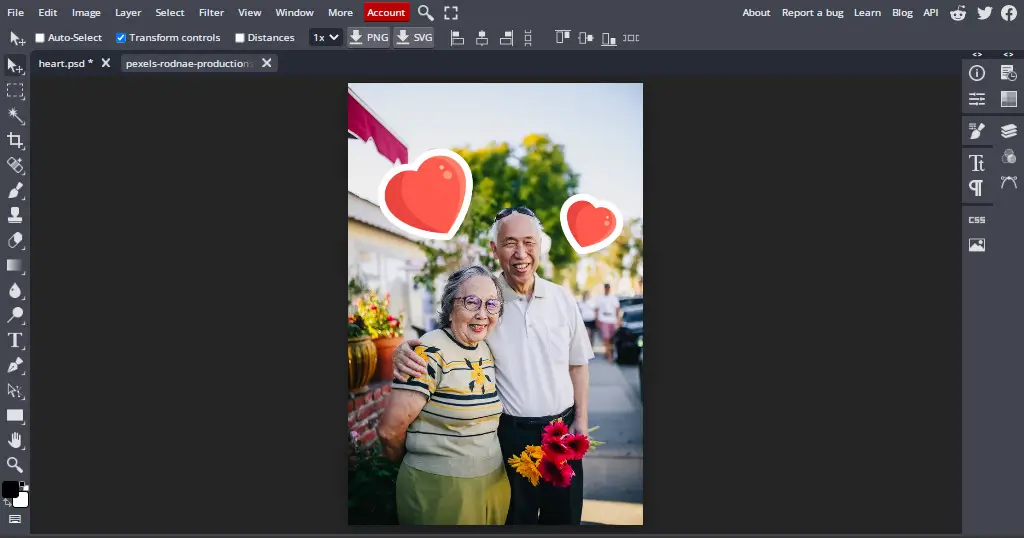
I’ve also copied the heart sticker for an added effect. To copy your sticker, select it and go to Edit > Copy to copy it and Edit > Paste to paste it. You could also press CTRL+C to copy and CTRL+V to paste.
Just like that, we have added a sticker to our photo online for free with Bunnypic. If you want to take your photo editing skills to the next level check out our other tutorials to edit your photos like a pro with BunnyPic.