
Clouds appearing in the sky are always a sign of one thing to come – Rain! A rainy season can be romantic or give a very calming vibe. If you have ever gotten your photo taken sitting in the rain, you know how beautiful it looks.
But, how can you dance in the rain when there isn’t any rain? By adding rain to your photos online! Modern photo editors have given us plenty of tools to add cool effects to our photos and manipulate them to our liking.
In this article, we’ll learn how to add animated rains to our photo online using BunnyPic. We’ll first go through how to add animated rains by creating a GIF. Then, we’ll add a rain effect using BunnyPic’s motion blur filter.
How to Add Animated Rain in BunnyPic
Adding animated rain in BunnyPic is very easy. All we need is to add a GIF to make our image animated.
Setting Up
Before we go into the steps of adding a rain GIF to your image we need to first download the GIF. You can download animated rains from GIF sites like GIPHY, Tenor, and Gfycat. You can also search for GIF images on Google by typing “Animated rain GIF” in the search bar.
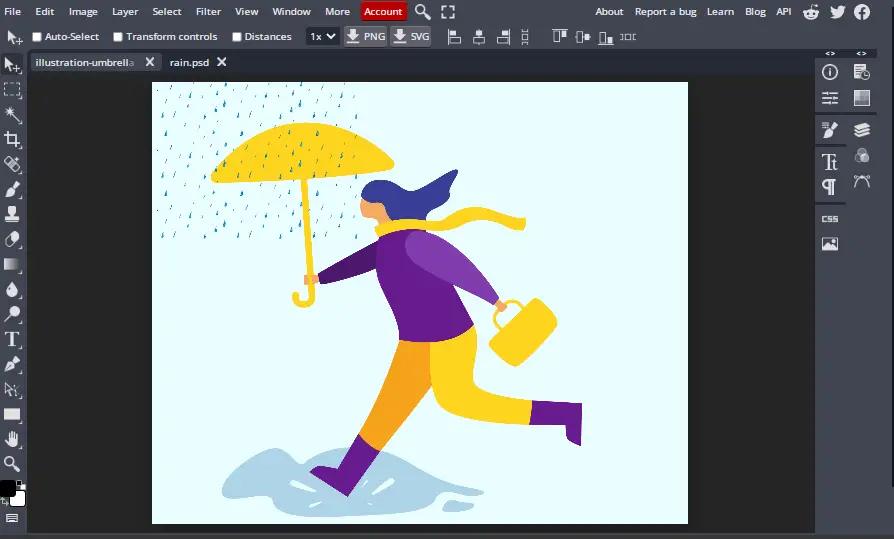
Once you’ve found a good one, save it on your computer. This is the GIF I’ll be using:
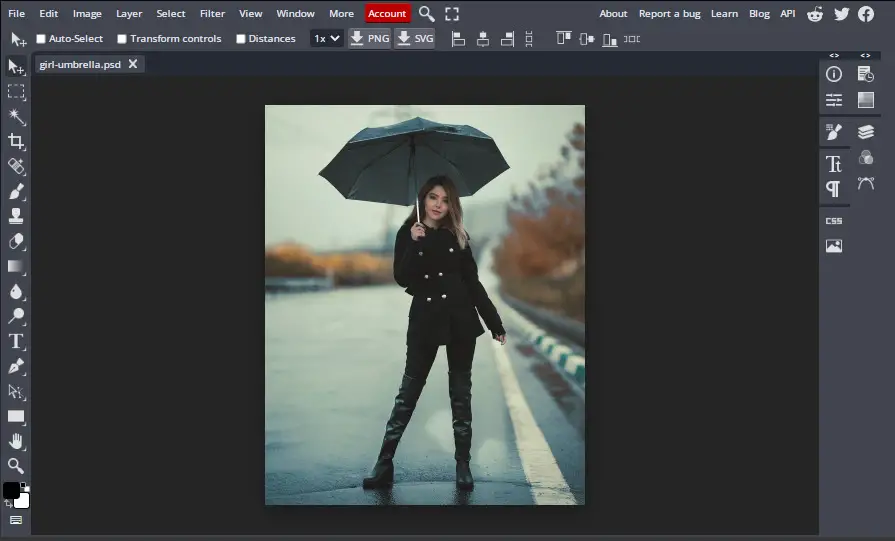
1. Open your Image in BunnyPic
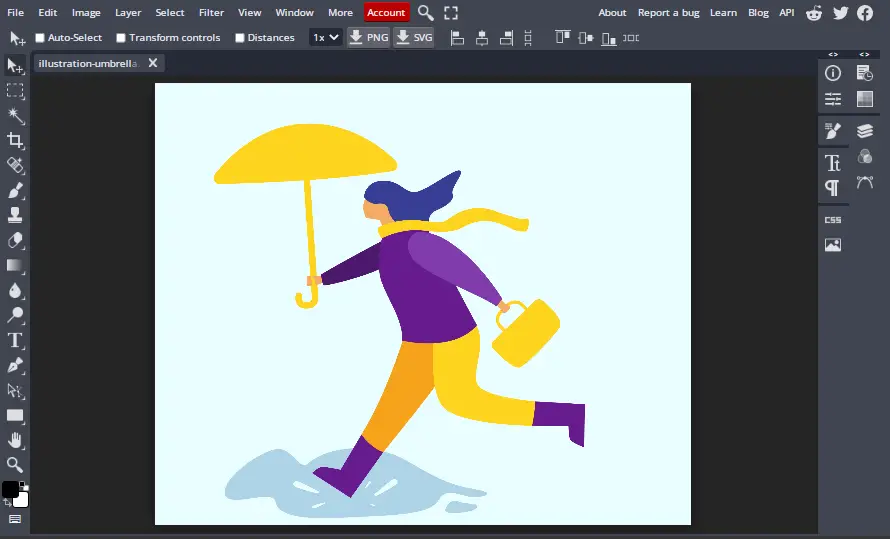
Go to the BunnyPic Editor and open your image by clicking on Open from Computer and selecting your image or dragging it into the editor.
2. Open your GIF image
With your image open go to File > Open and select your raining GIF to add it to another tab in the editor.
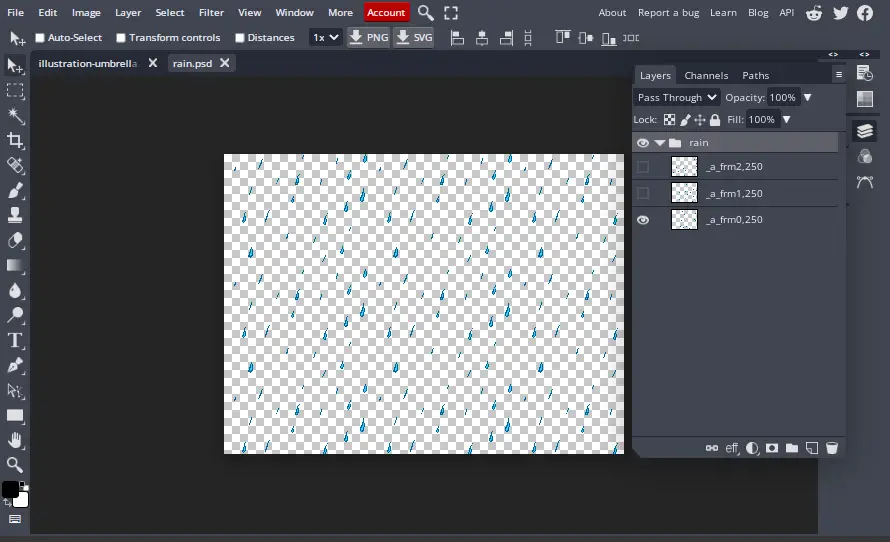
You’ll see multiple layers in the layers panel contained in a file. These are frames for the GIF that make up the animation.
3. Duplicate the GIF on your Image
Next, we’ll duplicate the GIF on top of your original image to add the animated rains.
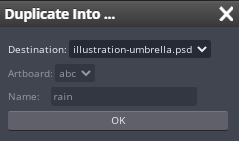
To do this, right-click on the GIF layer and select Duplicate into… Next, from the dialog box, choose the image you want to add the rain to as the destination. Once done, click OK.
You’re GIF should be added to the image. However, it’s not properly sized so we need to adjust it.
4. Adjust your Animated Rain GIF
To adjust your GIF click on Transform controls from the top toolbar. Some anchors should appear around your image you can use these to scale, rotate or skew your raindrops.
Once you’ve made the right adjustments click on the tick icon to save changes.

5. Save your Image as a GIF
Finally, it’s time to save your image. Go to File > Export As > GIF to save your new animation. It’s important to save your image as a GIF otherwise it won’t play the animation and would rather be saved as a still image.
Now, let’s look at how to add an animated rains effect in BunnyPic for still images.
How to Add Animated Rains Effect in BunnyPic
Above we learned how to add animated rain to our photo. However, now we’ll just focus on the effect of dropping rain on your image. This rain is going to be still and you can save your image as JPG or PNG. Let’s dive into the steps.
1. Open your Image in BunnyPic
Go to the BunnyPic editor and add your image by clicking Open from Computer and selecting your image or dragging it into the editor.
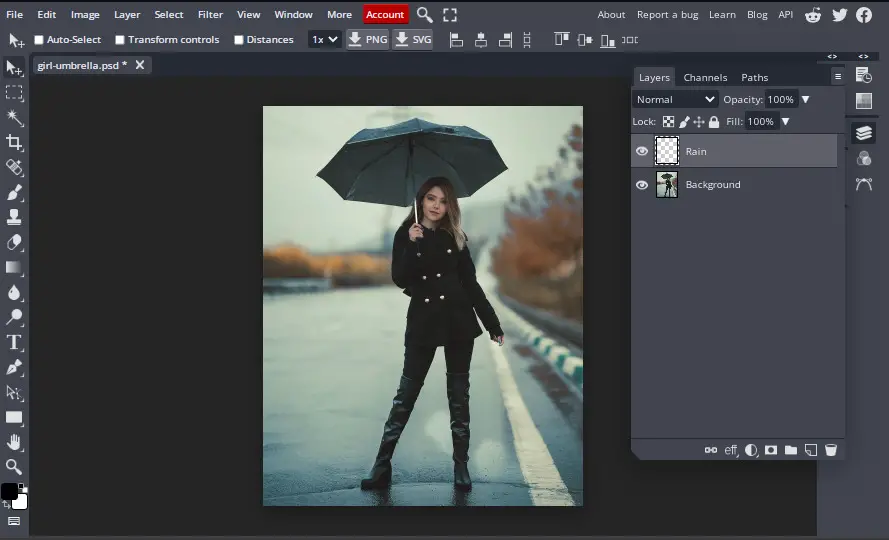
2. Add a New Layer
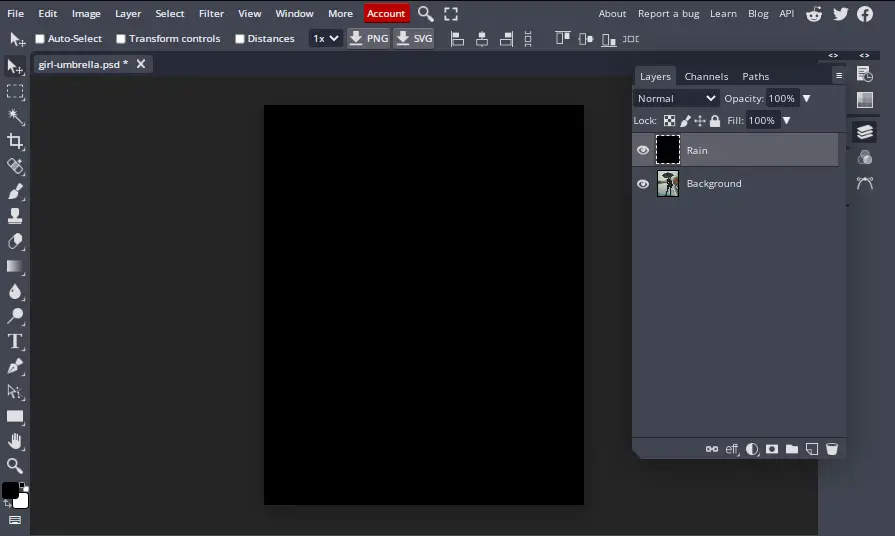
We’ll add a layer on top of our image to apply the effects. To create a new layer open the Layer panel from the right toolbar and click on the New Layer icon. All the effects will be applied to this layer so it might be a good idea to rename it. Double-click on the name of the Layer to rename it to “Rain”.
3. Color New Layer Black
Now, let’s fill our layer with black in order to apply our effects. To fill your layer go to Edit > Fill or press Shift + F5 to open the fill box. Click on the Fill drop-down box and from the options select Black and click OK.
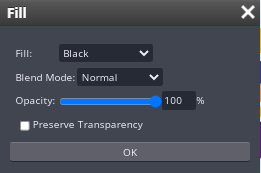
Your layer should now be filled with black.
4. Apply Noise Filter
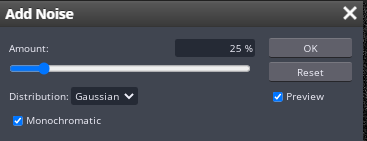
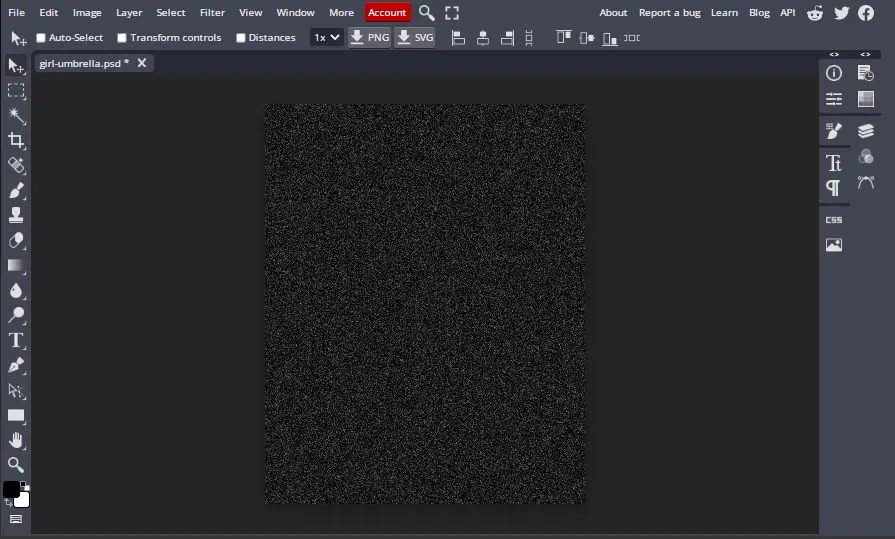
Adding noise to the image through the noise filter would fill it with little white dots. These will be the base of our raindrops. To apply the noise filter, go to Filter > Noise > Add Noise. A box would appear that will display some adjustment options for your filter. From these choose Amount: 25% – Distribution: Gaussian – Monochromatic.
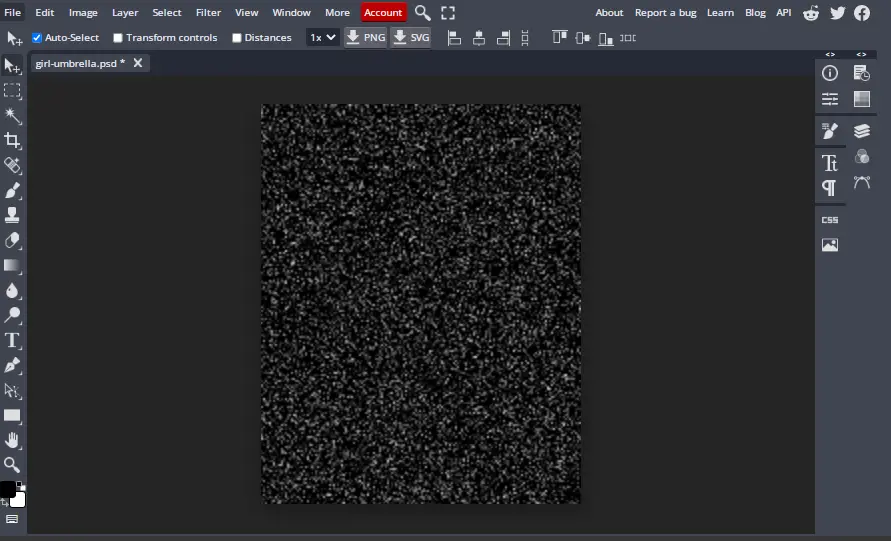
Now, your document should be filled with tiny white dots like this:
5. Scale Size of Noise
The white dots we got as a result of the noise filter are way too tiny for our image. So, we’ll scale them up to increase their size. To do so, go to Edit > Transform > Scale. Now, from the top toolbar increase the width (indicated by W) to 400%. Since your layers are linked by default it will automatically scale the height by 400% as well.
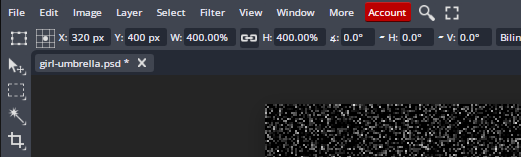
Once done, click the tick icon on the right side to save changes. Your raindrops should be scaled properly now.
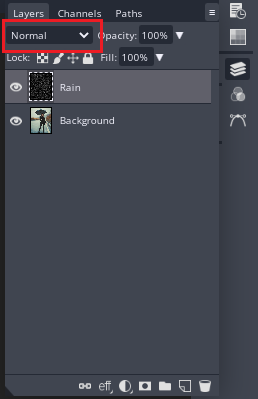
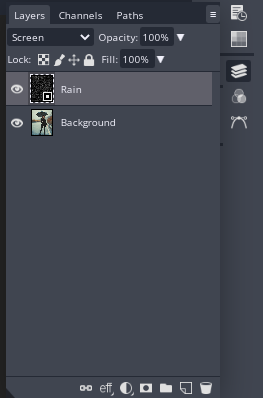
6. Add Screen Blend Mode
We are almost done with our rain effect but we don’t know what it looks like on our image. To blend our rain layer with our main image go to the Layers panel and click on blend mode and change it from Normal to Screen.
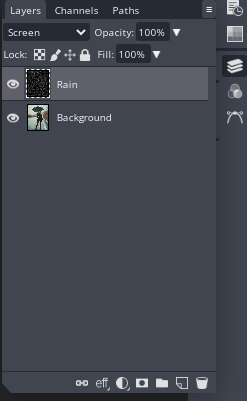
Now our image is clearly visible and has the noise filter on it as well. However, you’ll notice that the image is distorted and our effect isn’t clear yet. We’ll adjust this in the next step using Motion Blur.
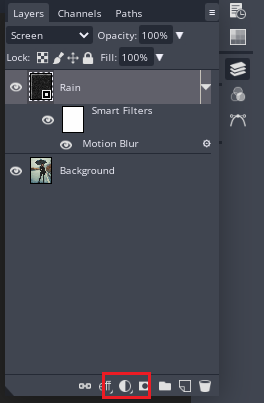
7. Covert Rain Layer into Smart Object
It’s best to convert your layers into smart objects for adding dynamic effects. This will let you edit the effects later on without going through the whole process again.
To convert your layer into a Smart object select your layer from the Layers panel, right-click on the Rain layer, and select Convert to Smart Object. You can also go to Layer > Smart Object > Convert to Smart Object.
Note: When you convert your layer into a smart object it might undo your blend mode. If this happens just switch the blend mode back to Screen and you’re good to go.
8. Apply Motion Blur Filter
Our raindrops are in place but now we have to give them some motion to make them seem more realistic. We also need to give it a falling effect and motion blur will help with that. To add motion blur go to Filter > Blur > Motion Blur. This will open the motion blur dialog box to make further adjustments to the filter.
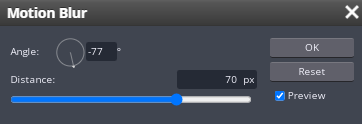
I have adjusted the Angle to -77 and distance to 70px. The angle reflects the angle of the drops and the distance will stretch the pixels. The angle and distance would depend on your image and what motion you want the raindrops to have.

9. Adjusting Animated Rains Effect
Although our animated rain effect has been applied to the picture it can be better. BunnyPic has a Levels adjustment layer which you can apply to your image for further adjustment.
To add the Levels Adjustment layer go to the Layers Panel, click on the adjustment layers icon, and select Levels. You would now see a properties dialog box open; allowing you to adjust the black and whites of the image.
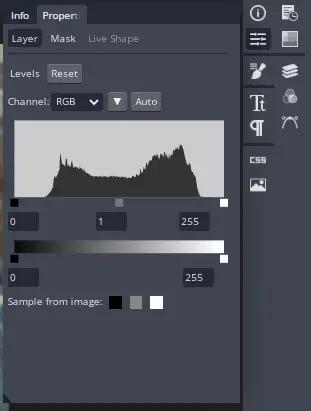
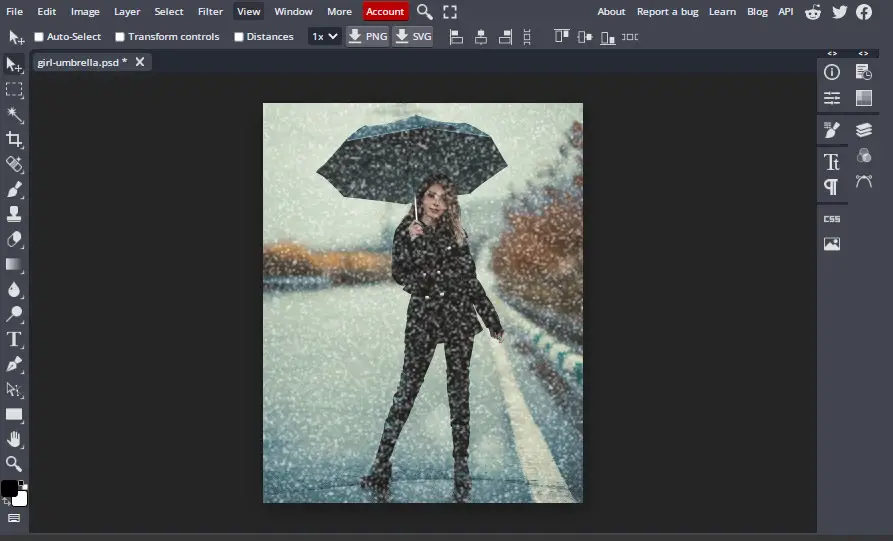
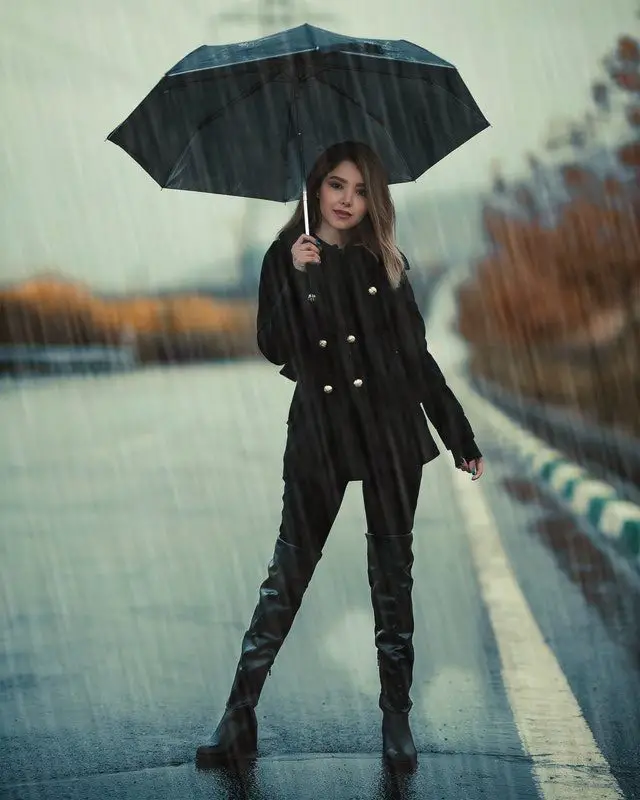
You can adjust the points of the levels property to increase the contrast of the image. This will make the raindrops much more prominent. After making some adjustments this is what our final image looks like:

10. Save Your Image
Finally, all that’s left to do is save our image. To save your image go to File > Export As > PNG or JPG.
Congratulations! You just learned how to add animated rains to your photo. Rainy season isn’t the only best time to take photos. You can also check out our article on adding snow to your images if you’re feeling the Christmas spirit.