
If you’re a photographer you know the struggles of getting your photos just right. There may be many reasons you want to stitch your photos together. Maybe you’re a landscape photographer and want to take impressive panorama shots. Or maybe you want to simply combine two photos together.
Learning how to stitch your pictures together is a valuable skill for better photography. It becomes essential to learn this skill especially if you’re a landscape photographer. By learning this technique you can create stunning panorama shots that capture every detail.
You may find many tools that stitch your photos together automatically. But, these usually have their limitations. They don’t give you full control over your image and can sometimes cost a fortune to use. The best tool you can use to stitch your pictures together online is BunnyPic, a free online photo editor.
How to Use BunnyPic to Stitch Photos Together
BunnyPic is a free online tool that works the same way as Photoshop. We’ll learn how to use BunnyPic to stitch photos together without any installation.
Take Your Photos and Import Them to Your Computer
To get started, you should have images on your computer. It’s a good practice to take high-quality photos before you import them into the computer. For panorama photos, it’s crucial to take the photos in a way that they are aligned perfectly together.
Using an ultra-wide lens works great but shooting the photo with a tripod is ideal. Using a tripod helps keep the camera horizontally aligned so the horizon of the photo is consistent. You can follow photography life’s guide on shooting panoramic photos for a good idea.
1. Open your Photos in BunnyPic
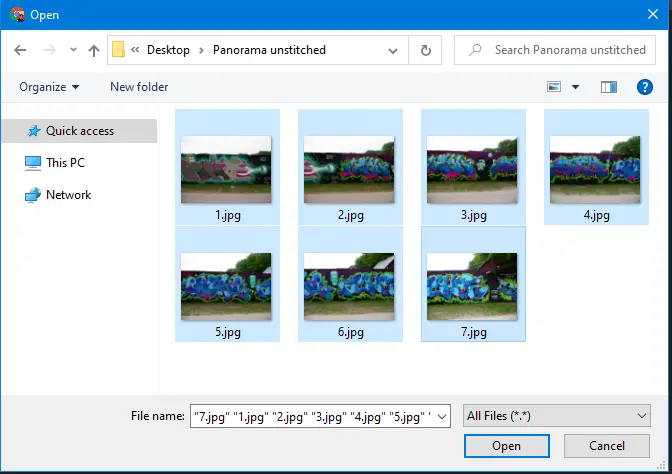
Once you have taken some panoramic shots, you have to use software to stitch them together. Go to the BunnyPic Editor and click on Open from Computer. Select all the photos that you want to stitch together and click Open. Alternatively, you can also drag all your images into the editor.
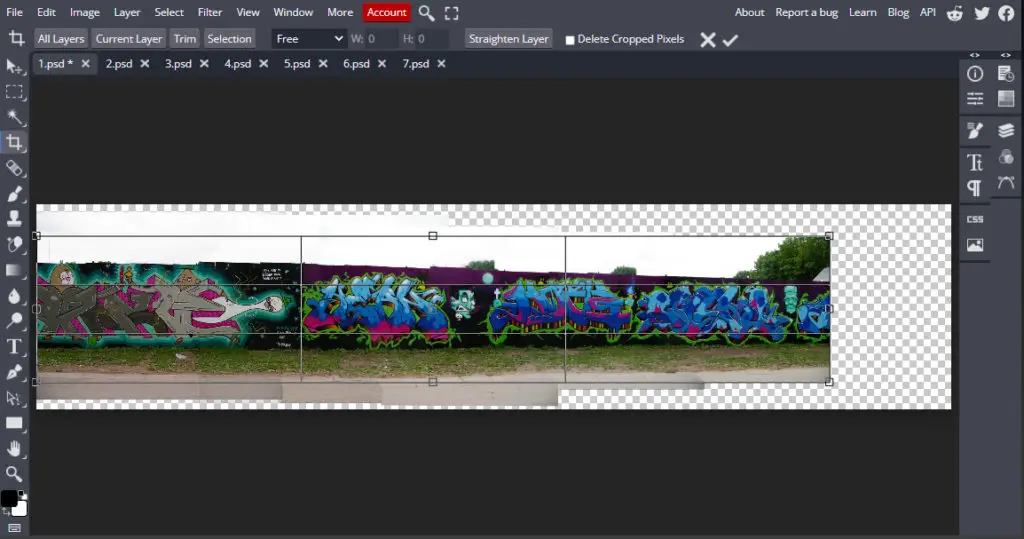
2. Scale Your Canvas
To add the panoramic photos we need to increase the size of our canvas to fit them into the image. How big your canvas should be depends on the amount of photos you have to stitch together.
To scale your canvas:
- Click on the Crop tool or press C.
- Drag the anchor points to stretch the canvas
- Click on the tick icon to save your new size.
You might not get the size right the first time. We don’t know how wide the total stitched image would look so we’ll get adjust as we go.
3. Duplicate Images to Original Document
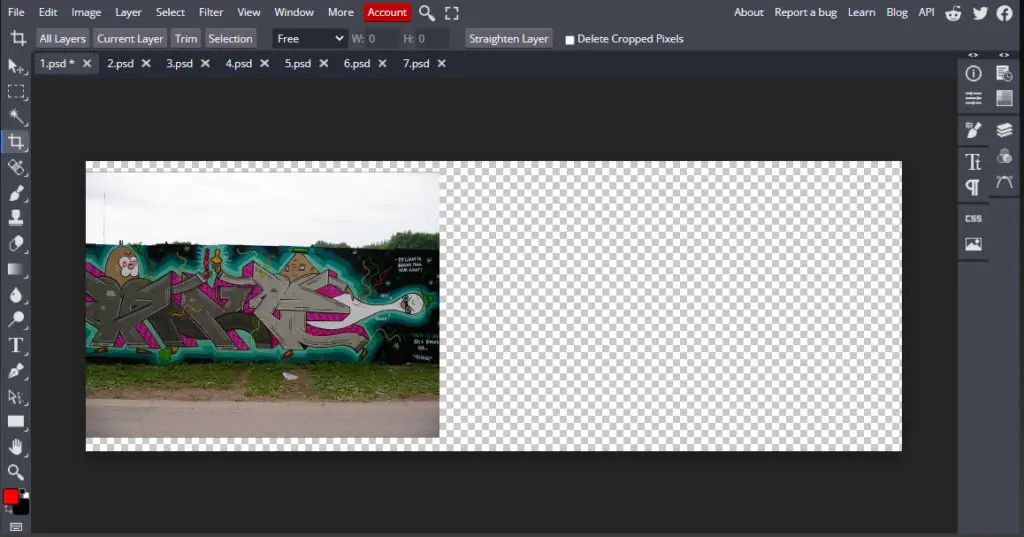
Our canvas is set on the original document. Next, we have to add the images from other tabs to this original document (the one with the stretched canvas.)
To do this:
- Open up your second image from the tabs in the top.

- Open the Layers Panel from the right toolbar and right-click. From the options select Duplicate into…

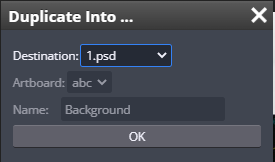
- Next from the prompt box select the original document as the destination. In this case “1.psd”.
4. Align Images Together
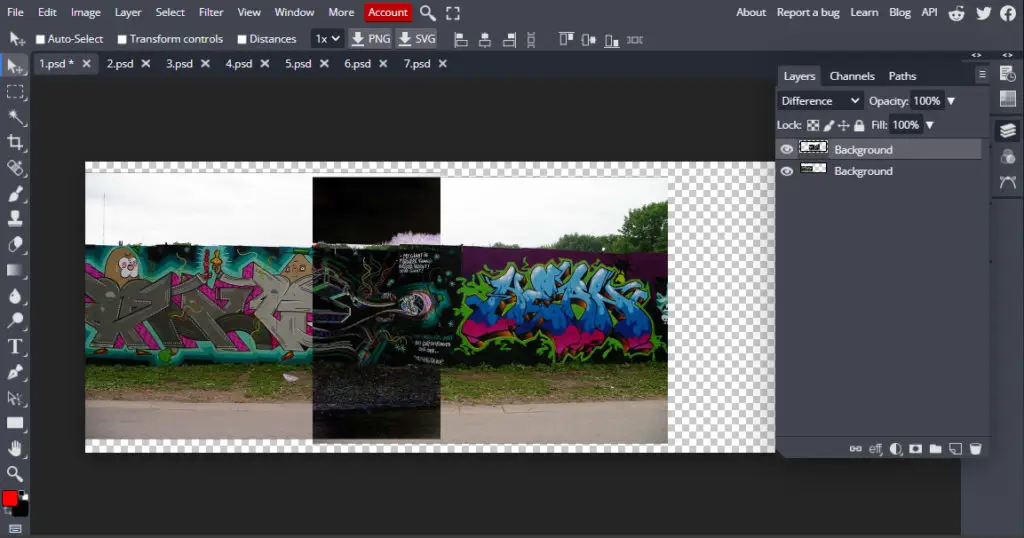
After duplicating the image, your image should appear on a separate layer in the original document. Now, we have to align the second image with the first image. It’s pretty difficult to do this without any guide so we’ll change the blending mode of the second image to difference.
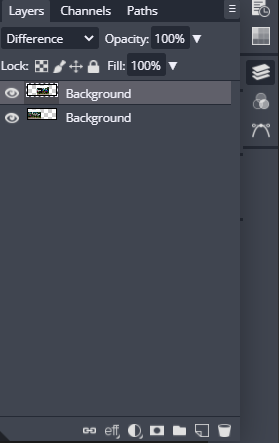
Having this blend mode active on your image would make the image see through. This will help you better align the image.
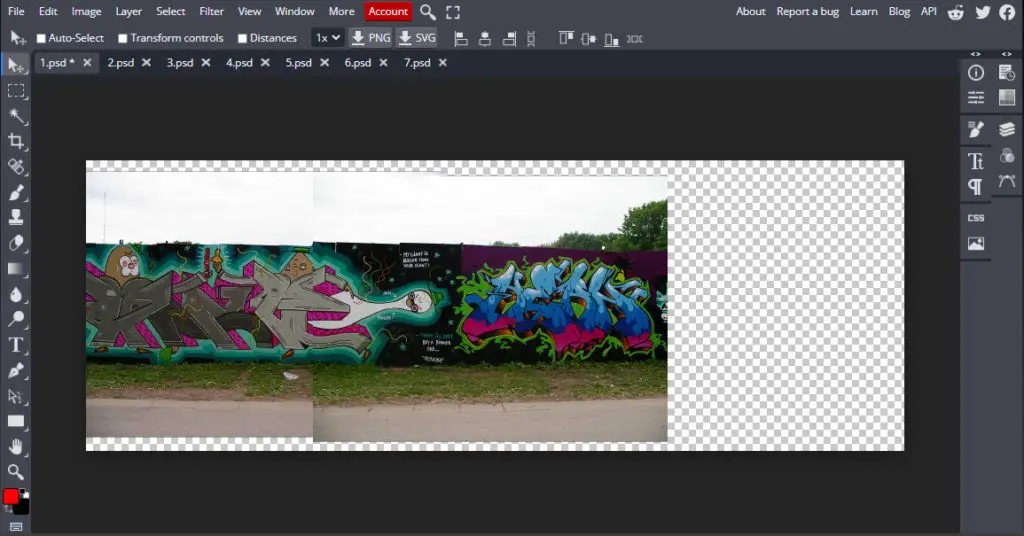
Once your image looks properly aligned, change the blend mode back to Normal to see the image.
If your images aren’t horizontally consistent the alignment may not be perfect. This is why we will be using Layer masks to add corrections.
5. Add Corrections with Layer Masks
Layer masks help us make corrections by painting over parts of the image. Layer masks might seem confusing at first but are pretty easy to use. To start using layer mask you need to open the layers panel on the right, select the layer you want to add the mask on and click the “add mask” icon (pictured below).
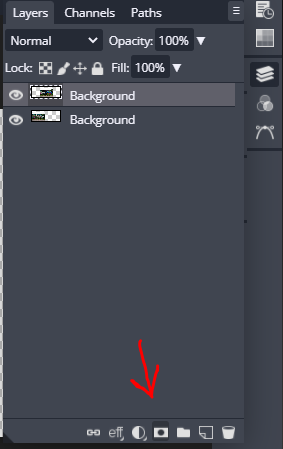
Doing so will cover the layer with a transparent mask. Now, you have to paint over parts of the image in black. Using black when drawing over your image won’t actually color it black. Since we have an active layer mask on top of it, it would rather remove parts of the image. Alternatively, if you want to restore parts of the image, you can paint it with white.
Now that we have a good idea of how to use the layer mask all we have to do is put it in action. With the layer mask active select the brush tool from the left toolbar or press B. With the brush tool selected, paint over some imperfections like misaligned parts or different colored skies etc. Anything that stands out that makes the image unrealistic, paint over it.
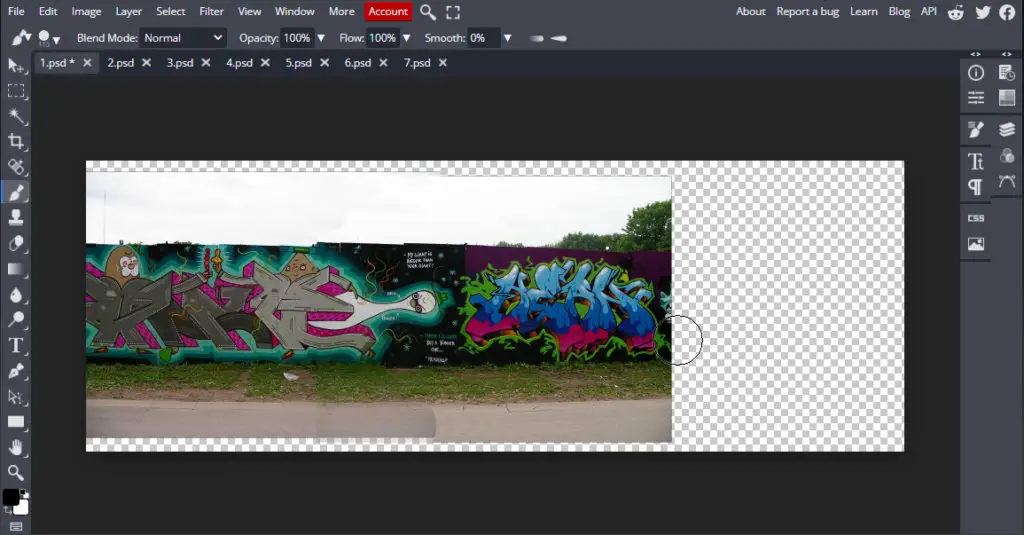
After painting over some parts, you can see the two images stitch together better.
6. Repeat Steps for All Images
Now that we have a good foundation to focus on all we have to do is repeat the above steps for every image. By repeating this process of duplicating and correcting the images, we’ll end up with our full panorama shot.
When adding your images together here are some tips to keep in mind:
- You might have to increase the size of the canvas whilst adding more images. Just select the Crop tool and scale it further as needed.
- You can change the size of the brush by holding Control + Alt + Right click then drag left/right to decrease/increase
- You can change the hardness of the brush by holding Control + Alt + Right click then drag up/down to decrease/increase brush hardness.
Now, that we have our images aligned, we just have to finish off the photo by cropping it.
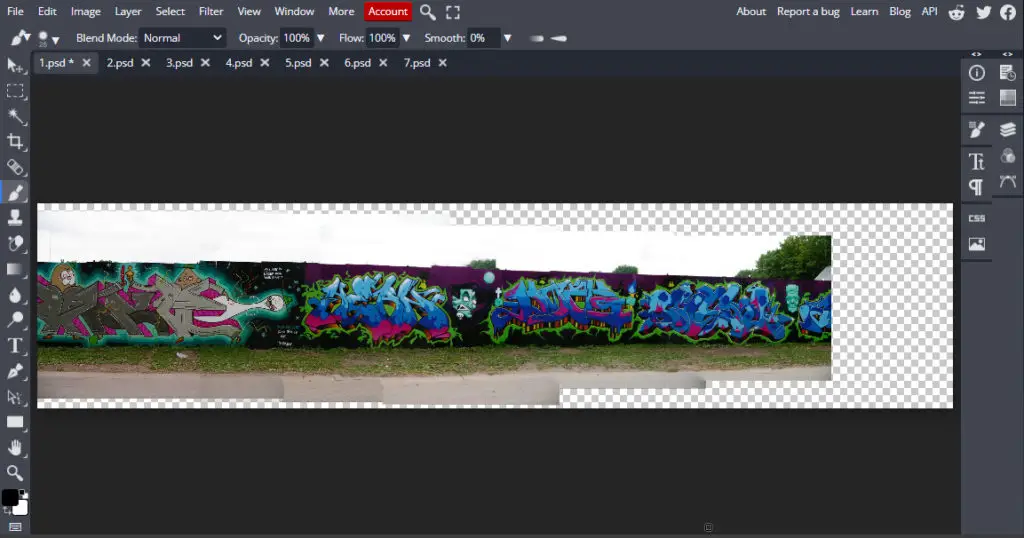
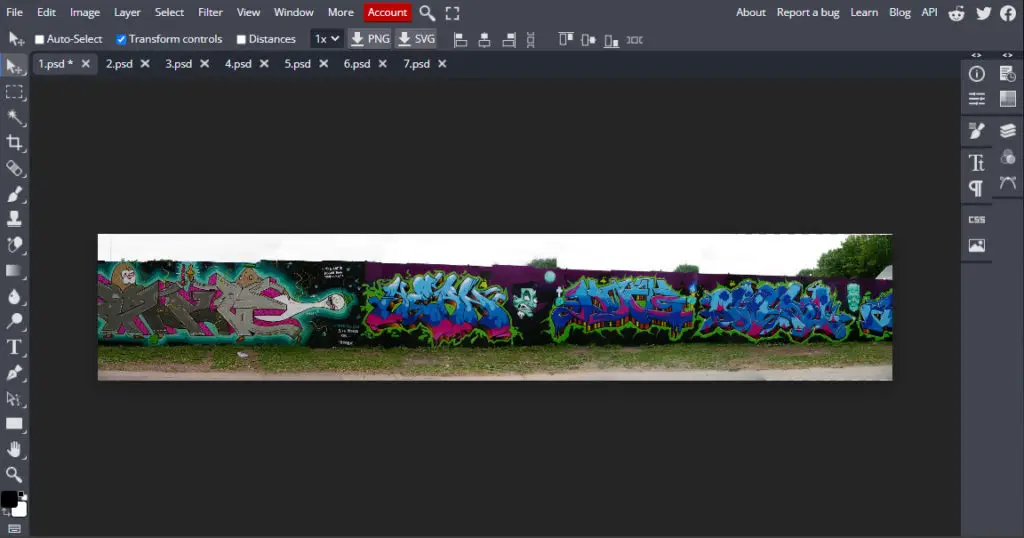
7. Crop Your Image to Fit
We have all our panorama shots stitched together but, it’s clearly not finished. There are still many jagged edges and the image isn’t totally in sync. So we’ll need to crop the image so that it fits our canvas.
To do this just select the Crop tool or press C and size your canvas to fit your image.
8. Save Your Image
Finally, we have stitched our photo together and now just have to save it. To save your panorama photo, go to File > Export As > PNG or JPG.

Congratulations, you’ve just stitched your photos together! Now, take out your camera and take on the world, one snap at a time. For more tutorials on how to use BunnyPic check out our blog.