
Images are an important part of any website. Images improve the look and feel of your website and make people engage with your content more. When using images for your website there are going to be places where you would need to add or remove transparency from your images.
Images such as logos or illustrations would need to have a transparent background so they would correctly show on your website. However, sometimes you need to remove the transparency you’re your image to size it correctly. If the transparency is not removed it would cause a lot of unnecessary white space on your website.
This is usually done in Photoshop but fortunately, our free online tool BunnyPic gives you the same tools. BunnyPic is a photo editor that has similar tools to Photoshop and can easily add or remove transparency on your images. In this tutorial, we’ll look at how to do exactly that.
How to Add Transparency to Your Images Using BunnyPic
It’s very easy to add transparency to your image using BunnyPic. To add a transparent background to your image:
- Go to the BunnyPic Editor > Open from Computer and open the image you want to remove the background from.

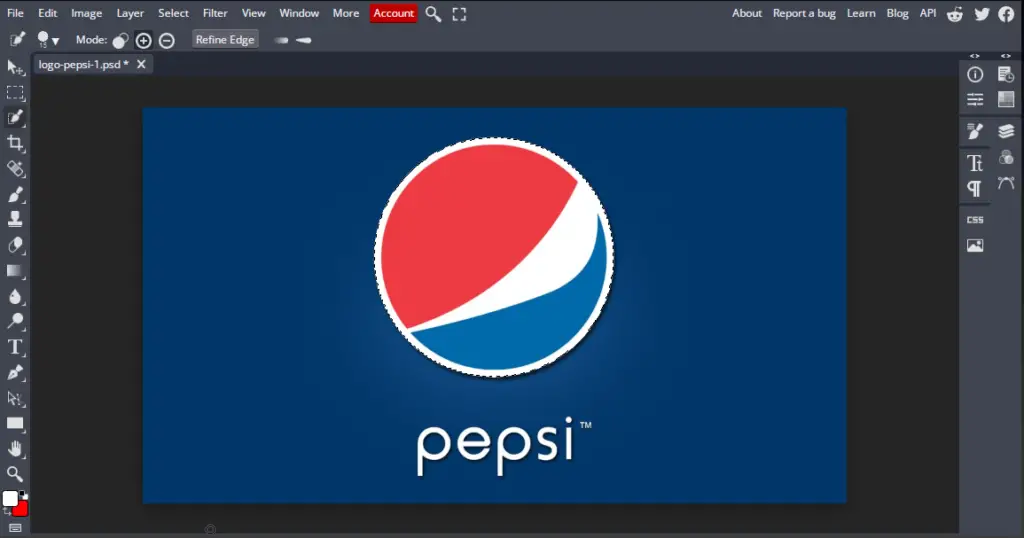
- With your image open in the BunnyPic editor you need to select your image. To select your image you can use one of the seleciton tools from the left toolbar. I used the Quick Selection Tool so I could quickly select the image logo.
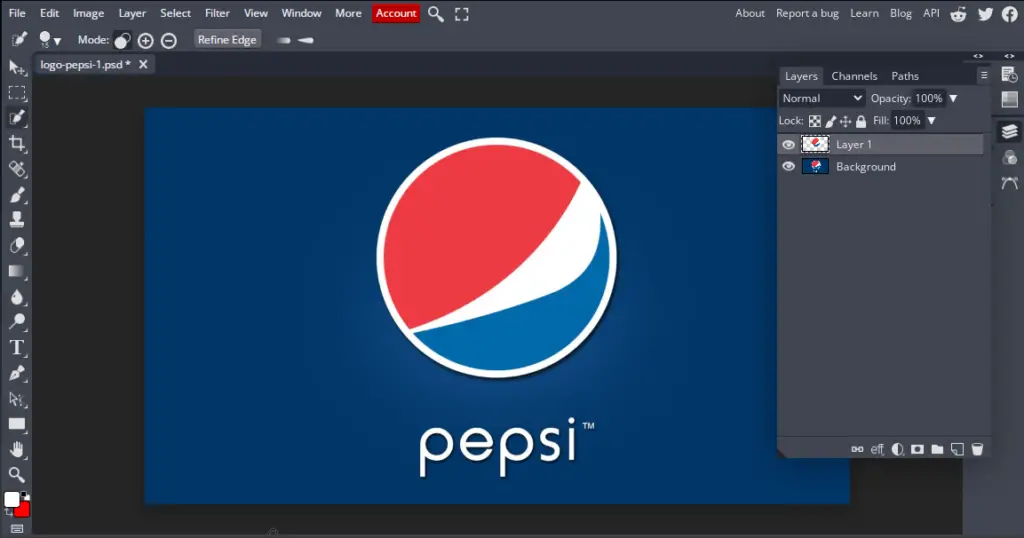
- Now, you have to move your object selection on a separate layer. We’ll do this by copying the selection on a new layer. With your selection active go to Layer > New > Layer Via Copy or press CTRL+J. This will add a new layer with just your selection.
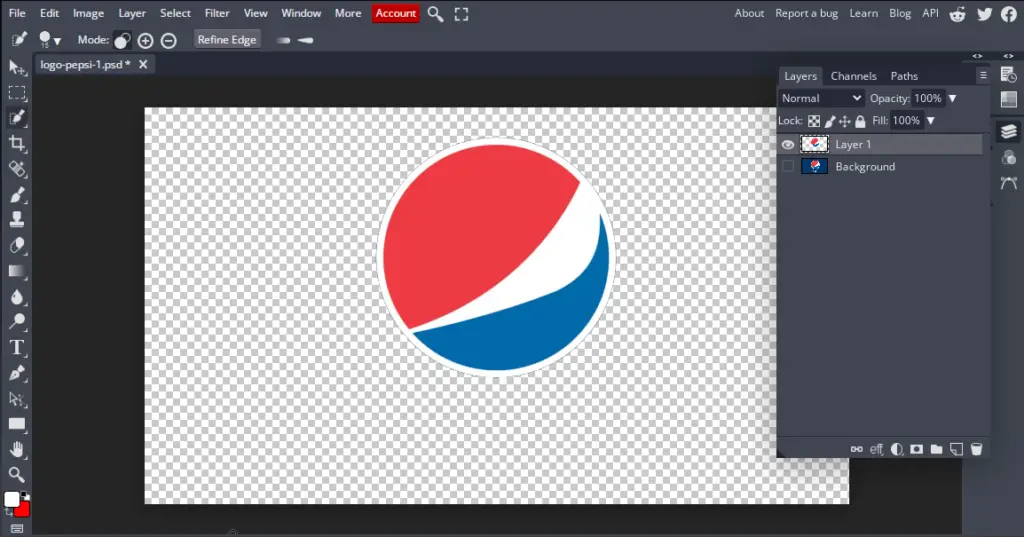
- Next, we have to remove the original background layer from the image. However, it’s not possible to delete or lower the opacity of the background layer. So, instead we can hide the background by clicking on the eye icon. You would see a checkerboard pattern behind your image now. Don’t worry, this indicates that the image has a transparent background and won’t be exported with your image.
- Finally, all we have to do now is save our image. To save our image, it is important that we choose a format that supports transparency. The most common format that supports transparency is PNG so to save your image as a PNG go to File > Export As > PNG. Adjust the qualitgy of your image. If you are using it for web then sacrificing some quality can improve the speed of your website. Once done hit Save.
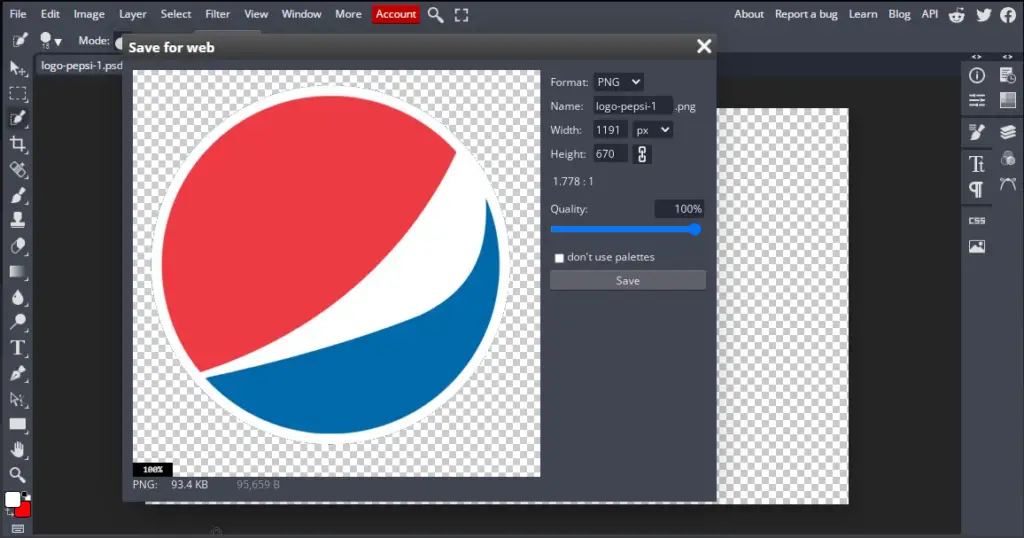
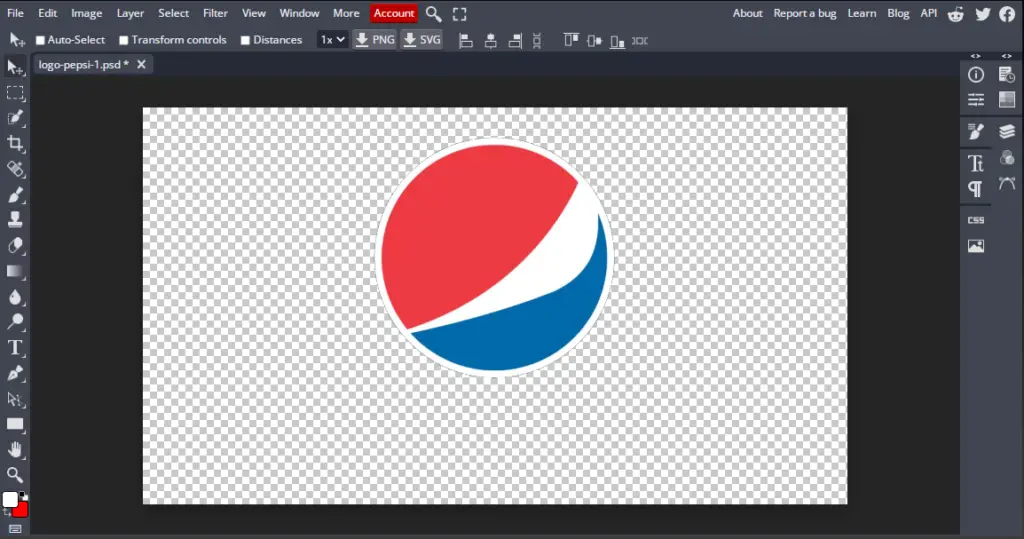
Here is what our final image looks like:
You might notice that there is a lot of white space in the image. You can already work out how awkward this looks. It ruins the formatting of the website and adds load to the browser making your website slow. This is because the surrounding white space adds unnecessary load to the website. In order to fix this, we’ll look at how to remove the surrounding transparency from your images using BunnyPic.
How to Remove Transparency from Your Images Using BunnyPic
When we talk about removing the transparency of an image we are basically talking about removing the invisible pixels surrounding that image. To do this in BunnyPic:
- Open your transparent image in the BunnyPic Editor. In this case, I’ll be using the same image as before. As mentioned before the checkerboard pattern shows us the transparency of the image. There is a lot of transparency whereas, our logo is small.
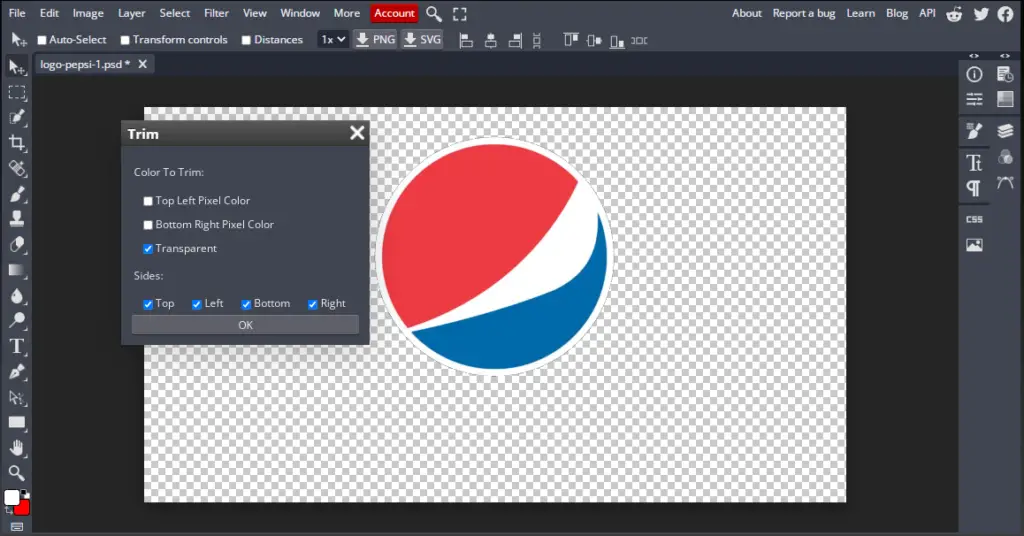
- To remove the transparent pixels go to Image > Trim and a pop-up would appear. From the pop-up, under color to trim, select Transparent and click OK. This will remove all the excess transparency from your image.
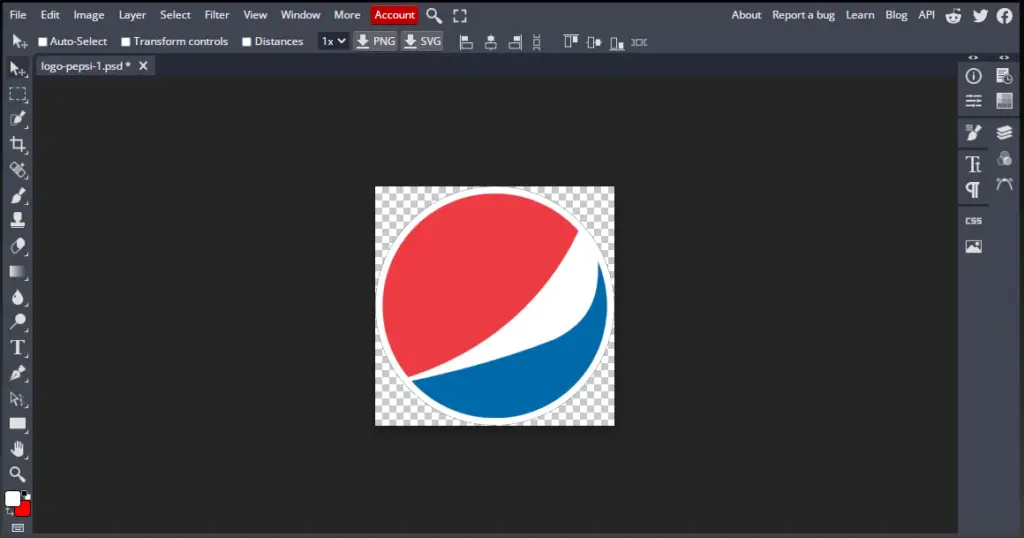
- Now all you have to do is save it as a PNG. Go to File > Export As > PNG. This is how our final image looks now:
Our new image is not only properly sized but is also much lighter in size. Our new image is 80kb whereas, the original transparent image was 93kb. This may not seem like much but if your website uses a lot of images such as a portfolio, the size can add up. Shaving off these few seconds from your website can greatly improve its speed and make the formatting look better.
Conclusion
Transparent images are essential to your website but sometimes the transparency can work against you. You need to know how to add transparency to your image but remove the excess white space as well. After following this tutorial you should have a good idea of how to add and remove the transparency from your images using our free online tool BunnyPic.