

Motion blur is a great way to improve your photography. It enables you to add a cool blurry effect highlighting the movement in your photos and making them more dynamic.
Adding a motion blur to your photos is extremely easy and quick to do.
Most people use Photoshop to add motion blur to their photos. However, not everyone can afford Photoshop or knows how to use it.
In this article, we’ll discuss how to add motion blur to your photos with Bunnypic. Bunnypic is our free online Photoshop editor. It is beginner-friendly, free to use, and requires no sign-up.
What is Motion blur?
Motion blur is the streaking/blurry effect we see in an image that has fast movements. When you move faster than the shutter of the camera it creates a blurry effect which indicates motion.
Photographers purposefully create this effect as it highlights the movement of the subject making it appear more dynamic.
Photographers may use their cameras to achieve this effect using shutter speed and exposure. However, many people have started to utilize digital design software to edit their photos.
The effect is great for capturing moments in motion such as a fast racecar or a person running.
How to add motion blur to your photos using Bunnypic
Now, we’ll look at the steps to adding a motion blur to your photos using Bunnypic.
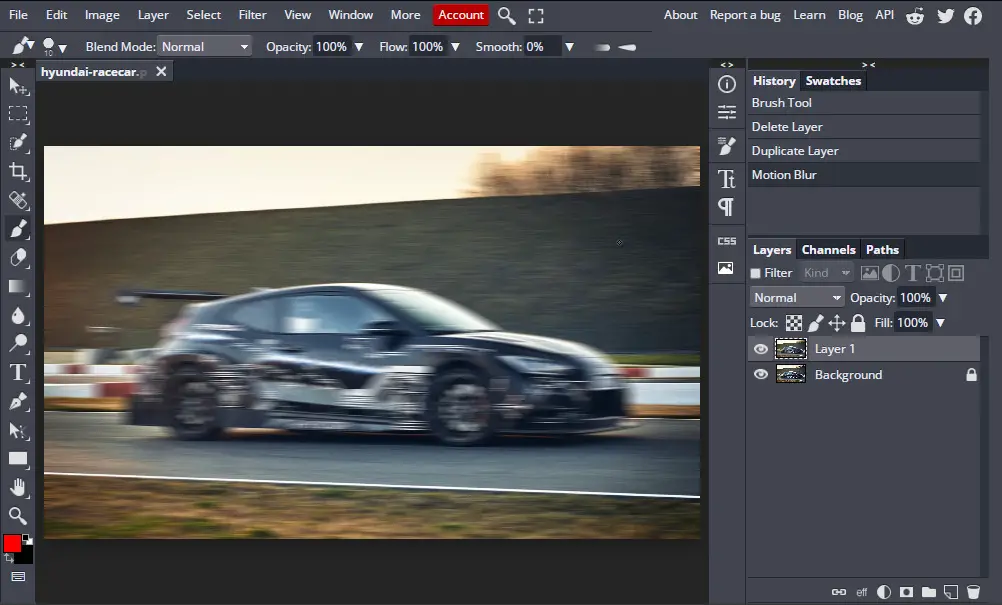
1. Open your image
Go to the Bunnypic editor, click Open from computer and select the photo you want to add motion blur to.

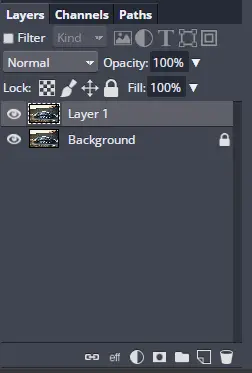
Next, we’re going to duplicate our image so we don’t damage the original.
You can duplicate your image by going to Layer > Duplicate Layer or press CTRL+J.
2. Convert to Smart object
Converting your image into a smart object will allow you to edit the motion blur later on.
To convert your photo into a smart object:
- Select your duplicated layer.
- Go to Layer > Smart Object > Convert to Smart Object.
3. Add Motion Blur to your photo
Our image is now converted into a smart object which gives us access to smart filters.
To add a motion blur to your photo:
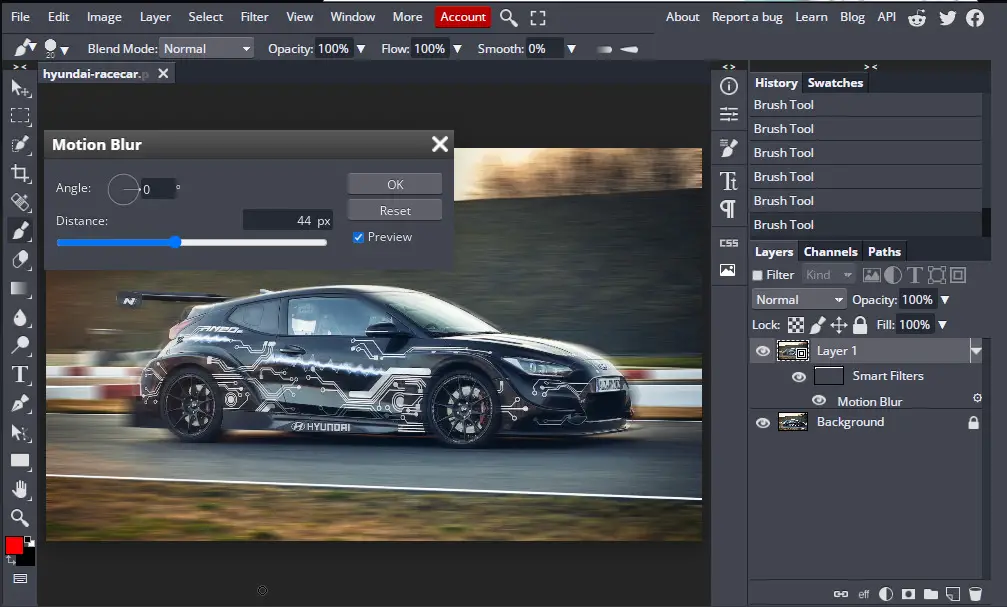
- Go to Filter > Blur > Motion Blur.
- Adjust the distance and angle of the blur. The distance increases the amount of blur and the angle determines the direction of the blur.
- Once you’re happy with the blur Click OK.
Since the whole image is blurred we now have to separate the subject from the background.
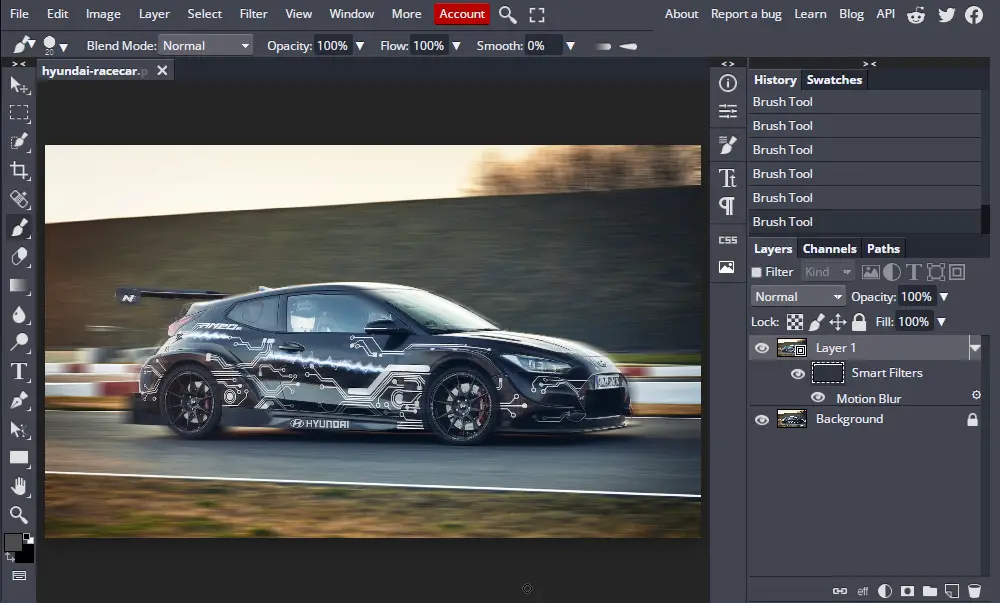
4. Mask your subject
To separate the subject from the blurred background we need to isolate it using the brush tool.
To do this, follow the instructions:
- Under the Layers panel select the Smart filters mask with blur effect.
- Next, select the brush tool from the left toolbar.
- Brush all over the parts of the subject to remove the blur.
This might seem a bit tricky at first so here are some tips to keep in mind when using the brush tool:
- To fit the image on the page press CTRL+0.
- Zoom into the image by using the Zoom tool (magnifying glass) or press CTRL++ for more a precise selection.
- Adjust the size of your brush. To remove the blur from small details go to the top of the toolbar and decrease the size of the brush.
- Quickly undo any mistakes you make by pressing CTRL+Z. You can also navigate the history tab on the right to go back a few steps.
5. Editing your Motion blur effect
Since we converted our original photo into a smart object, we can go back and edit it if we want.
To do this all you have to do is double-click on Motion Blur under the Smart filters layer.
Now, you can adjust the distance and angle of the photo. You can increase or decrease the background motion blur and it will still keep your subject clear.
Conclusion
This tutorial would have helped you add a motion blur effect to your images. Motion blur is a great way to make your photos dynamic and show movement. It may seem that motion blur is only possible with Photoshop but our free Photoshop tool, Bunnypic gives you similar features to Photoshop to enhance your photos.
Start using the Bunnypic editor now!