
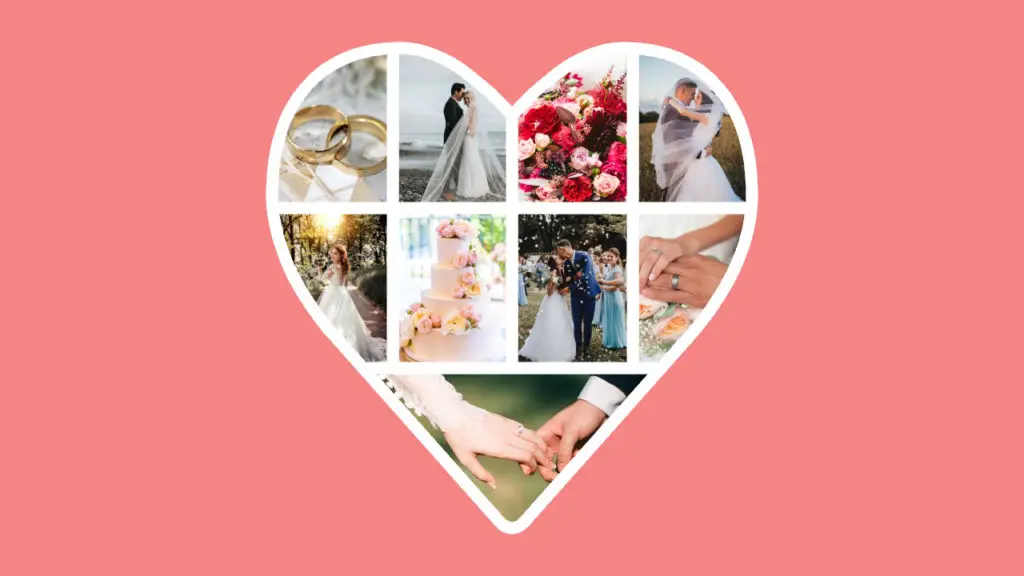
Making a collage is a creative way to organize your photos. Making a heart-shaped collage is a way to express the love you have for your family and friends – remembering the good times you had together. Creating a collage of your photos is great as it is a way of capturing all the special moments you have had and combining them into a single picture.
In this tutorial, I will go through how to make a heart-shaped collage step-by-step using our free photo editing tool BunnyPic. BunnyPic is totally free to use and beginner-friendly. It’s completely online, meaning you don’t have to install any software nor sign up, just open it up and start creating!
In the end, I’ll also give you some tips to print out your heart-shaped collage if you plan on framing it or giving it to someone.
How to Make a Heart-shaped Collage Using BunnyPic
It’s easy to make a heart-shaped collage in BunnyPic. The below guide will walk you through every step so you can follow along easily.
1. Create a New Document
First, we have to create a new document. To do that:
- Open the BunnyPic Editor.
- Select New Project and select a custom size or one from our presets and click OK.
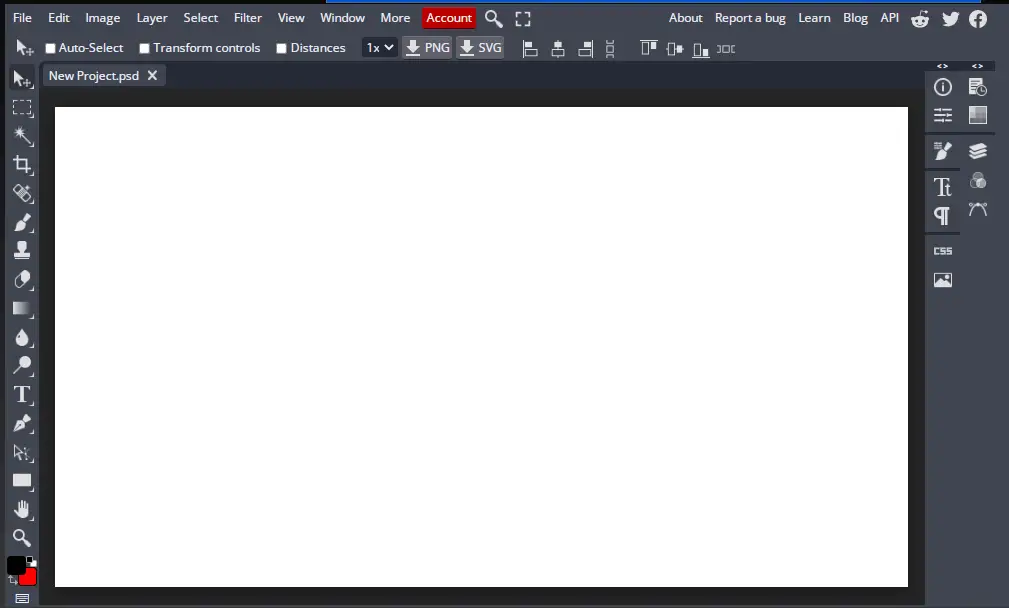
With the document setup, we can start building our collage.
2. Draw the Heart Shape
We will first draw the heart in which we will place our images. To do that, follow the steps below:
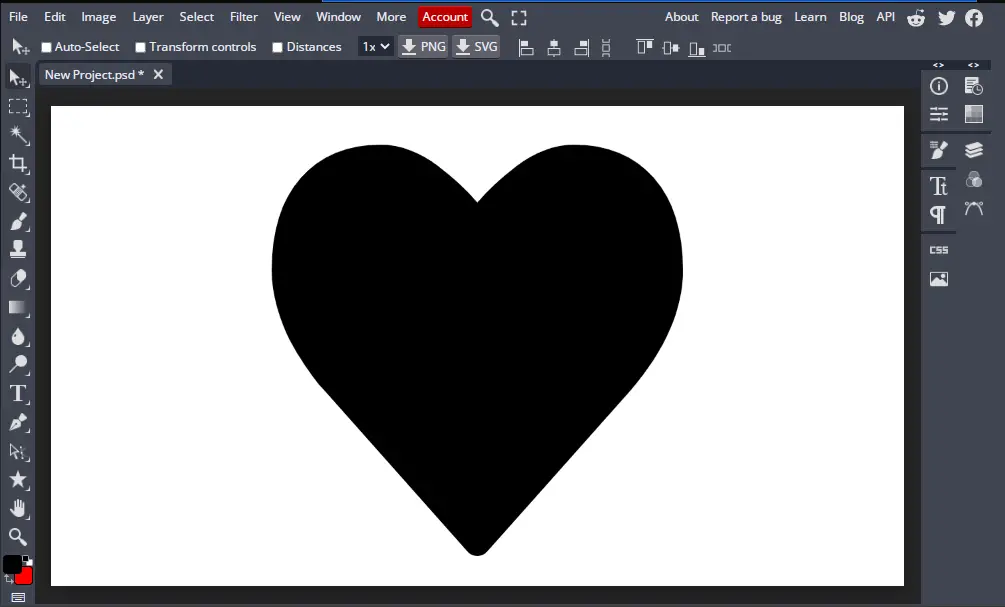
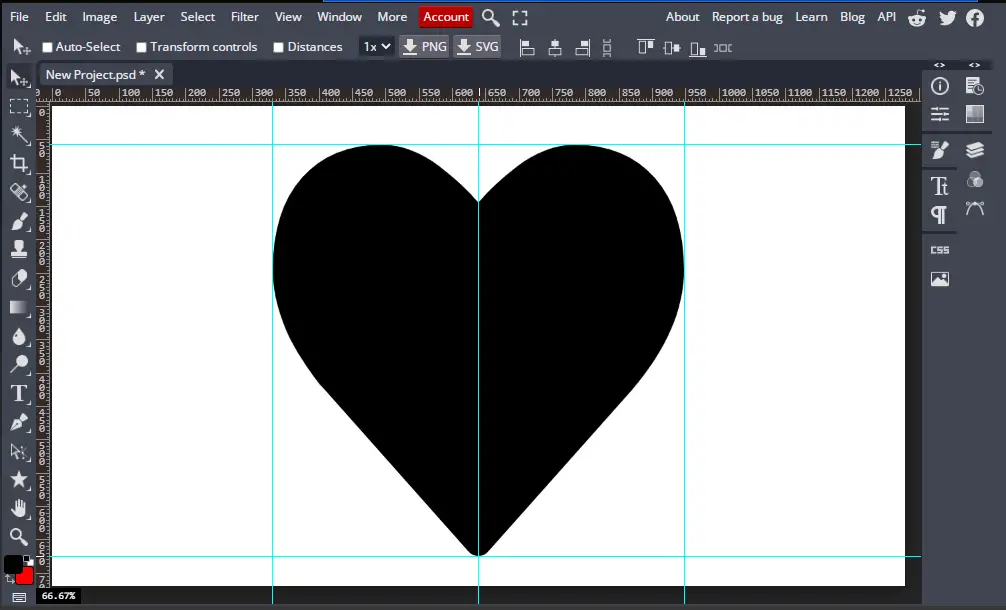
- From the Left toolbar click and hold the Rectangle Shape Tool. From the options select the Custom Shape Tool.
- Now, select the heart shape from the above selection of shapes.
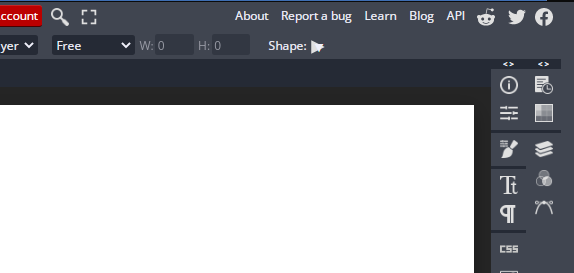
- While holding Shift click and drag across to draw the heart shape on the center of the canvas. Holding Shift would keep the proportions intact.
We have our heart shape set in place now we have to add some guides so that everything remains neat and consistent.
3. Add Rulers to the Heart
To add rulers to your document:
- Open rulers by going to View > Rulers or pressing CTRL + R.
- Click and drag the ruler from the sides. Align them to the edges of the heart shape and add a vertical ruler in the center.
We now have a general outline for our guides. Now, we have to make a grid so we know where and how to place our images
4. Make a Grid for Your Images
By making a grid for our images we can easily judge where our images are supposed to go. This will help in organizing our images and fit them properly into our heart-shaped collage.
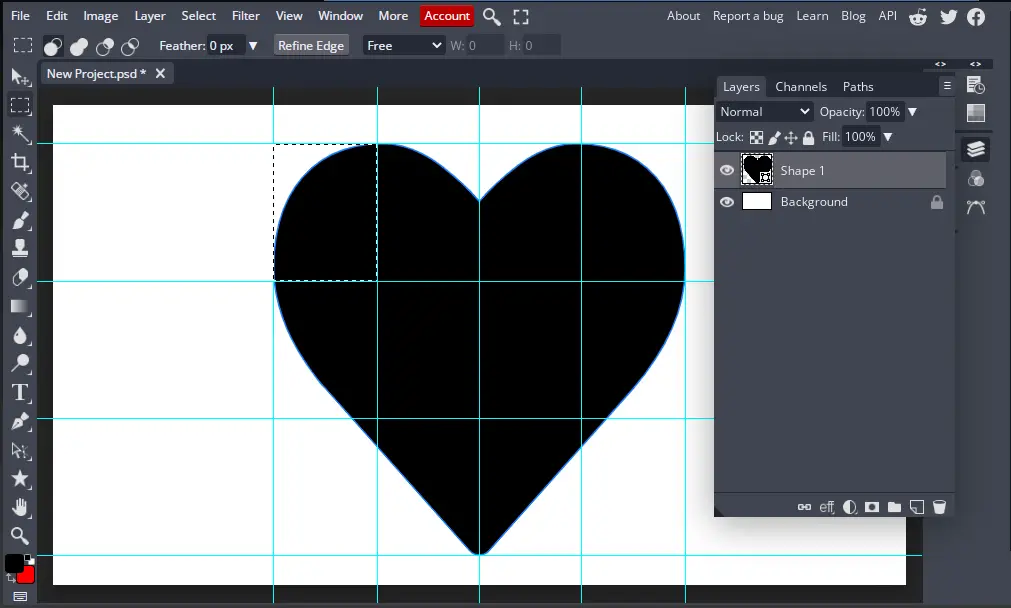
- Select the Rectangular Marquee Selection Tool and select the left part of the heart.

- With the selection active right-click on it and select Transform Selection.
- From the above toolbar, click on the chain icon and change the width to 50% and height to 33.33%. This will make the rectangular selection smaller in size.
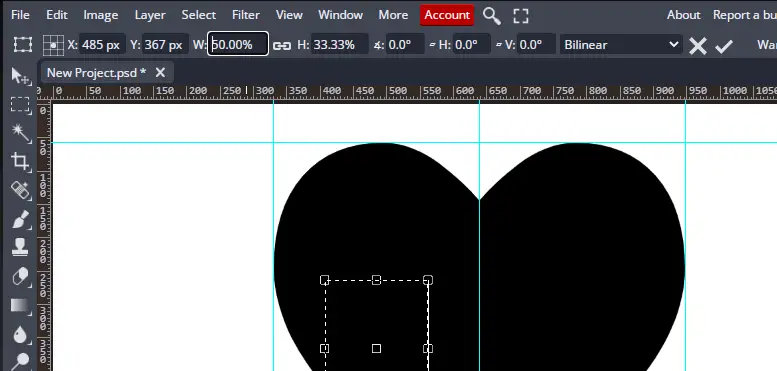
- Click-and-drag your new sized rectangle and align it to the top-left of the heart.
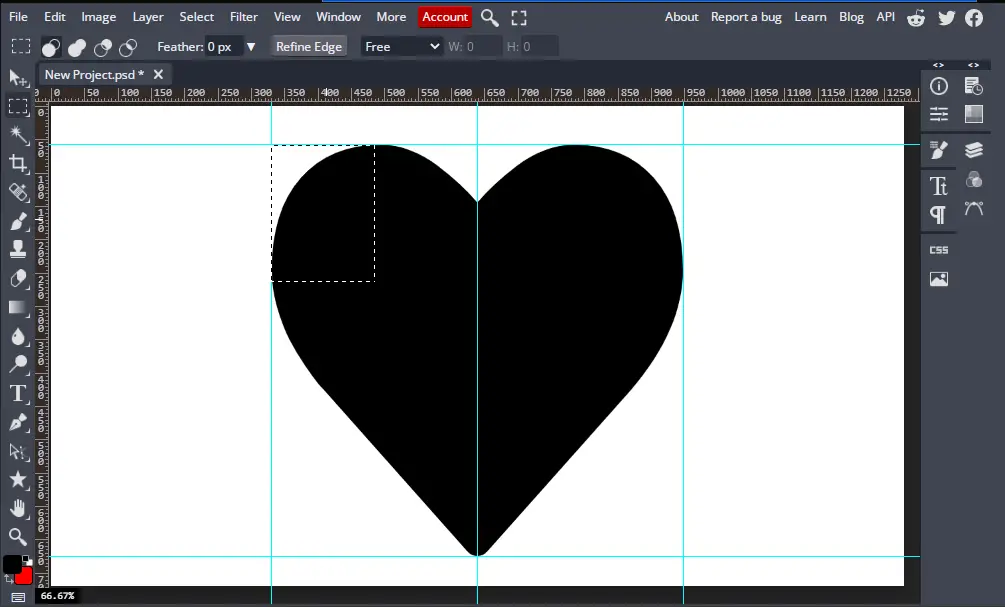
- When done, click and drag the rulers from the side and align them with the edges of the rectangle. This will give us a guide to where the images would be placed.

- Next, repeat this by adding additional rulers until you have a full grid.
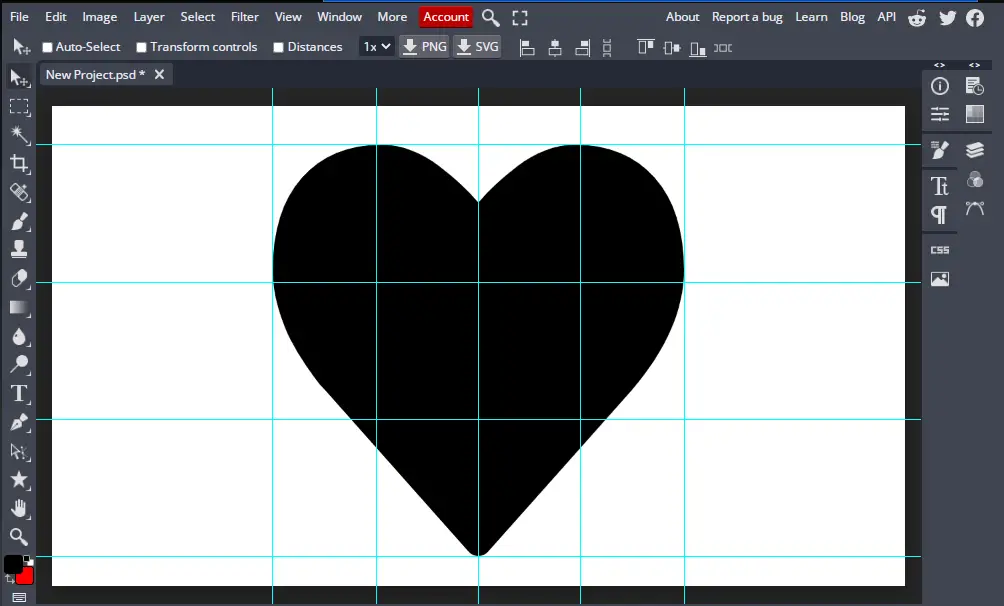
- Finally, deselect the rectangular selection from Select > Deselect or pressing CTRL + D. Also remove the ruler view by going to View > Rulers or pressing CTRL + R.
Our grid is looking great now we have to convert these into sections to place our images.
5. Make Sections for Your Images
We will create a new layer for each chunk of our heart. This will allow us to add an image to separate portions of the heart shape.
- Open the Layers Panel and select your heart shape layer.
- Select the Rectangular Marquee Selection Tool and select a part from your grid.
- With the selection active, right-click and select Layer Via Copy or press CTRL + J. This will make a new layer with just your selection.
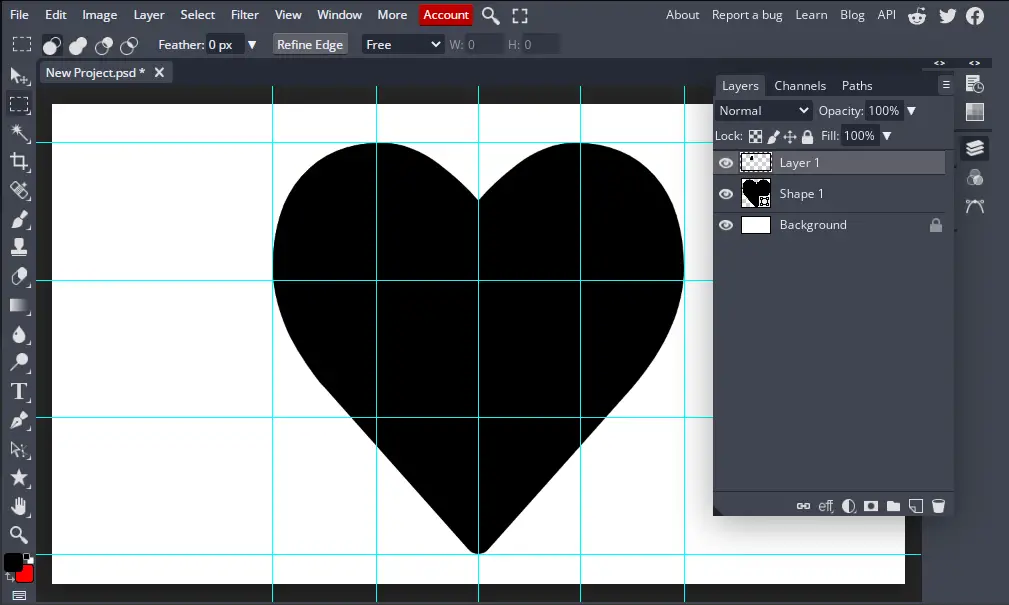
- Keep repeating steps 2-3 until you have divided your whole heart shape into sections on different layers.

- When done, click on the eye icon next to the original heart layer to hide it.
Now that you have your heart fully divided into sections we can get on to the good stuff – adding our photos!
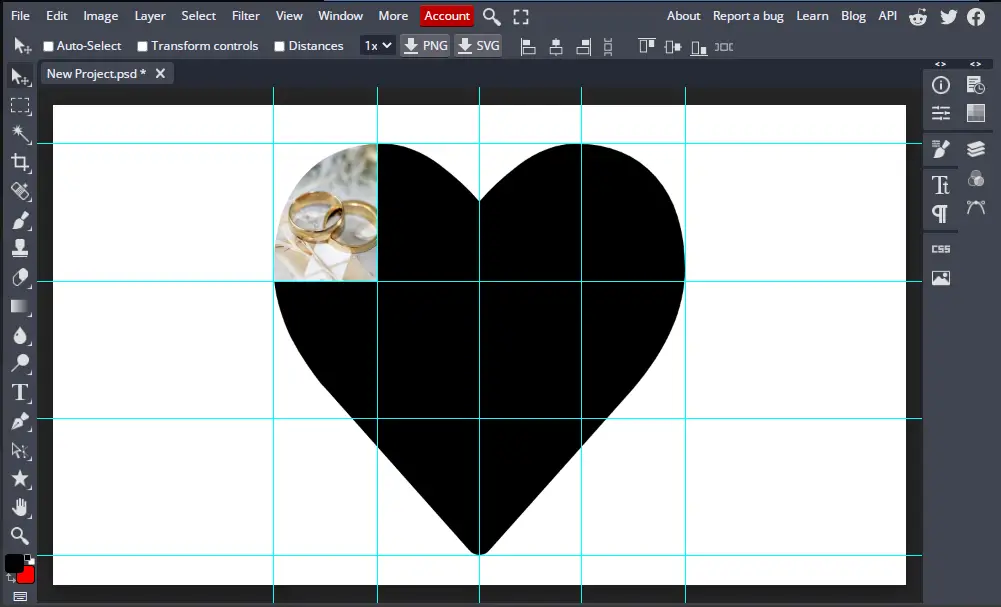
6. Add Images to Your Heart-shaped Collage
A collage is all about images. To add images into our heart shape follow these steps:
- Go to File > Open and Place > Select your image.
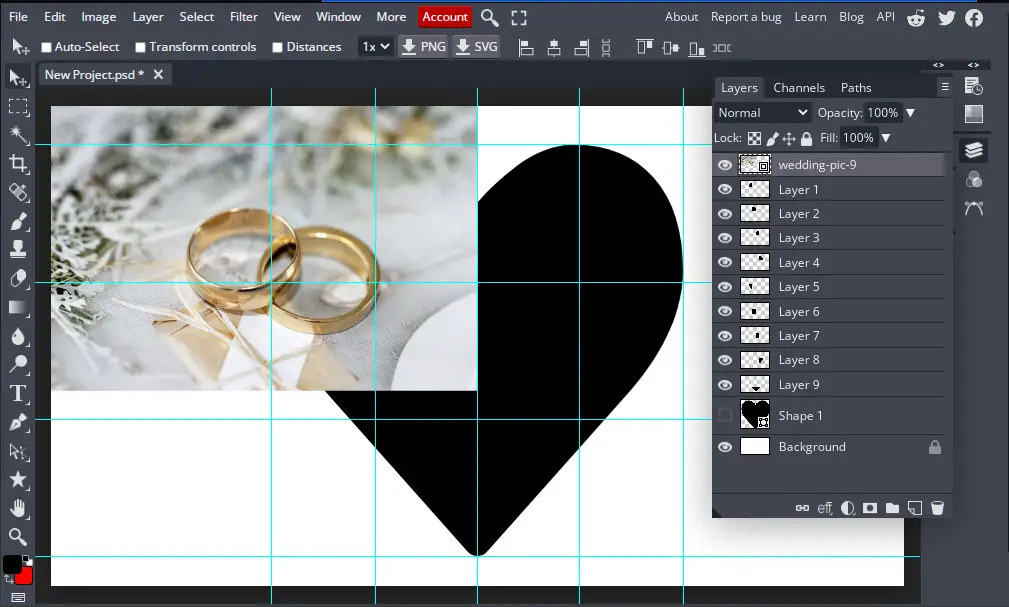
- Right-click on the image layer and select Clipping Mask. This will size your image to fit in its section. You’ll also notice an arrow with your image layer this indicates that the clipping mask was created from the bottom layer.
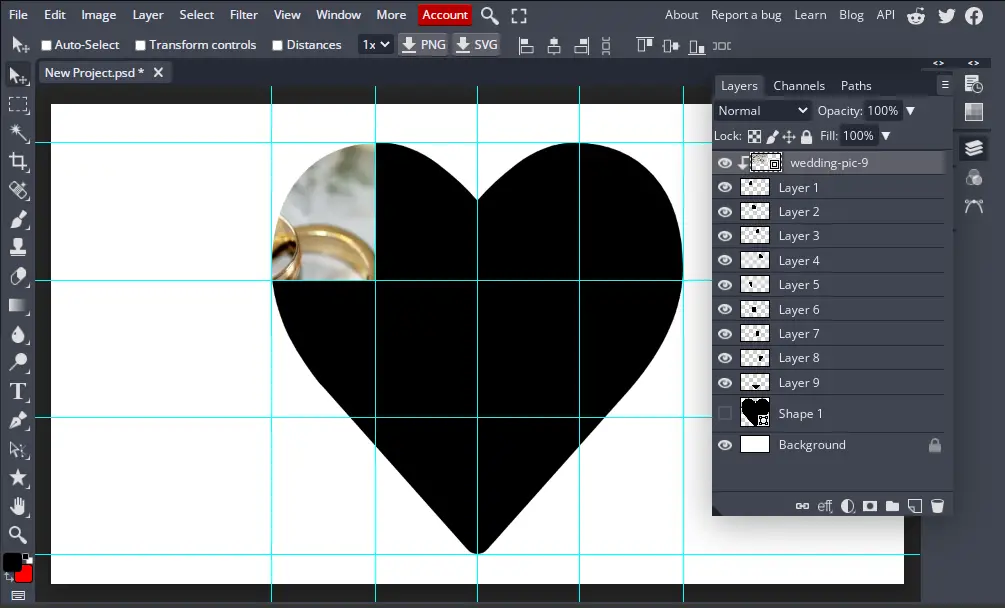
- With your image layer selected go to Edit > Free Transform. This will allow you to resize your photo freely.
- Size your image until it fits the way you want and click the check icon at the top to save changes.
- Repeat the above steps by selecting the next section layer and adding your photos until your collage is filled.
Our photos are now perfectly aligned to the heart shape and our collage is starting to look good. However, it’s not very neat and in order to clean it up a bit, we need our images to breathe. This means adding some space to them – or in other words, adding outlines.
7. Add an Outline to your Heart-shaped Collage
By adding an outline to your heart-shaped collage you will give your images some space to breathe which would make them easy on the eyes and much more appealing. To do so:
- Open the Layers Panels and Select all the image and section layers by selecting the top layer and then the last layer while holding Shift. Be sure not to select the heart shape layer.
- With the layers selected, group them together by clicking the group folder icon or pressing CTRL + G. Rename this folder “Photos”.
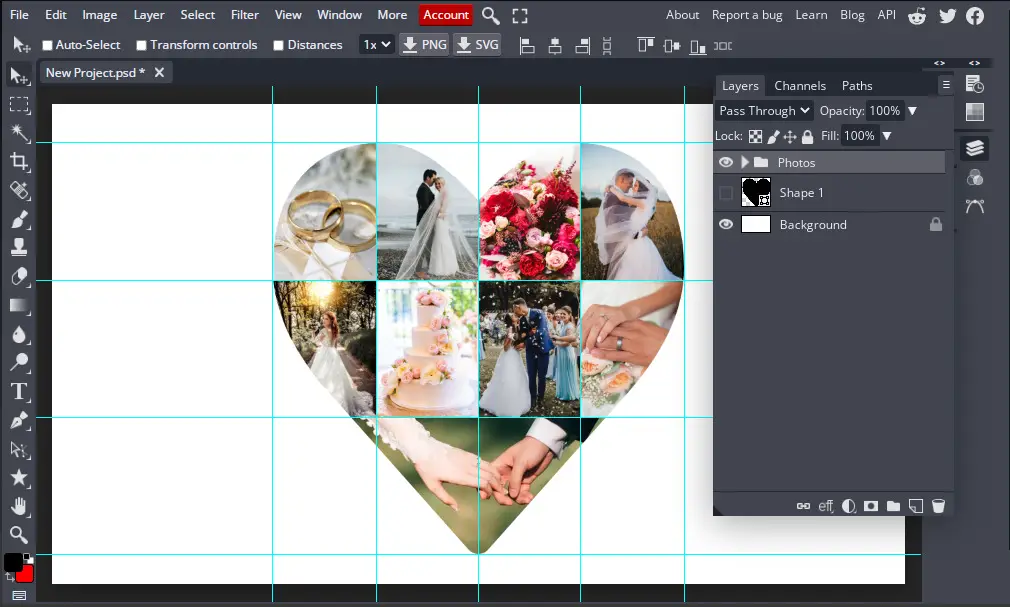
- Next, click on the eye icon beside the original heart shape image to view it. Click and drag the heart shape layer on top of the “Photos” group layer which you just created. Be sure to not put the heart shape layer inside of the group layer.
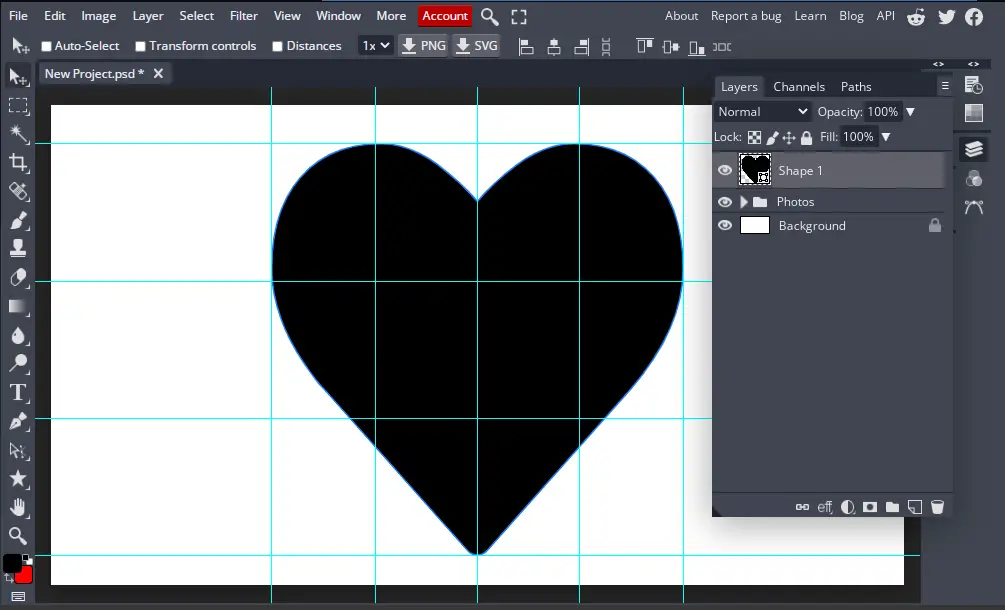
- Select the Heart layer and change its fill to 0%.
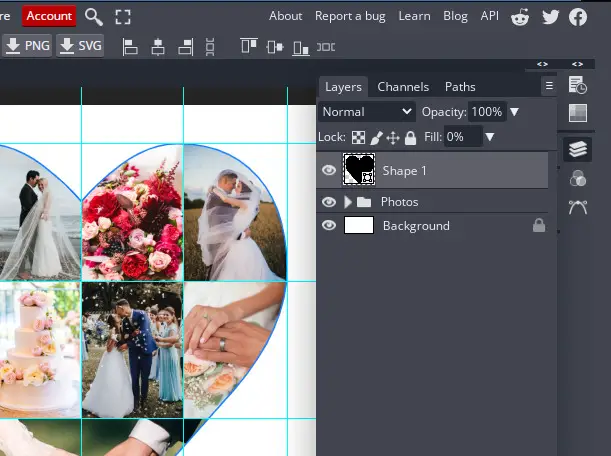
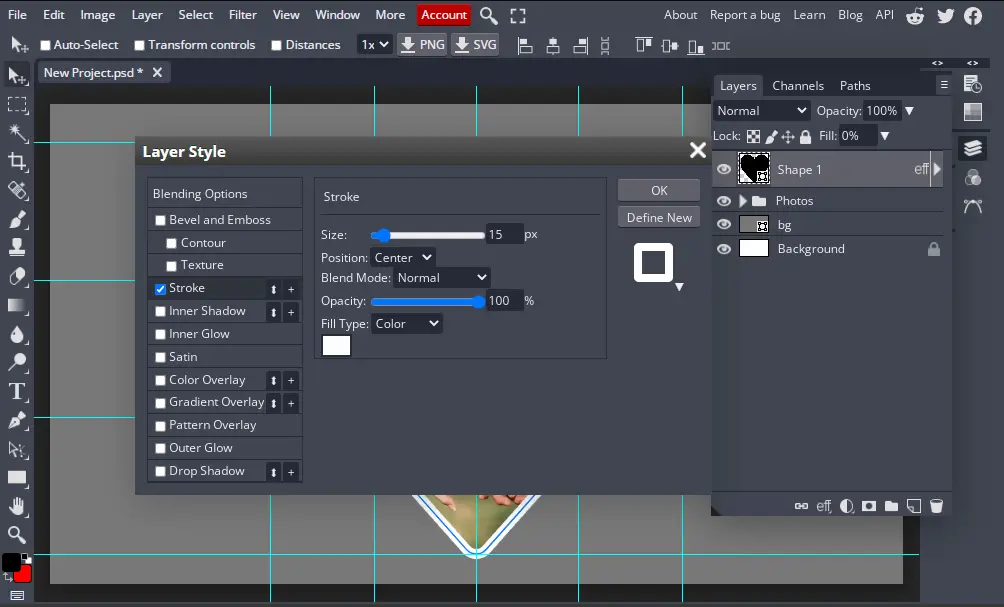
- Right-click on the Heart layer and select Blending Options. From the pop-up go to Stroke and adjust the stroke size to 15, Position: Center, and Fill: White for the heart-shaped collage. You can also use your own settings if you like such as if you want a different color for your outlines.
The outline of our heart is done now we have to do the same for our images.
8. Add Strokes to your Images
Just as we added an outline to the heart shape or our collage we’ll add some strokes for our images as well.
- Open the Layers Panel and select a section of your image (not the image layer itself)
- Right-click on the selected layer and select Blending Options > Stroke and apply the previous settings or your own. A stroke should appear around your image.
- Repeat the above steps for all your section layers.
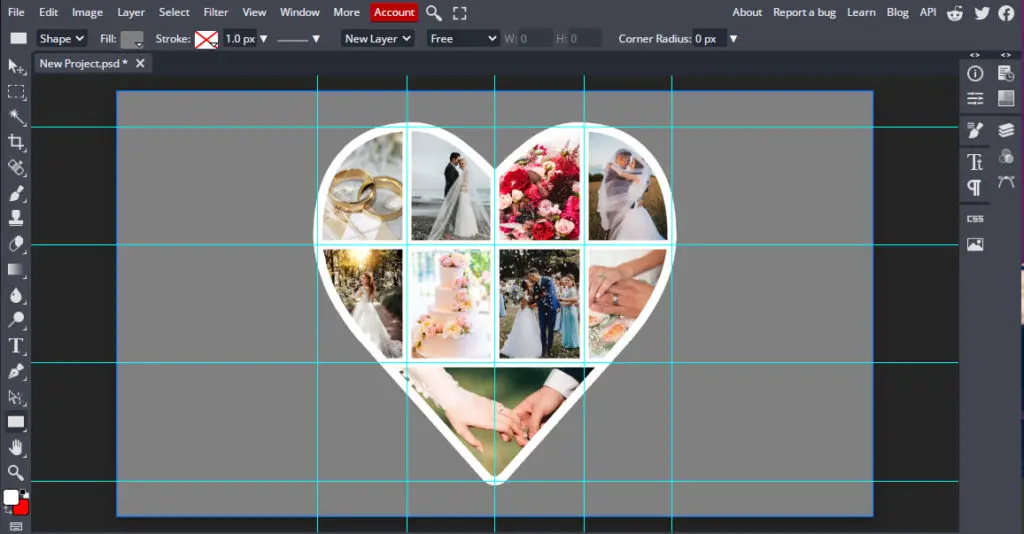
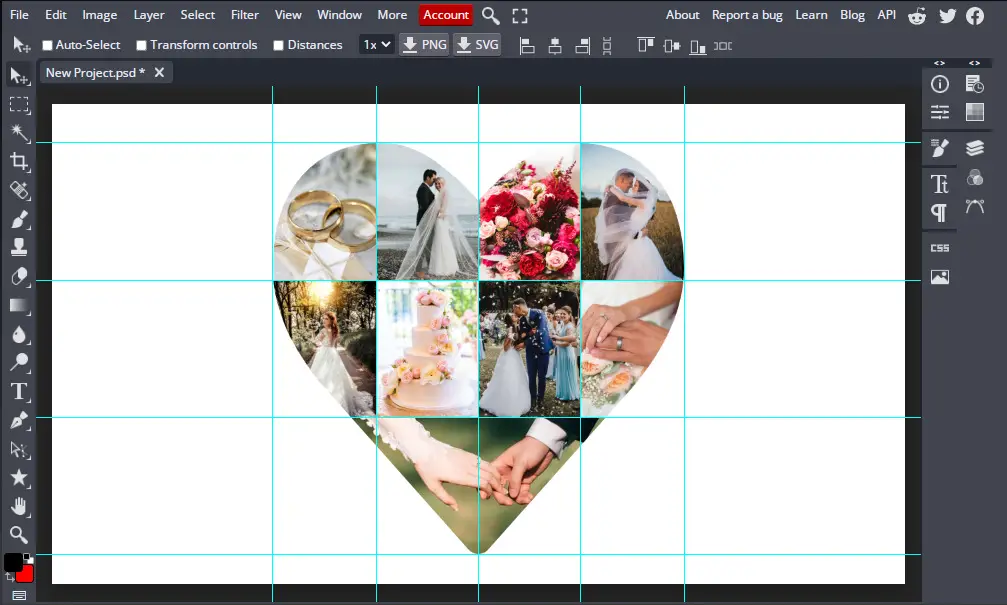
Finally, once you have followed every step go to View > Clear guides to remove your grid and take a good look at your result. Once you’re happy, save your image by going to File > Export As > PNG or JPG. I would suggest you change the background to something more appealing if you plan on publishing your collage for the web or social media.
This is our final result:
Print Your Heart-shaped Collage
A heart-shaped photo collage can be the perfect gift to give to your loved ones. However, it’s much more appropriate to give it to them in print rather than sending it online. It might seem difficult to get your collage printed but it’s actually pretty simple.
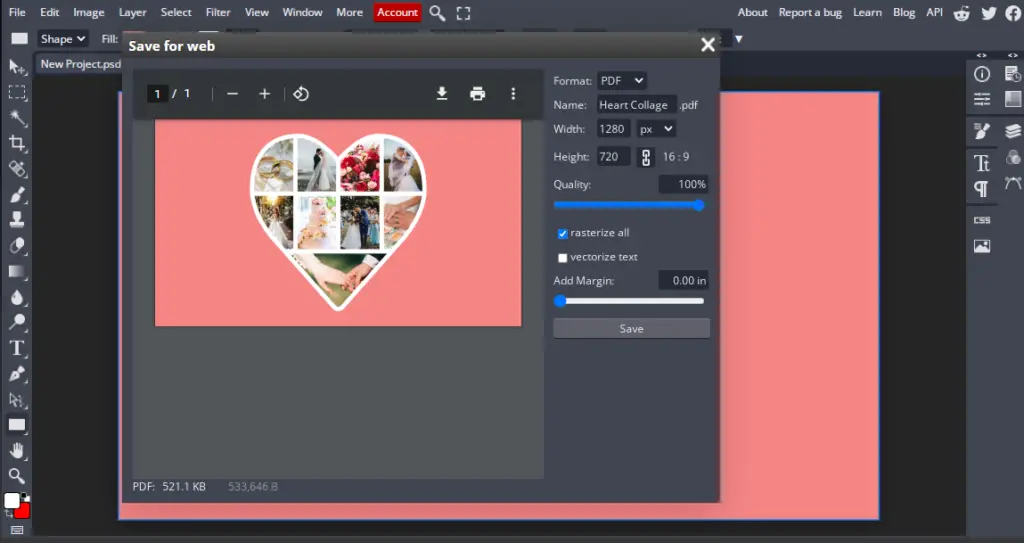
When working in BunnyPic you have multiple formats to export your images. Other than saving your image as a JPG or PMG file save it as a PDF if you wish to get it printed. Most printing companies work with PDF and they can assure you a high-quality press for your heart-shaped collage. When saving your heart collage as a PDF be sure to check “Rasterize All” so that the images display properly and keep the quality at 100%.
Once saved, upload your PDF onto a flash drive and get your file printed. It would be better if you crop your collage print and frame it. You can check out our guide on standard photo sizes to give you an idea of what kind of sizes you can opt for.