
Before and after photos are great for comparing the past with where you are now. Whether it’s to look back at your weight loss journey, capture behind the scenes of a DIY project or comparing your photos with your older self.
These kinds of before and after photos don’t only look great but are incredibly useful as well. Before and after images are used to show changing trends, create memes and track your progress. They also get a lot of social media engagement and are commonly used to present information on blogs.
But, if you’ve ever tried to create one, you’d know it’s no simple task. If you’re not a graphic designer you might be pushed to buy a tool or hire someone to create these images for you. But, with BunnyPic it’s easy to make before and after images for free online.
In this post we’ll go through how to create a before and after photo step by step online in BunnyPic. With BunnyPic you’ll have full control over the look and feel of your photos. We’ll also look at some examples to be inspired and make better before and after photos.
How to Make Before and After Pictures in BunnyPic
BunnyPic is a free online photo editing tool with features like Photoshop. It gives you all the creative freedom you require to edit, manipulate and enhance your photos online. In this tutorial we’ll see how to use it as a before and after picture maker online free.
1. Open Your Pictures in BunnyPic
Go to the BunnyPic editor and click on Open from Computer. From the new tab select the images you want to include. You can select multiple images by holding CTRL and clicking on them. Once selected click on OK to add them in. It’s also possible to drag them directly into the editor from your desktop.
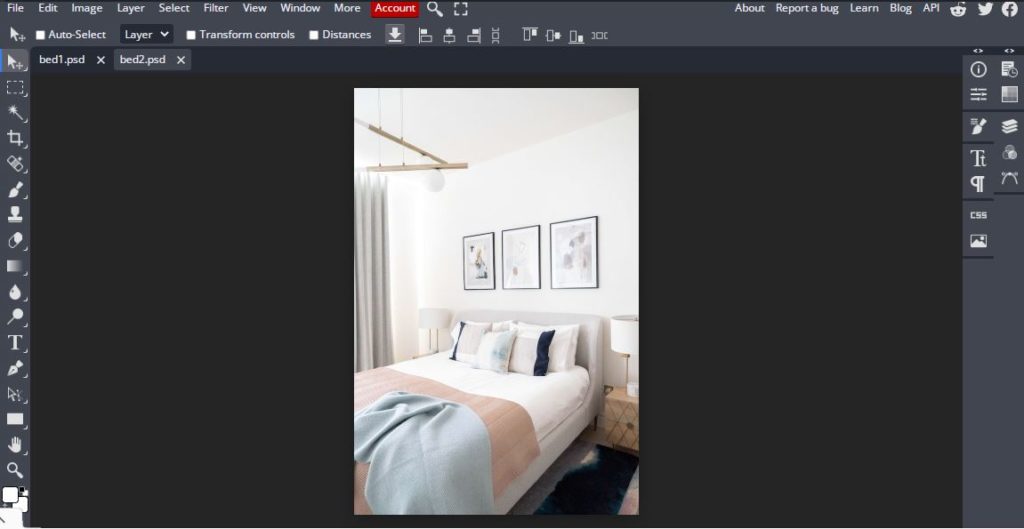
Once the images are added into the editor you’ll notice the two open in tabs. This will allow us to add them separately into our new document.
2. Create a New Document
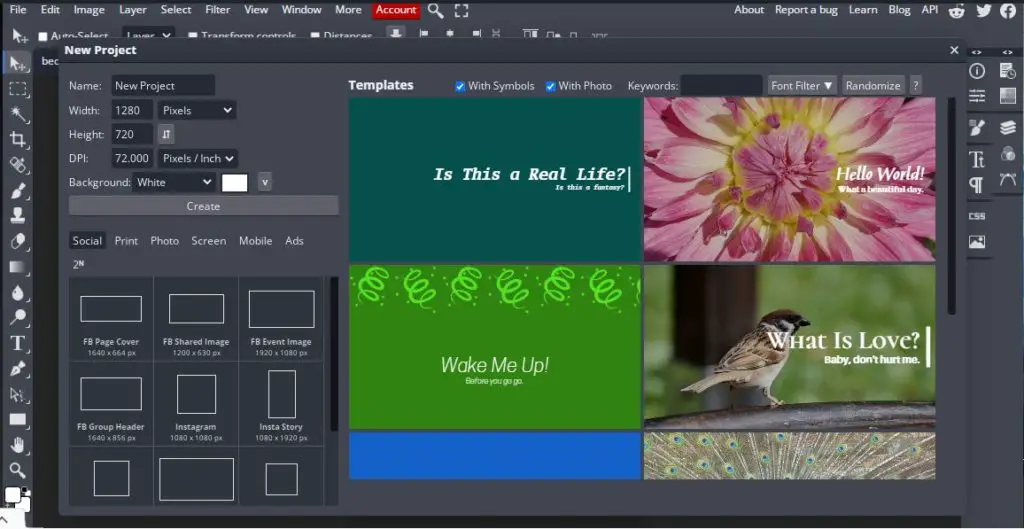
After uploading your images into the editor go to File > New to create a new document. This document will be where we create our before and after photo. Select the appropriate size for the image. If you plan on uploading the image on social media platforms like Instagram and Facebook you’ll need to choose the right size to avoid getting it cropped.
Fortunately, BunnyPic provides preset templates that are optimized for social media. You can select these sizes by clicking on the Social tab within the preset options. After clicking on it you’ll be shown multiple dimensions for different social media platforms.
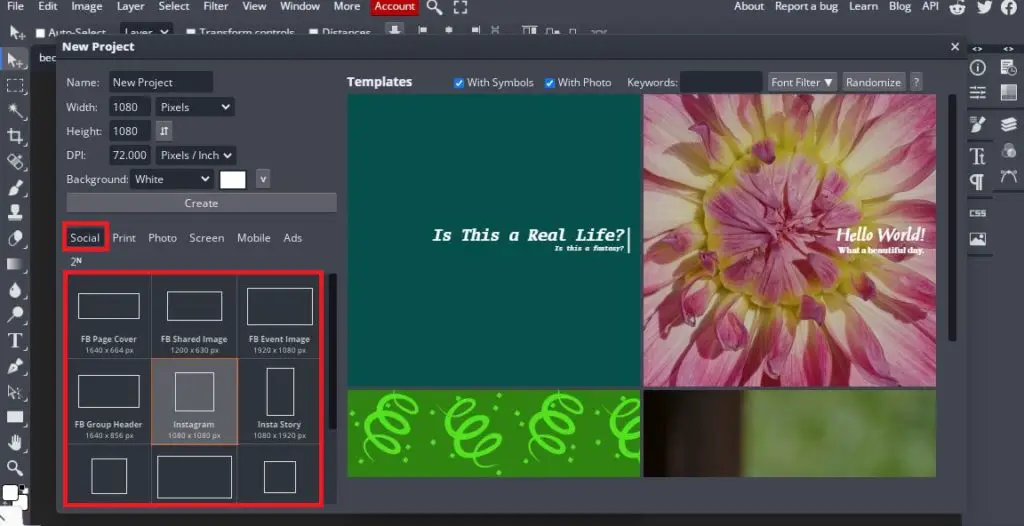
Select the one you want, name your document and click on “Create.” A blank document should appear like this:

3. Drag Images into New Document
Place your before and after images into the new document. You can do this by opening the image tab and clicking and dragging them to the new document tab. Drag both images into the before and after document.
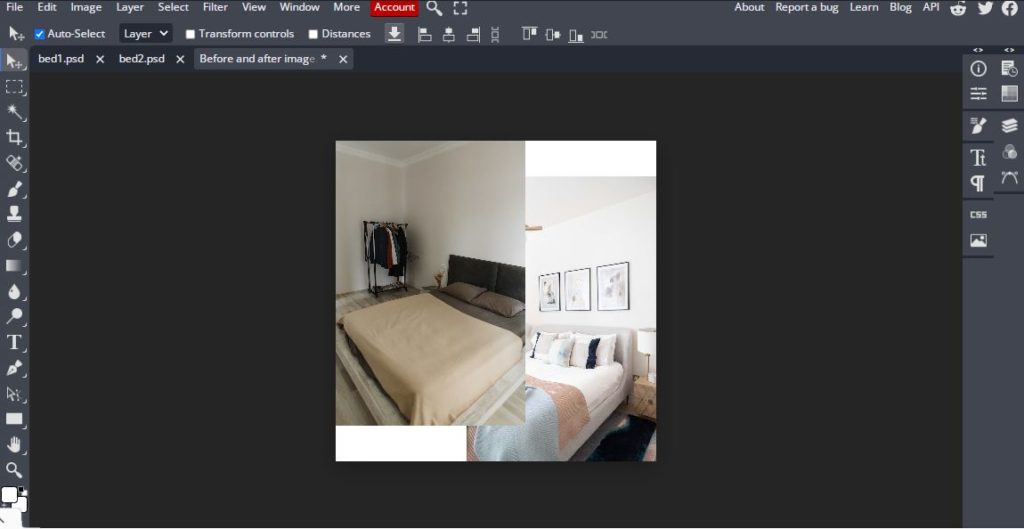
You’ll notice that the two images aren’t properly sized and are overlapping each other. We can easily fix this by performing some edits thanks to BunnyPic’s easy to use selection and transformation tools.
4. Resizing Your Images
Resizing your images is simple in BunnyPic. To make things clearer I’d suggest you open the Layers panel from the right toolbar:
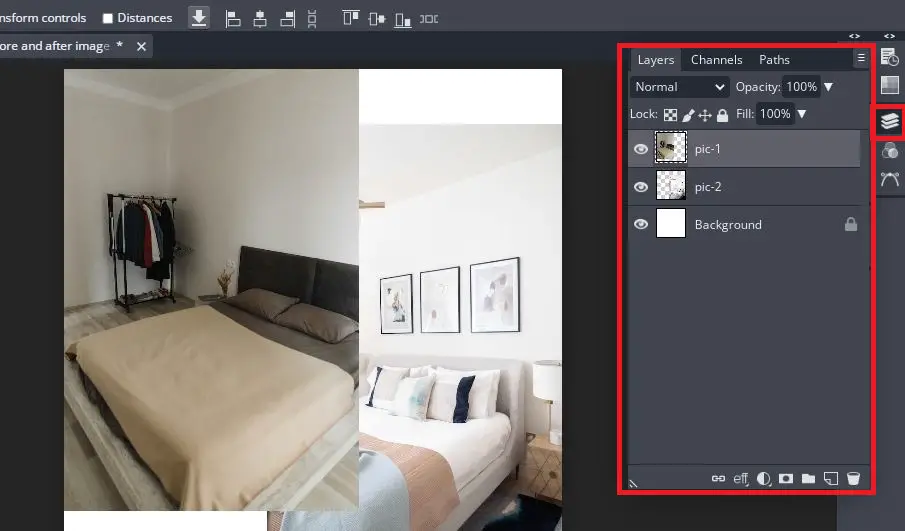
From the layers panel select the image you want to edit first. With the selection active select the Move tool (indicated by an arrow with directional icon) from the left toolbar. Now, from the top toolbar click on Transform Controls to check it.
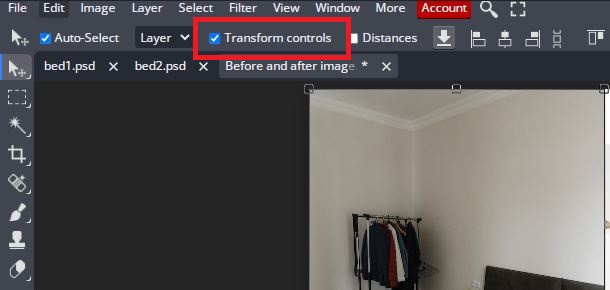
After clicking on Transform controls you’ll notice that a border with anchor points will appear around your image. Click and drag one of the anchor points to resize your image. You can even rotate the image by coming close to the corner points and clicking and dragging the image in the direction you want it to turn.
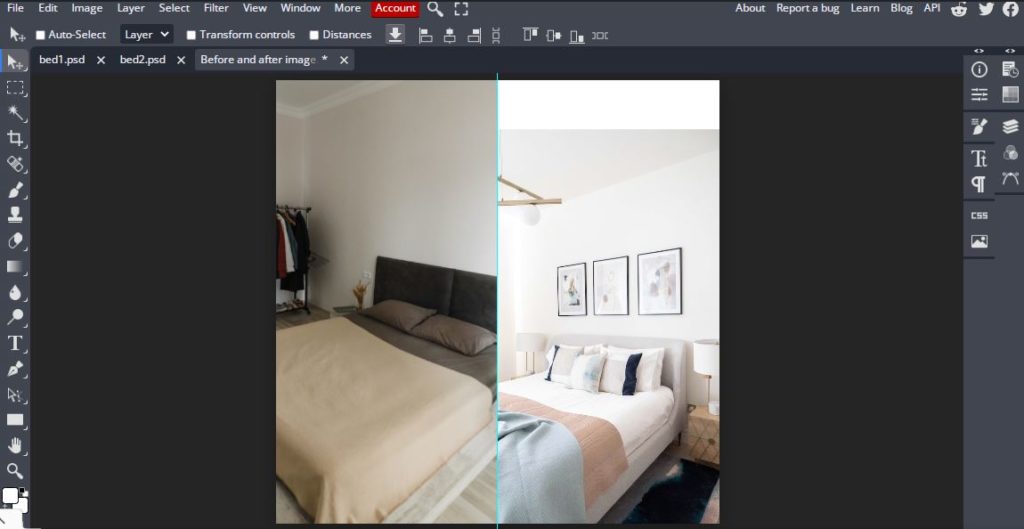
Our photo fits much better after resizing it. You may have noticed a light blue line in the center of the image. That is a guide or ruler that you can use to accurately place your images on the document. To use rulers, navigate to the top toolbar, click on View > Rulers and a guide will be placed around the edges of the document. You can also enable this by pressing the hotkey CTRL + R.
After enabling the rulers click and drag from the side to place a vertical ruler in the document and from the top to place a horizontal ruler. You can use these rulers to accurately place your images at the sides of your document so they appear as intended and are properly sized.
Resize the other photo as well.

After resizing both the photos untick the transform controls option so you don’t accidently resize the photo further.
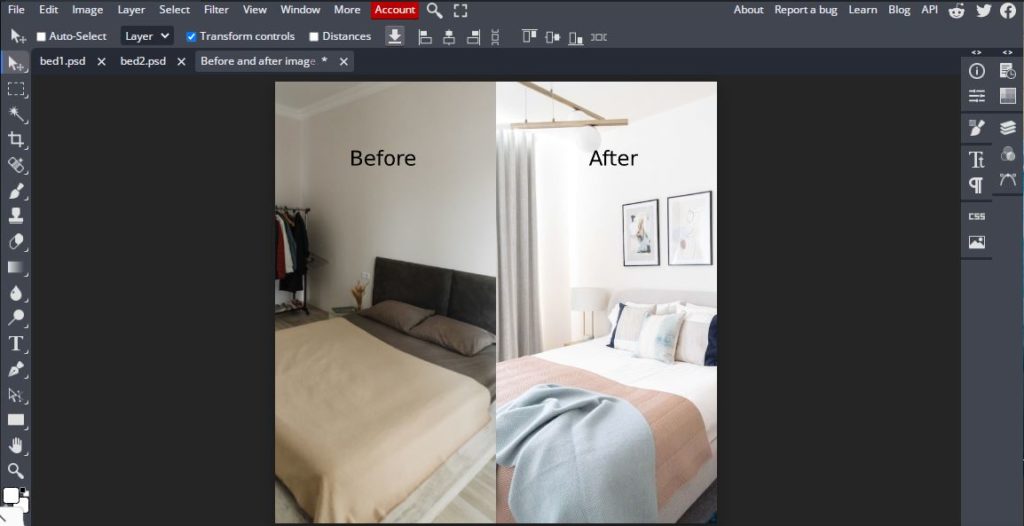
5. Add Before and After Text
We have our pictures aligned properly with each other however they don’t have a purpose yet. If you want people to know that this is a before and after picture you have to indicate it with some before and after text.
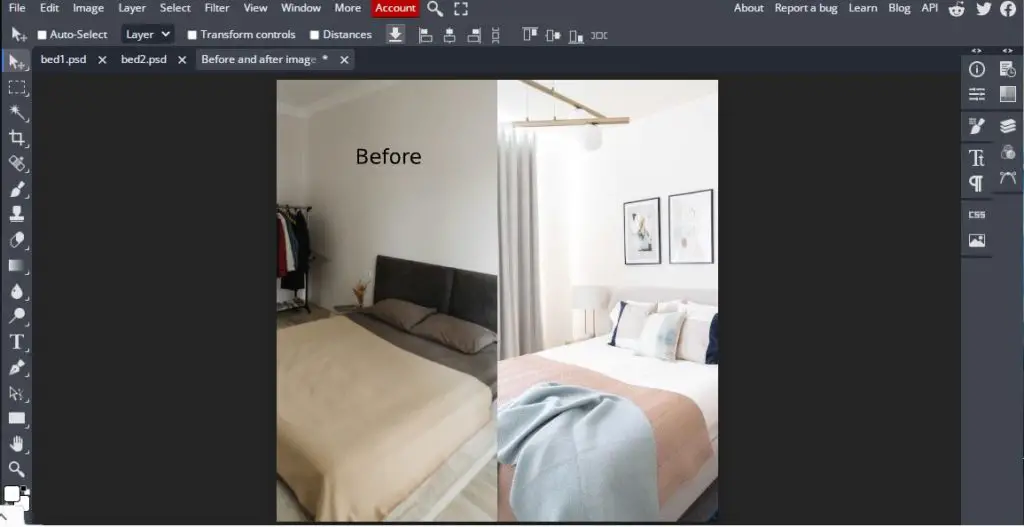
To start adding text to your image select the Type tool (indicated with a “T” icon) from the left toolbar and click anywhere on the doc. This will add a text layer which will allow you start typing some text. Type in “Before” for the picture on the left then click and drag it to place it on top.
Next add a new text layer and type “After.” Then click and drag it to the top of the right image.
Our text is looking bland and boring right now. We can use a different font and add some borders around it to make it standout more from the background.
Double-click on the text to start editing it. From the top toolbar click on the font to open up a list of hundreds of free fonts provided by BunnyPic with a preview of each:
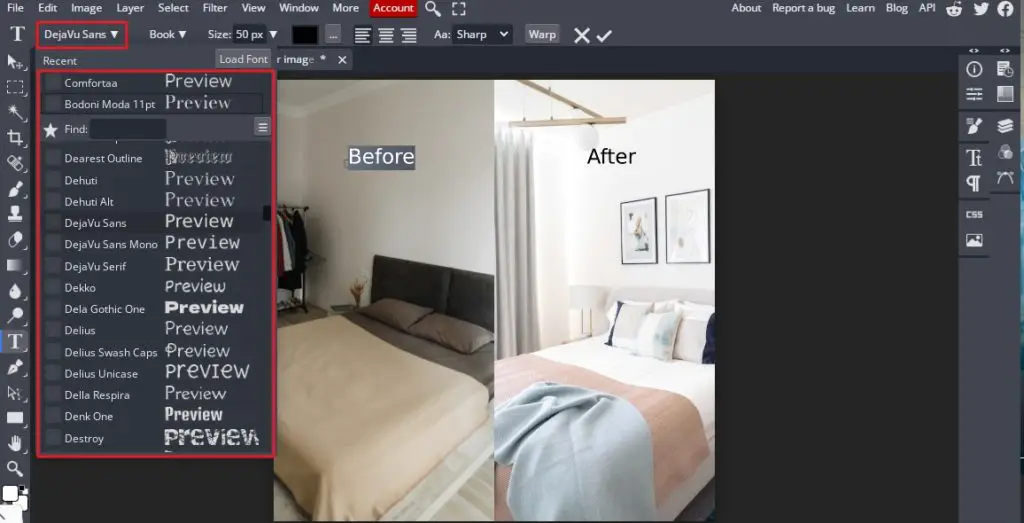
From the library of fonts choose one that seems nice. I’ll be applying Comfortaa as it’s a pleasant rounded font with a modern appeal. Which I think fits the vibe of our before and after picture perfectly.

If you don’t find a font you like, you can add your own by downloading one from a free font website like DaFont or Font Squirrel. After downloading your font click on “Load font” and upload it into the BunnyPic editor by selecting it from your computer. Once uploaded your font should appear in the list allowing you to apply it.
But, even with the new font our text isn’t legible. To fix this we can add a shape behind the text to make it contrast with the background and make it stand out.
6. Adding Graphics on Before and After Text
To add a shape click on the Rectangle Shape tool from the left toolbar. Click and drag on top of the text to place a rectangle and then move the shape layer below the text layer from the Layers panel or select the shape and press CTRL + left bracket key ([) to move it behind the text.
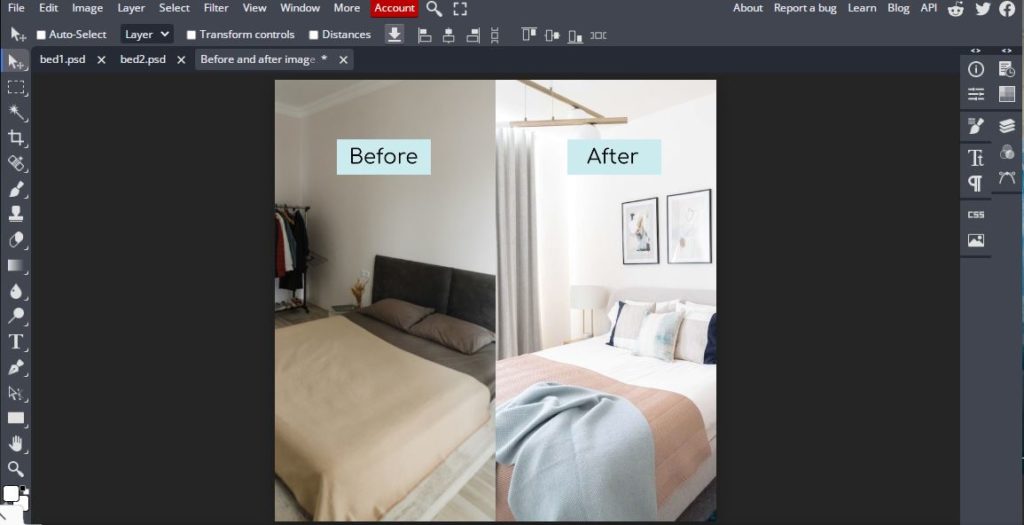
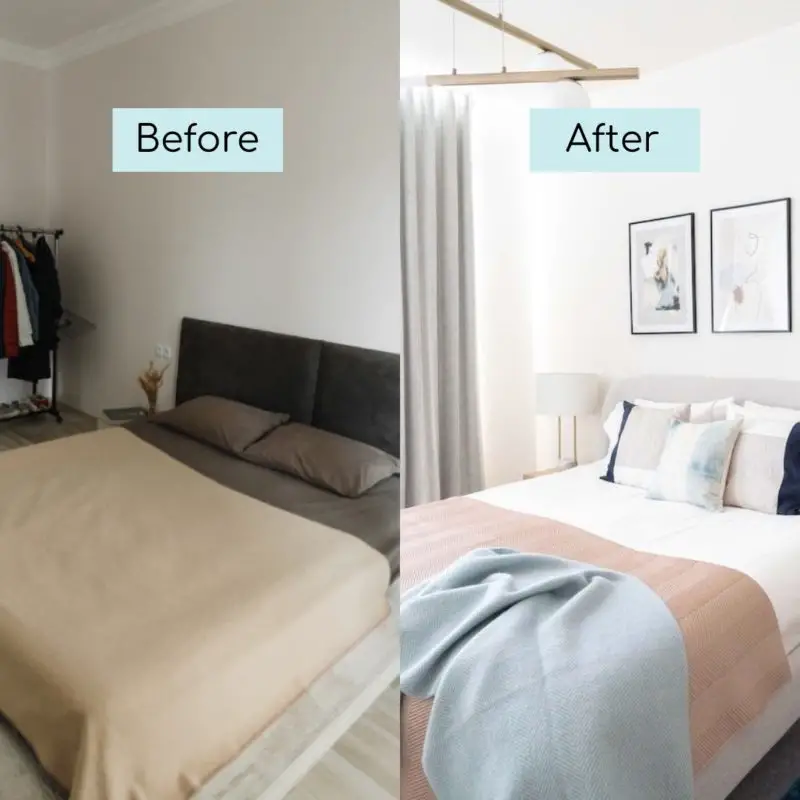
When adding a shape, you’d never go wrong with plain black on white. But, the color you choose depends on the type of image and what kind of vibe you’re going for. Choosing the right colors is important if you want all your before and after images to be consistent. For this image I used a pastel blue as it complemented the calming pictures of the comfy beds.
7. Save Your Before and After Image
We’re all done with creating our image, all that’s left now is to save it. You can save your before and after image by clicking on File > Export As > PNG or JPG.
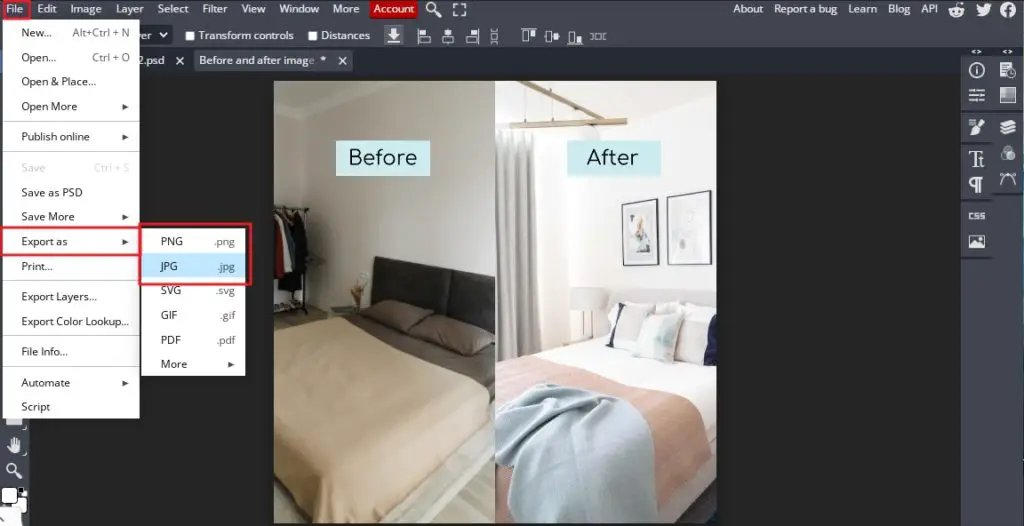
Use PNG for the highest quality and JPEG if you plan on sharing it on different platforms. Granted, the quality might be lower but uploading it will be a smoother process. Once you select the format you want to save the image in click Save from the new window.
Here’s what our final image looks like:
Different Ideas for Creating Awesome Before and After Photos
If you go with a simple before and after photo template, it’ll get the job done but it won’t be unique. So, here’s a couple of ideas you can explore to go beyond the basic before and after photo.
Create Some Hilarious Memes
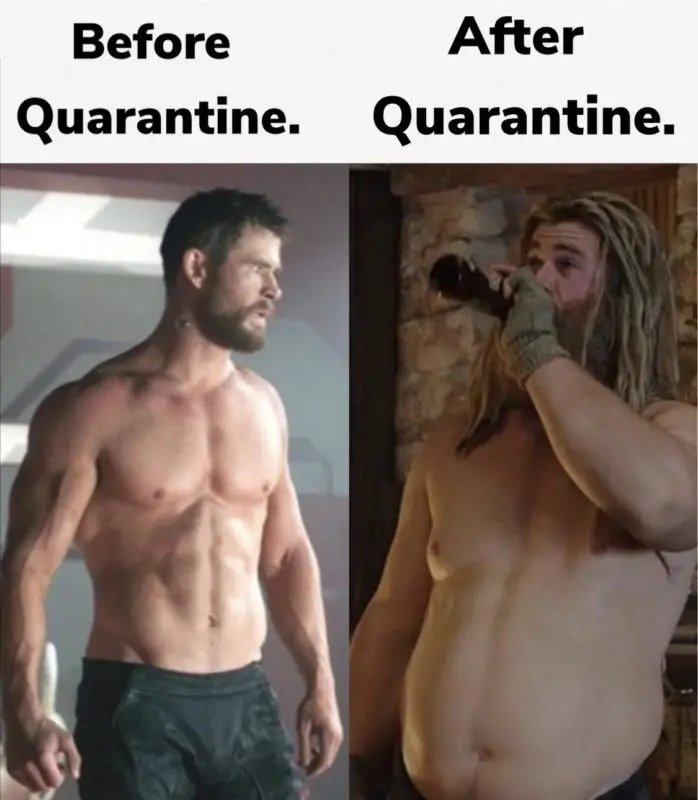
Ever since the Covid outbreak people on social media really learned to express their funny side. With tons of memes surfacing the internet the “before and after quarantine” meme was in everyone’s feed. You also don’t have to keep the same before and after text rather you can switch around as well.
Showcase Edited Before and After Photos
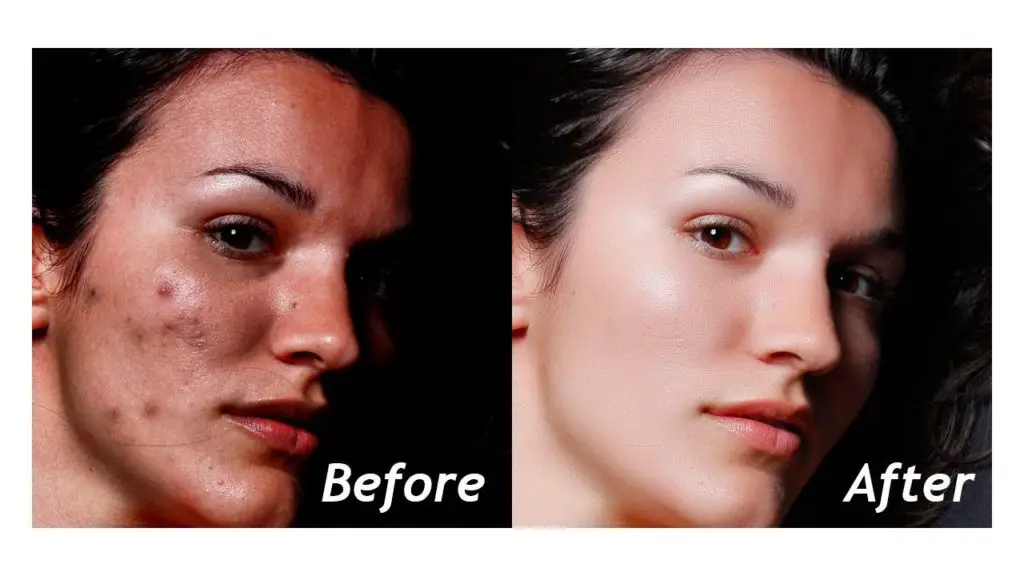
Working as a professional photographer is rewarding as it promises learning new photo editing techniques. When editing a photo it’s important to compare it with the original to show the changes you made. That’s why this before and after template is great for showcasing your photo editing skills to reveal how far you can go with enhancing your image.
Add a Touch of Minimalism
People appreciate a clean, modern look to images which is why showing some minimalism on your before and after photos can be a good idea. By using small simple text with a banner you can focus the spotlight on the main image.
This post should’ve given you clear instructions on how to create before and after photos online free with BunnyPic. Try BunnyPic for free now!