
In this article, we will discuss step by step how to add awesome effects, stickers, and frames to your photos using bunny pic. Stick to the article and you will be an expert on Bunnypic’s tools before the article even ends, Let us start with adding effects:
Elevate your photo memories to new heights by adding captivating effects and stickers to your images. Whether you’re creating a personalized A3 or A3 frame masterpiece or looking to enhance your digital photos, Eagelframes.co.uk offers a myriad of creative tools to make your snapshots truly extraordinary. Explore their extensive collection of frames and get ready to add that extra sparkle to your cherished moments.
HOW TO ADD EFFECTS USING BUNNYPIC:
bunnypic. comes with all the effects you desire in any editing software. It has some great effects and filters which are lacking by most of its rivals. If you have used any other online photo editing tool before, you are going to love bunny pic. Some most popular effects of bunny pic are:
- 3D effect
- Blur effect
- Distort
- Noise
- Pixelate
- Render
- Sharpen
- Stylize
- Fourier
- And many others
Now to add any effect,
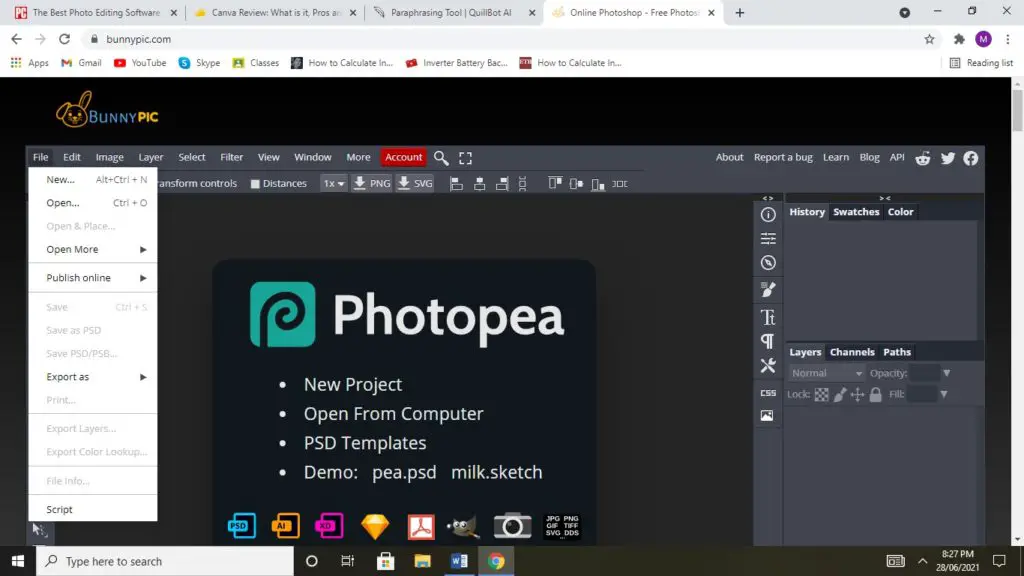
- First of all, click on the upper-left corner of the tool and click OPEN, as a shortcut just press Ctrl+O.
- Now choose any photo that you want to edit.
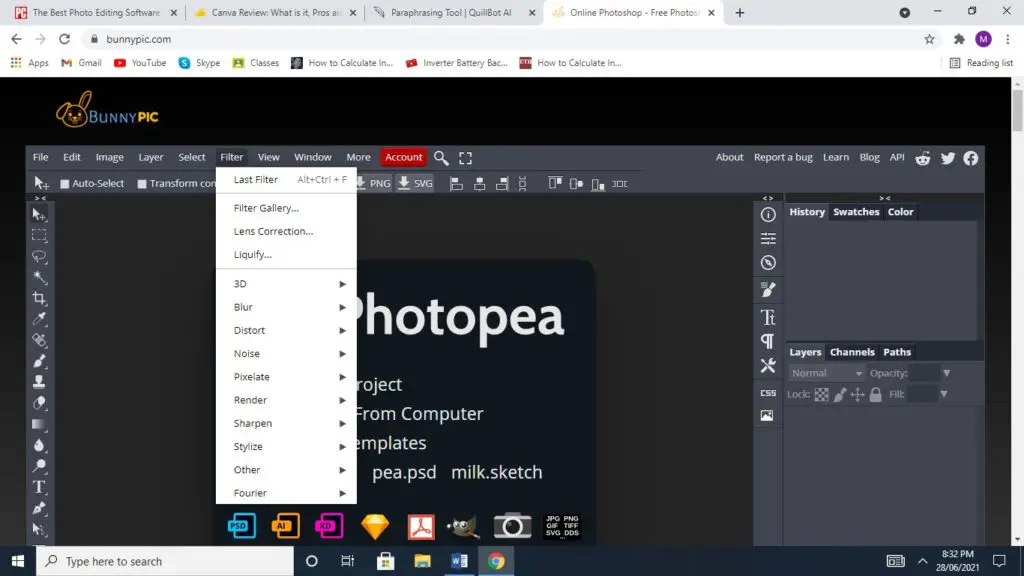
- The next step is to click on the filter box in the header of the tool.
- Now choose your favorite effect and let the bunny pic do the rest for you
The best part about bunny pic is that you can customize the effects to be intense or lighter as you like.
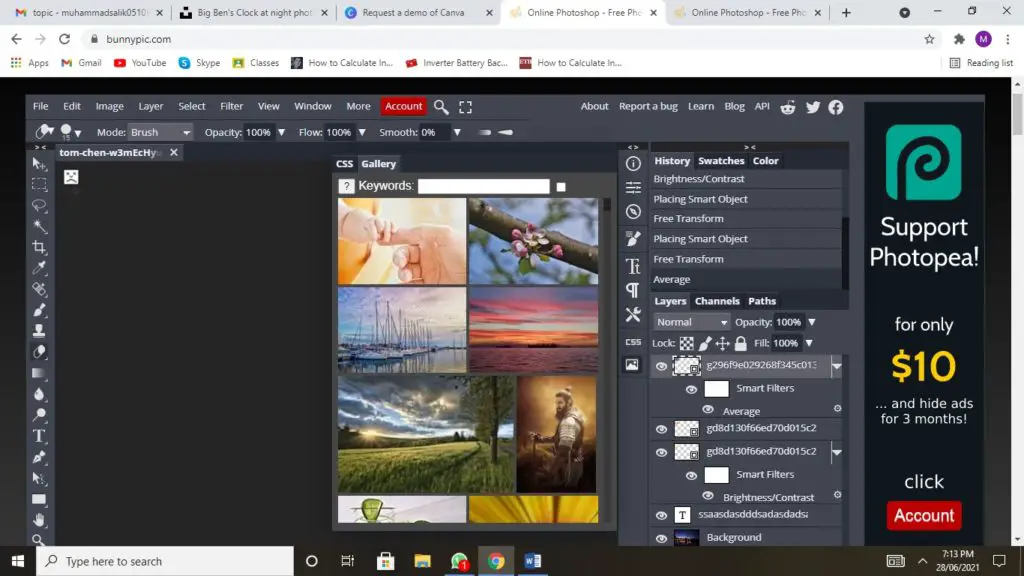
You also have a history bar at the right from where you can undo or redo any pre used effects easily.
Here you can see a before and after sample of a photo in which we added effects using bunny pic.
BEFORE

AFTER

We edited these photos using bunny pic and added some effects like sharpening edges, diffuse, emboss and you can clearly see the result. Bunnypic did a great job in making the photo more attractive by adding accurate colors, brightness, and textures. The blurry face also became more clear.
Now, after editing a photo you can save a photo in different formats as you like, some of the bunnypic supported formats are:
- PSD
- XD
- sketch
- XCF
- RAW
To save a photo, just click on the File box at the top of the tool and then click export as , better than before that too free of cost.
HOW TO ADD STICKERS USING BUNNYPIC?
Some people like to add cool and funny stickers to their photos to make them look cool or add a humorous touch to them. If you are one of them then bunnypic is the perfect place for you to be. You can choose any sticker out there and bunnypic will fix it in place for you. All you have to do is to:
- Choose any sticker
- Paste it into your photo using bunnypic
- Then integrate into your photo using bunnypic
- Adjust the size, transparency and other aspects of the stickers.
- Save the photo and BOOM, you are good to go.
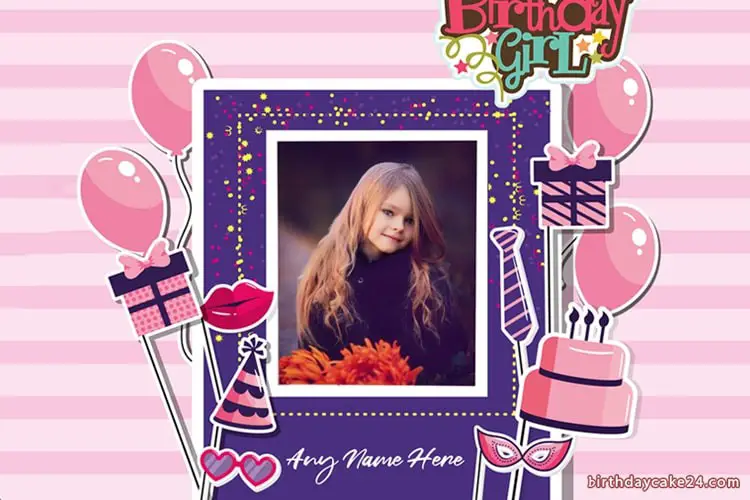
Here is an example of how you can create eye pleasing pictures using stickers through bunnypic


This is an illustration of how you can add stickers to your photos using bunnypic.
ADD AMAZING FRAMES USING BUNNYPIC
I am sure you must have seen a lot of pictures on the internet with frames and wondered that there is some rocket science used for putting these frames into pictures or an expert must have done it. But here we are to burst the bubble. You can add frames to your photos within 5 minutes using bunnypic. You can choose any picture and any customized frame and all it will take is to use some basic tools inside bunny pic to integrate them onto your photos.
For illustration, here is a picture and we are going to discuss how you can add a frame onto it:
Now all we have to do is:
- Select any frame online and download it
- Run the photo in bunnypic on whom you want to apply the frame
- Now copy the frame and paste it into bunny pic
- Now from the Panel given below, you can customize the opacity of the frame.
- Turn the opacity to 0% so that you can see through the frame
- Now set the frame into a place where it looks the best
MY PERSONAL EXPERIENCE WITH BUNNYPIC
A few bunnypic users with whom I spoke provided me with an insightful outlook. One of them is an instructor, and he noted how useful it is for creating basic graphics to aid in the teaching of beginners.
My designer buddy, on the other hand, didn’t have much to say about it save for the fact that it didn’t use the same amount of resources as Photoshop. Photoshop requires a high-resolution display, heavy duty processor and some expensive laptops to run on, unlike bunnypic.
Despite how simple it is to use, I found it to be far too simplistic for the sort of print output I needed. On the other hand, it is ideal for quickly producing graphics.
BEST FEATURES OF BUNNYPIC
EDITOR WITH DRAG-AND-DROP FUNCTIONALITY
There is built-in template and pictures selector in the bunny pic from where you can select from thousands of images to drag and test your editing skills on. You may edit and add them using the drag-and-drop approach. In minutes, you should be able to generate your graphics. If you have used the templates previously, you will be able to build them in a matter of seconds.
ENHANCE YOUR IMAGES WITH PHOTO EFFECTS
Bunnypic includes a number of picture enhancement effects and filters. Bunnypic images and images you submit can both have effects applied to them. You can choose through different effects at different intensities and then decide which one is best for your photo.
DIRECTLY PUBLISH ONLINE
Like many photo editors out there. Bunnypic also lets you publish your pictures and work online on a different platform.
Just click on the File button in the top left corner of the screen and push Publish online and there you go.
FINAL VERDICT
Honestly speaking, Bunnypic got some of the best tools, effects and UI in the business which some of its biggest rivals still lack. Bunnypic is really simple to use, much more so than Microsoft Paint.
After you have decided on a layout and template, you will need to customize it. Everything is drag and drop, and text can be changed in the same way that text boxes in other graphic design tools may be edited. It is, without a doubt, incredibly simple to use.
Here are some of the key points I love about bunnypic.
- Very easy to use
- You do not need any login or account creation, just log on to the website and start editing.
- There are a variety of lovely templates pre-installed.
- Create graphics that are print-ready.
- Free to use, You just have to spend 10 bucks for 3 months if you hate seeing ads between the editing.