
Learning how to stretch your images online can be helpful for fitting your image on a large canvas. However, there are some drawbacks of trying to stretch your image using traditional photo-editing software. Since you would be extending the size of the image from its natural ratio it may pixelate the image and cause a loss of resolution.
In this article we’ll try to understand why stretching an image causes it to pixelate, while learning how to stretch our images to maintain their resolution.
How Can We Resize and Stretch an Image Online?
If you want to resize and stretch an image online for free you can use advanced photo-editing software like BunnyPic. BunnyPic is a free online Photoshop tool which makes editing and resizing your photos easy thanks to its beginner-friendly interface.
To get started:
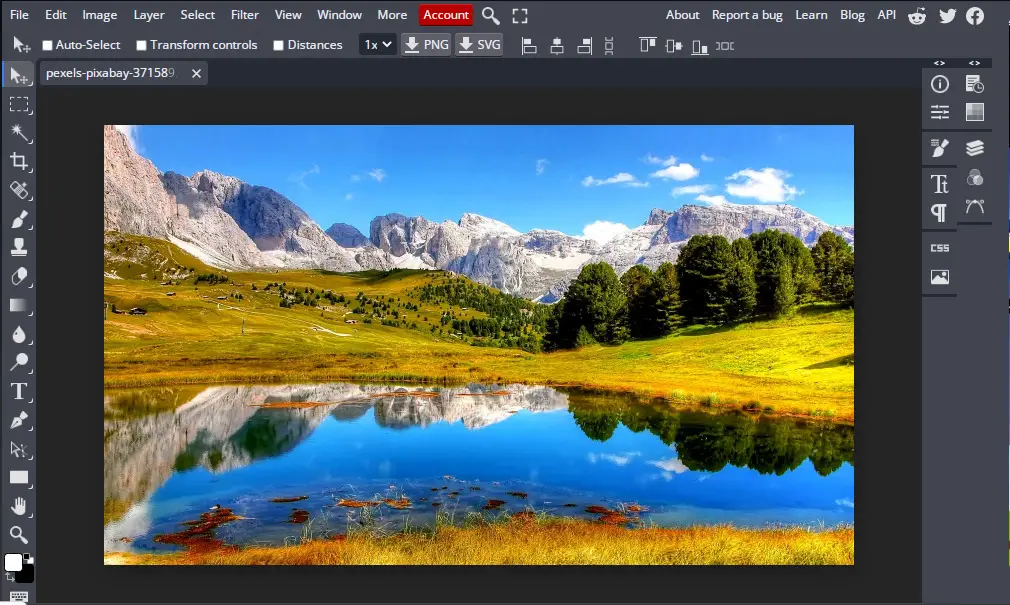
- Open the BunnyPic Editor and import the image you want to stretch
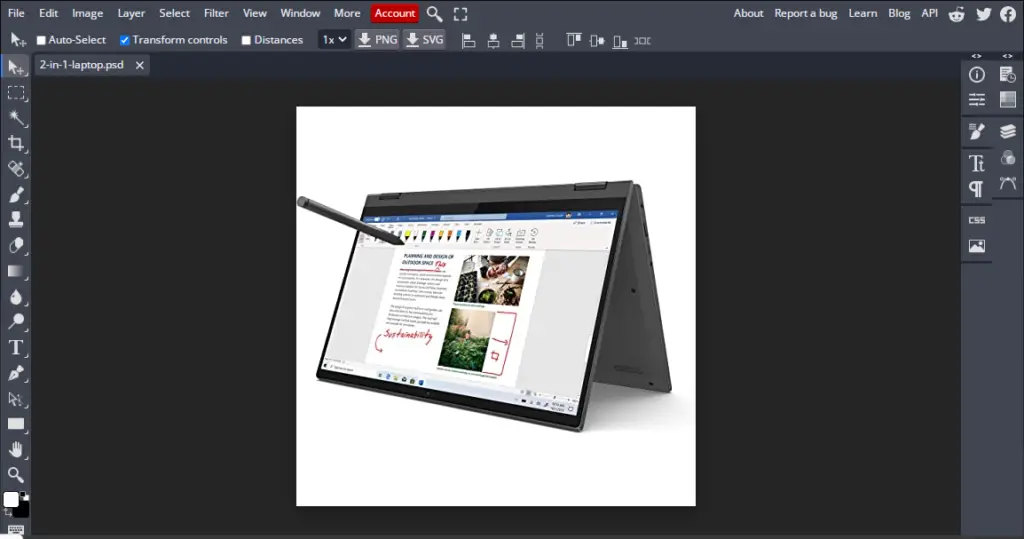
- Next select the move tool from the left toolbar and enable Transform Controls
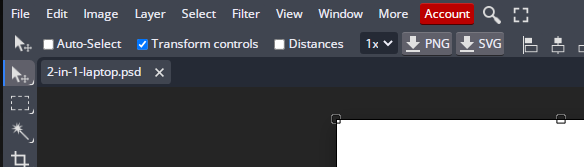
- Now, click and drag one of the anchor points to stretch your image while maintaining its aspect ratio. You can also unlock the aspect ratio by holding Shift while stretching your image.
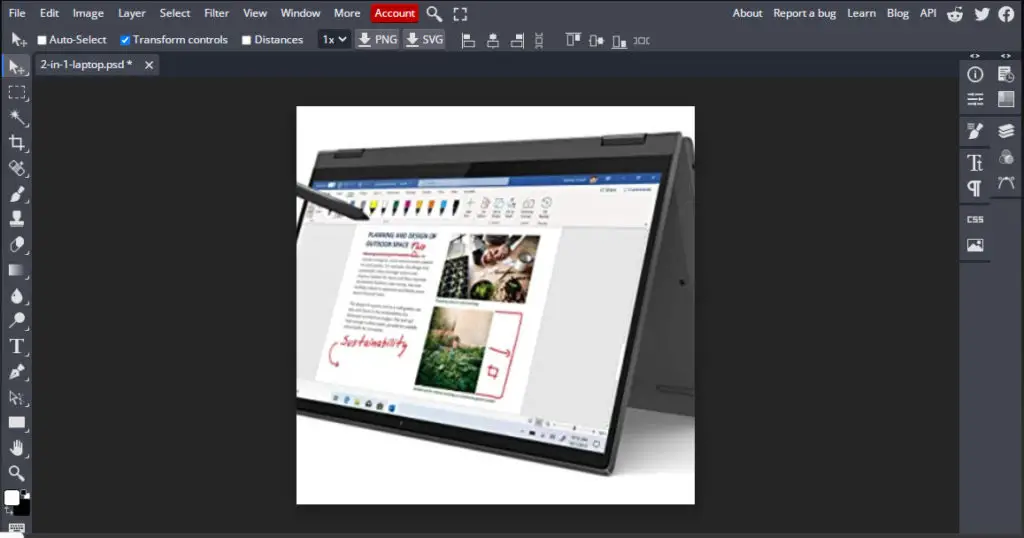
Although our image is now stretched you’ll notice a few problems right away.
Firstly the image doesn’t fit the canvas properly. This is because with the method above we were only able to stretch the image and not the canvas with it which makes it disproprtionate.
Second, the image resolution dropped making the photo look blurry. This method results in a loss of detail which means it may not be good for photos like, faces, detailed scenery and animals. But, if you have a simple image or pattern that you want to stretch it is recommended you stretch it like this as it is way easier and less time-consuming.
Why Do Images Lose Quality When I Stretch Them?
Digital images are made up of pixels. The higher the amount of pixels the more detailed and sharp the image will look. When you resize your images you are manipulating the number of pixels the image contains. If you have a picture with a high number of pixels you may be able to scale it without losing quality – these are also known as high resolution or high-res images.
But, for other images, if you increase the size more than the pixels stored the software has to make up for the lost pixels. It does this through artificial intelligence and sampling the present pixels to generate new pixels. Obviously this process isn’t perfect which may result in a loss of quality.
This is why the above method of stretching your images online isn’t the best. Below, we’ll go through other ways you can stretch your images without losing quality.
Using Image Size tool to Stretch Image
As demonstrated above stretching your image from the transform controls increases the size of the image but not the canvas. Because of this the image is stretched far above the original size of the canvas making it look awkward. To counter this we can use the image size tool to increase the width and height of the image.
To stretch your image using the image size tool:
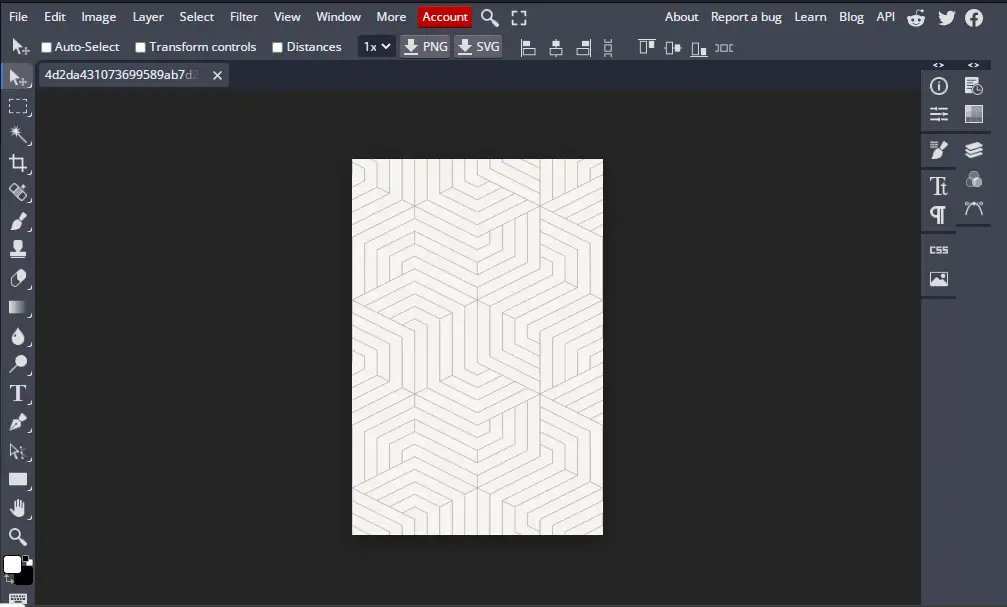
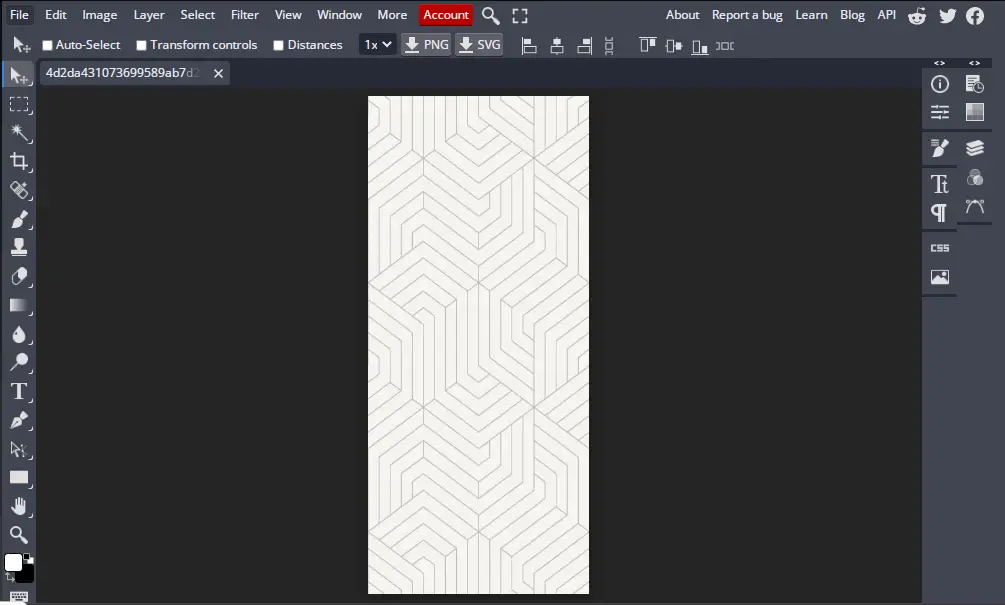
- Go to the BunnyPic Editor and open your image. Here I’ll be using a pattern to better illustrate.
- Next, from the top toolbar select Image > Image Size
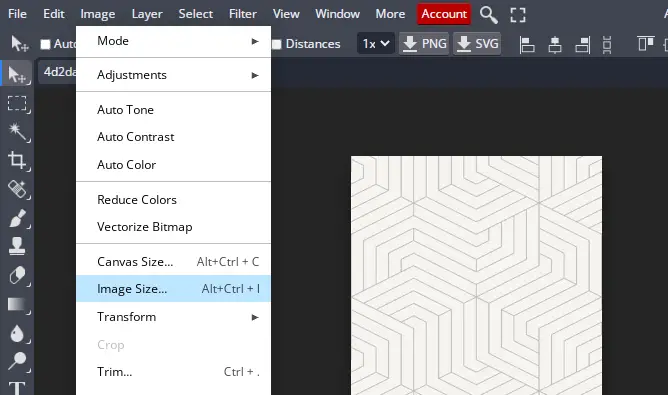
- From the pop-up change the sizing to Percentage and deselect the chain icon to stretch your image. Now, increase the width or height of the image to stretch it and click OK. Make sure to choose a percentage over 100 to ensure the image gets stretched rather than squeezed

Here’s what our stretched image now looks like:
This method is great for stretching simple images and patterns. But, for detailed scenery and portraits the best method is to use BunnyPic’s content-aware scale. This is a smart way to stretch your images as it uses A.I. to keep your image sharp and free from blurriness.
Using Content-Aware Scale to Properly Stretch Images
BunnyPic’s powerful AI makes it possible to accurately detect and preserve the quality of pixels. This makes it possible to stretch your images without losing quality.
To stretch your images using the content-aware scale:
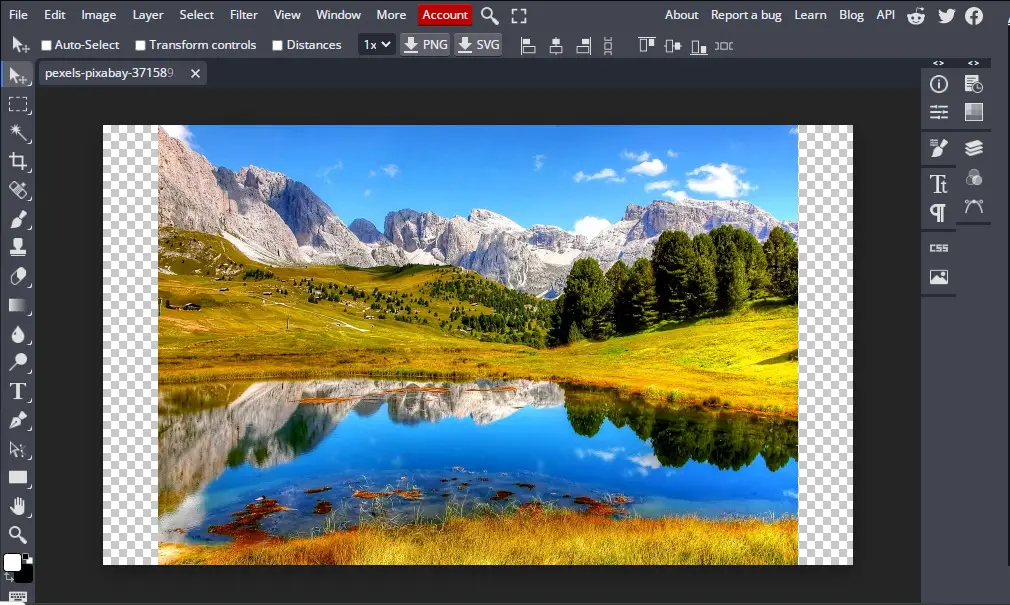
- Go to the BunnyPic Editor and open your image into your canvas.
- Next you’ll have to rasterize your image since the content-aware tool only works on raster images. To do this go to Layer > Rasterize.
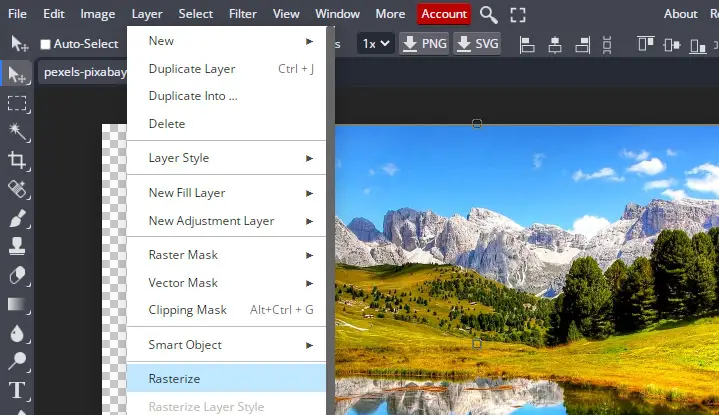
- After rasterizing your layer stretch it using the content-aware scale by going to Edit > Content-Aware Scale

- Finally from the anchor points stretch your image to fit the dimensions.
As you can see this is a huge improvement from the previous way of stretching our image online. The image is a lot sharper and the color contrast is also maintained even though this picture took up a lot of pixels
Congrats! You’ve learned how to stretch your images online using BunnyPic – a free online photo editor. Check out all the other tutorials we have on our blog and become a master photographer.