

Everybody loves getting their photos taken. Sometimes we may want to enhance our photo before publishing it to Instagram or other social media platforms. Although apps like Snapchat have evolved and added exciting new features such as face filters and face morphing, it doesn’t cater to specific needs.
You can’t always expect to get the perfect click. You might have heard how the camera adds some extra pounds to your picture – making you look chubbier. This happens because the world we live in is 3D whereas when you take a photo everything gets flat in 2D. This might explain why everything looks a bit flat and expanded in photos.
Advanced editing software like Photoshop made it possible to manipulate and edit images in a way to completely change them. However, Photoshop is complicated and has a huge learning curve. If you just want to edit your images to make your face slimmer it might not be worth the hassle.
Our free online Photo editor BunnyPic makes it super easy to edit and enhance your photos.
How to Slim a Face with BunnyPic
BunnyPic is our free online photo editing software that has similar tools to Photoshop. You don’t need to sign up or install any software on your computer to get started using our tool. Now, let’s dive into making a face slimmer in BunnyPic.
1. Open Your Image
To start using BunnyPic go to the BunnyPic Editor and open your image by clicking Open from Computer or dragging your file into the editor.
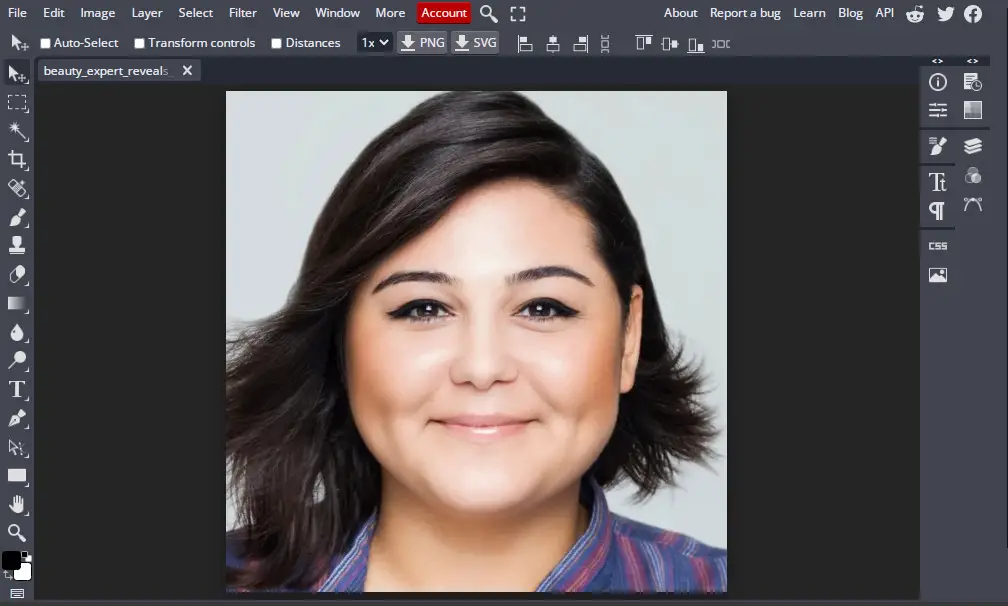
Now, we can start editing it.
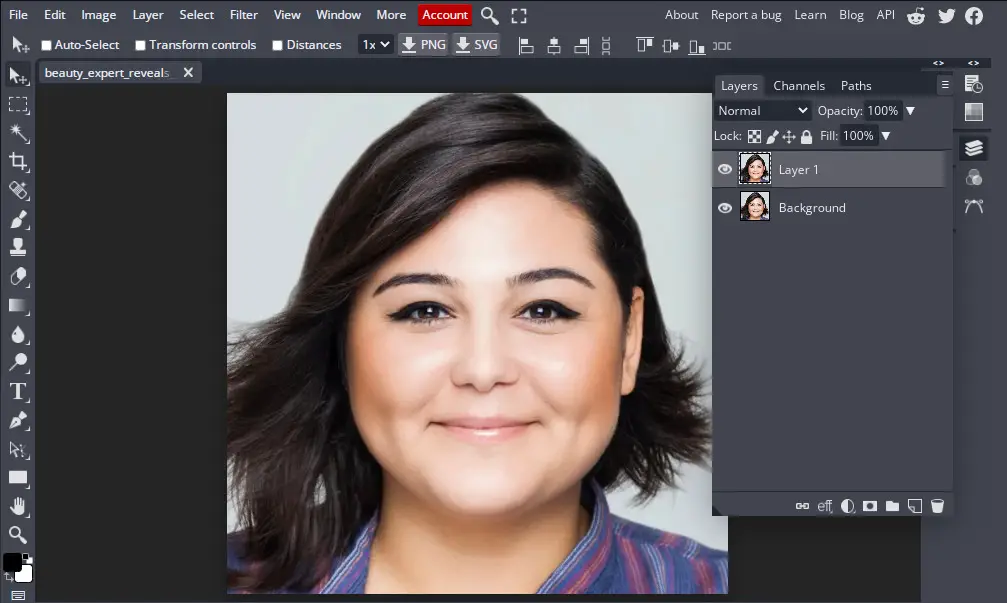
2. Duplicate the Layer
After opening the photo in BunnyPic we want to duplicate the original layer. We do this for non-destructive editing. This means that all our editing will take place on the duplicate image whilst keeping the original image intact.
To duplicate the layer open the layers panel from the right side, right-click on the layer, and hit Duplicate Layer or Press CTRL+J. Your layer should be duplicated.
3. Use the Liquify Tool to Change Face Shape
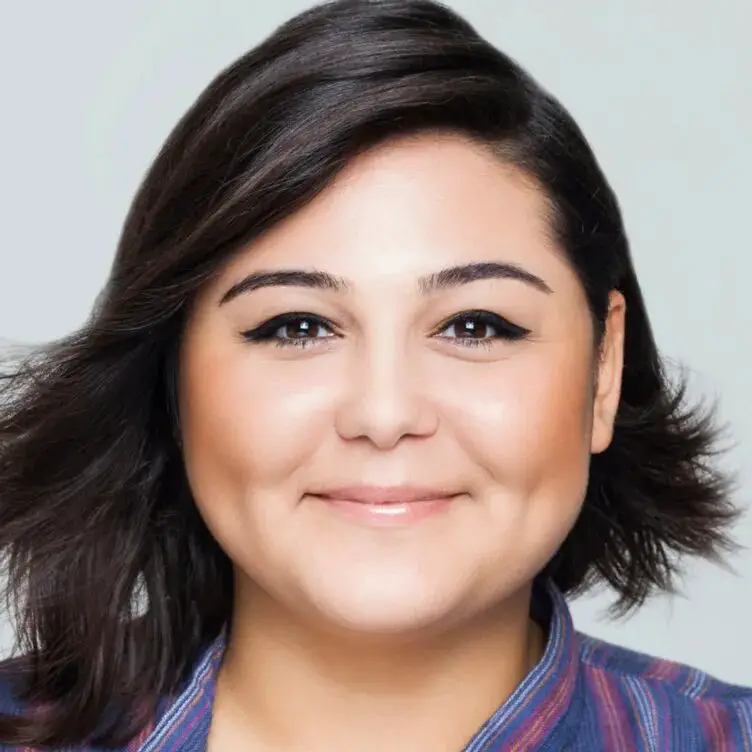
You can notice that the camera makes our model’s face look a bit full. This makes it wider than it actually is. In BunnyPic, we’ll use the Liquify tool to change the face shape slightly and slim it down.
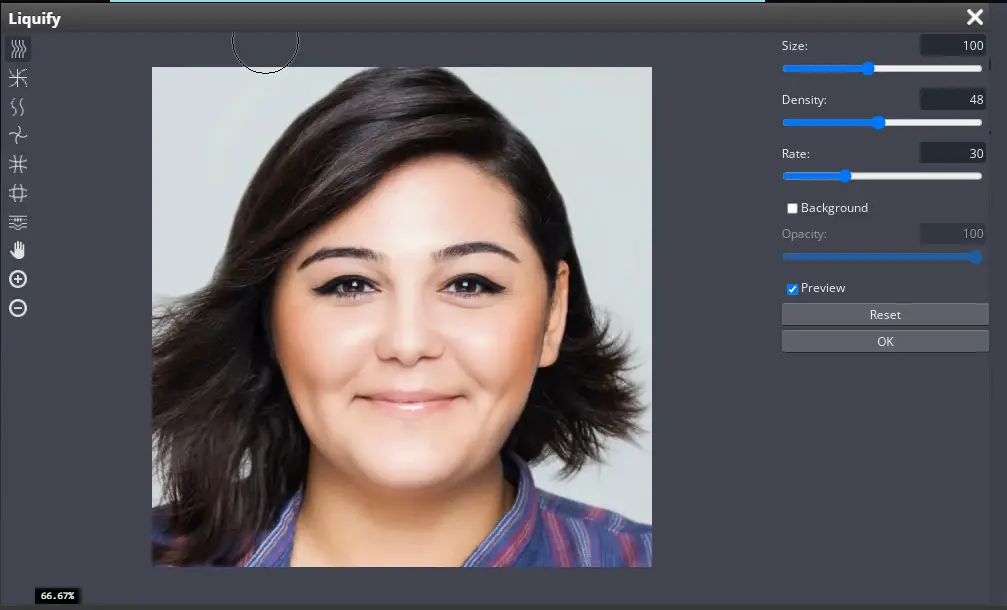
To start using the Liquify tool go to Filter > Liquify and a new screen should pop up. Over here, you have several correction tools at your disposal to manipulate the face shape of the subject.
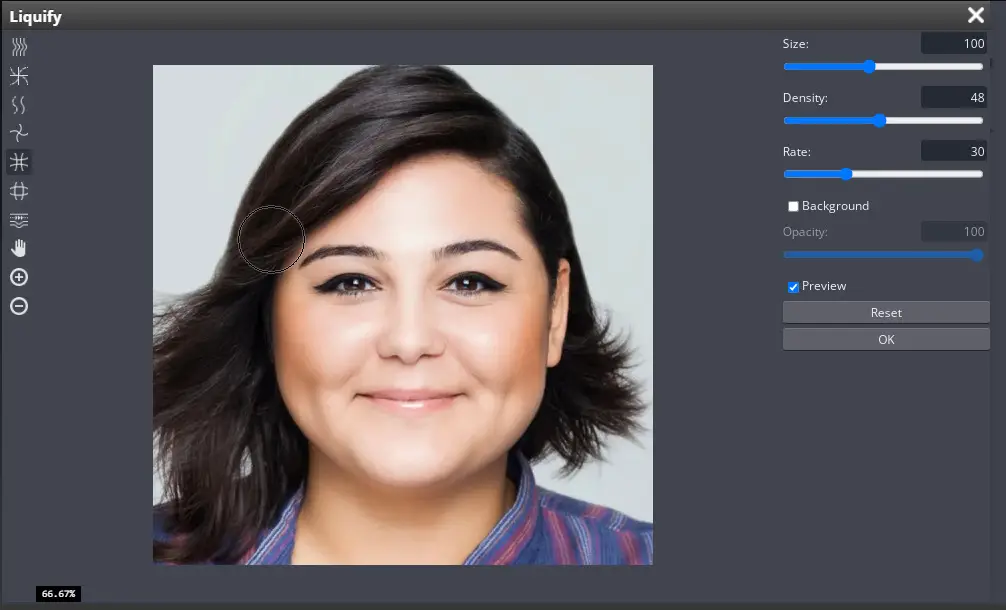
The Liquify tool enables you to enlarge, shrink or manipulate parts of your image. It does this smartly so that the surrounding areas are kept intact and not distorted.
Your default selection would be the Smudge tool. The smudge tool allows you to move and merge parts of the image together without making it look distorted. However, you shouldn’t overuse this as too much smudging would make the editing unrealistic and ruin the image.
On the right, you’ll also see some adjustment sliders. These will help you gain more control over smudging. You can increase/decrease the size of your brush, density, and the rate of smudging.
Since the default adjustments were causing too much smudging on my photo I decreased the rate to 30 and density to 48.
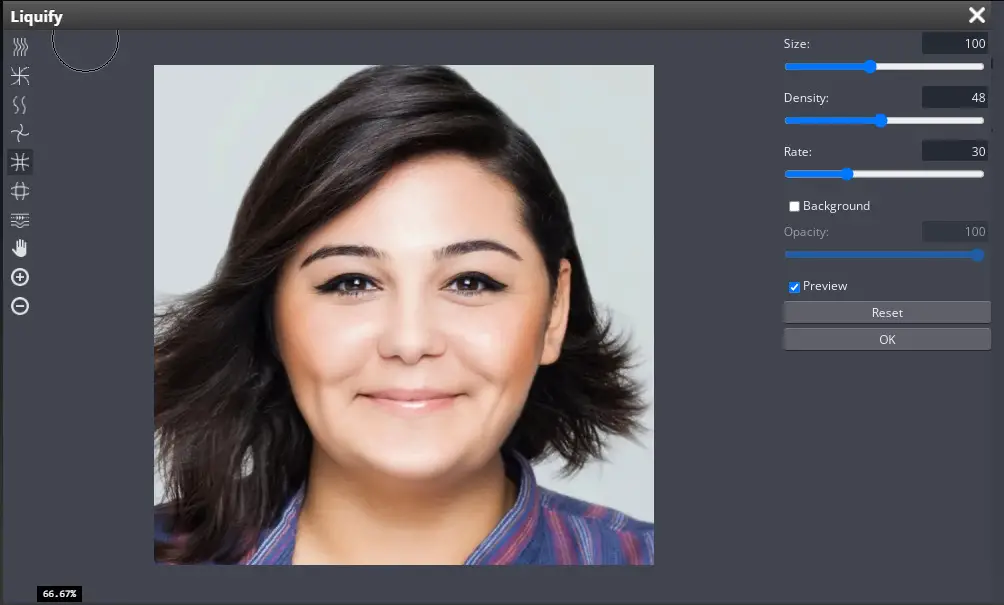
After making the adjustments I carefully started with the sides of the image. One way of ensuring a smooth edit is to start with the top and slowly slide down your brush.
4. Further Enhance the Image
Our model’s face has started to look a lot slimmer thanks to the Smudge tool. However, we can use the other tools as well to ensure our face slimming looks realistic. Many features play a part in making our faces look big or small. We need to take a good look at the cheekbones, jaw, and neck as well so we have a smooth edit.
To further enhance your image and make it look slim we can use the Shrink tool. The shrink tool shrinks parts of the image using content awareness. Click on the Shrink tool and navigate to a part of your image you want to make smaller. For this image, I’ll raise the cheeks and jaw a bit, by pinching the surrounding areas, to make them look more defined.
Tip: Other than holding down on the shrink tool you can also repeatedly click parts of your image. This will add the shrinking effect little by little and give you more control over your editing.
Here’s a before and after look at our photo.

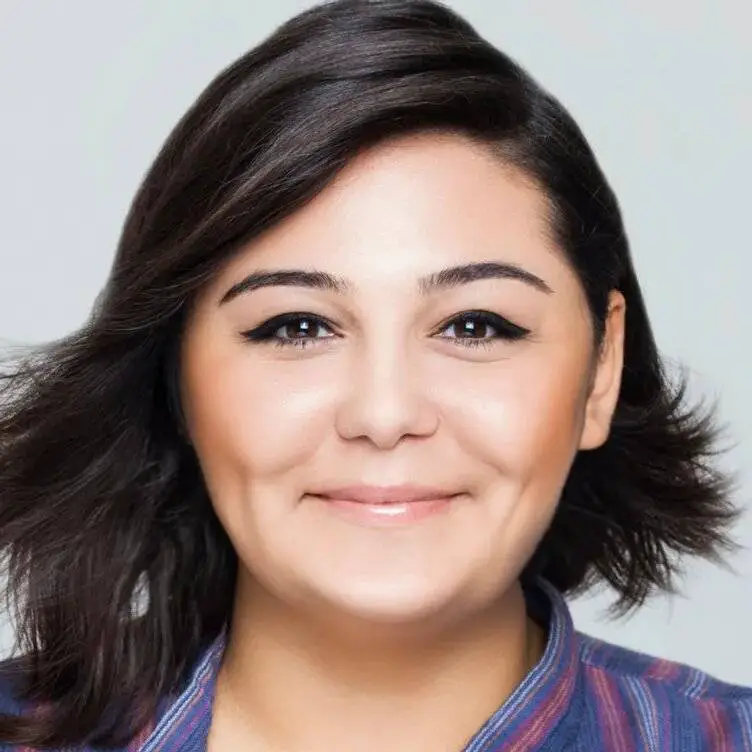
The subject’s face is looking slimmer and much more defined. This photo is done but you don’t have to stop here. You can even change the color of the hair and eyes using BunnyPic. Visit our blog for more in-depth tutorials regarding photo editing and retouching online.