

When taking photos, it’s the little things that matter. When it comes to your teeth it’s the first thing that catches people’s eyes. Your teeth can really make or break a photo and the difference between you looking your best and a terrible photo can be yellow teeth.
But gone are the days where you’re rubbing banana peels and baking soda on your teeth trying to get that model smile. With a lot of editing tools available online you can whiten your teeth by editing your photos with tried-and-tested software.
Photoshop might be the first to come in mind, but Photoshop comes with an expensive price tag. Which is why our free BunnyPic photo editor is the ideal alternative for whitening your teeth online. In this article you’ll learn more about the features of BunnyPic and how to whiten your teeth online.
BunnyPic Free Online Teeth Whitening Editor
BunnyPic is an online Photoshop tool that has similar features to Photoshop and features powerful A.I. With BunnyPic you can easily whiten your teeth online .
With BunnyPic you can quickly get rid of teeth stains and yellowing to make your smile shine and be more confident when sharing your photos with the world.
Quickly Whiten Your Teeth Online with No Editing Experience
You took a selfie but before posting it online or sharing it with your friends you instantly notice your teeth are yellow. Are you also worried about how your teeth look in photos? That’s no surprise as many people are insecure about sharing photos with teeth imperfections.
However, with BunnyPic you can instantly remove teeth stains and yellowing. As we’ll further discuss in this article, whitening and brightening your teeth on BunnyPic is easy even if you have no past retouching or photo editing experience.
Fully Online
Most photo editing software requires a lot of storage and may be heavy on your computer. But, BunnyPic doesn’t require you to have the latest specs, it can be accessed right from your browser. All you have to do is go to the BunnyPic Editor and start editing!
Always Free, No Sign-Up Required
BunnyPic is and will always be free. It doesn’t require any email and sign-up, just open your browser launch the editor and start editing your images. No need to pay for expensive software subscription, with BunnyPic you can whiten teeth online for free.
How to Whiten Teeth Using BunnyPic Online Photo Editor
So, how do we whiten teeth with BunnyPic? Here’s an easy to follow guide to whiten teeth online using the free photo editing software. Before we start, make sure you have your image loaded into the computer.
1. Open Your Photo in BunnyPic
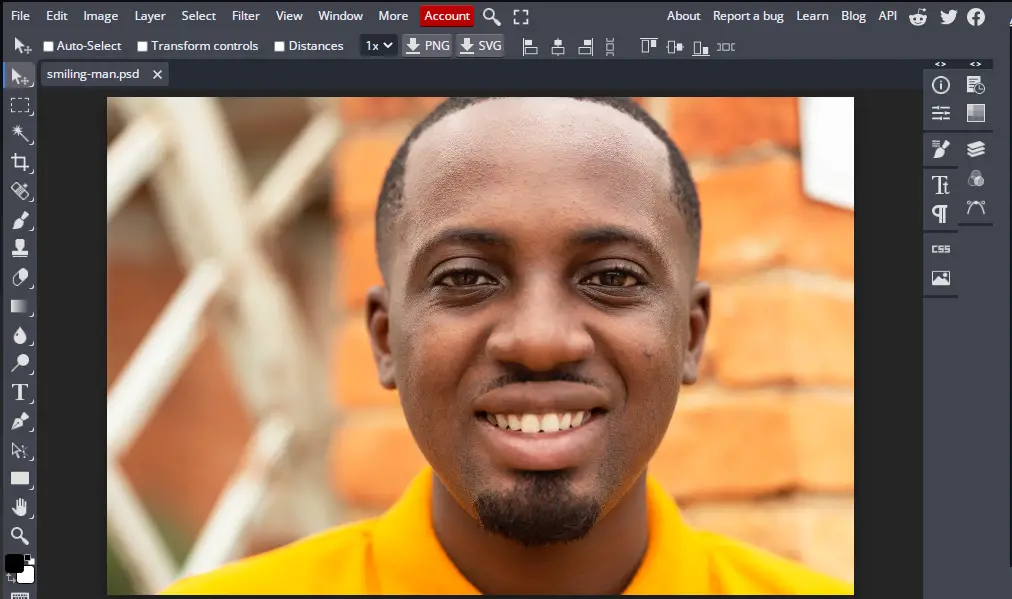
Go to the BunnyPic Editor and open your photo by dragging it into the editor or import it by clicking on Open from Computer and selecting your image.
2. Make a Selection Around the Teeth
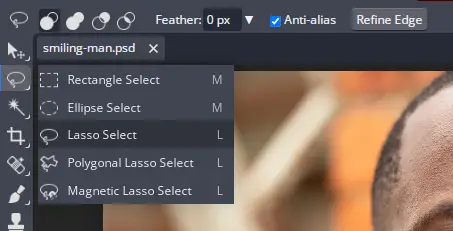
After importing your photo select the subject’s teeth that you want to whiten. Select it by using one of the selection tools from the left toolbar. Here I’ll be using the Lasso tool to make a freehand selection around the teeth.
After selecting the Lasso tool make a selection around the teeth like so:
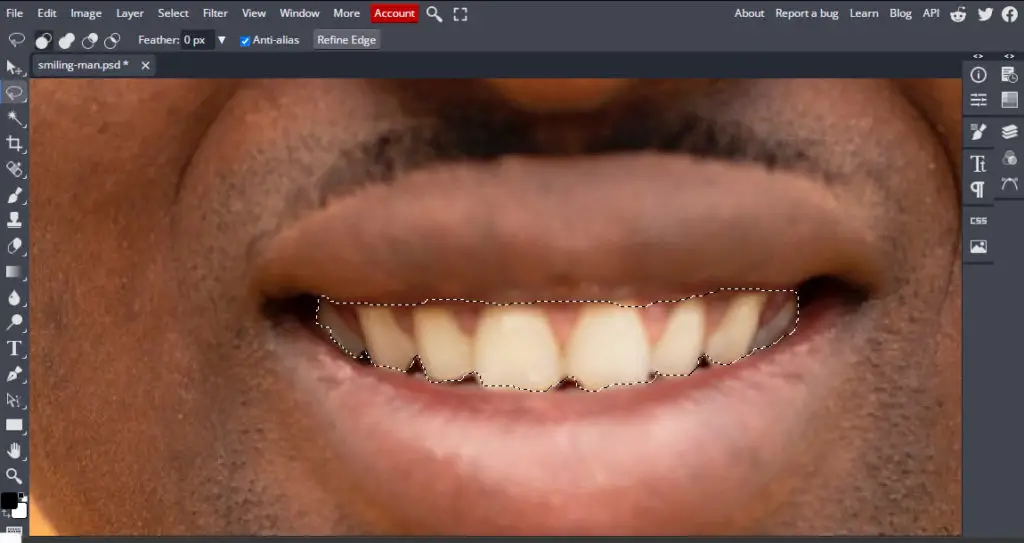
The selection doesn’t have to be perfect. We’ll learn how to fix the imperfections later with a more efficient method. For now just make sure all the teeth are within the selection.
3. Add Hue/Saturation Adjustment Layer
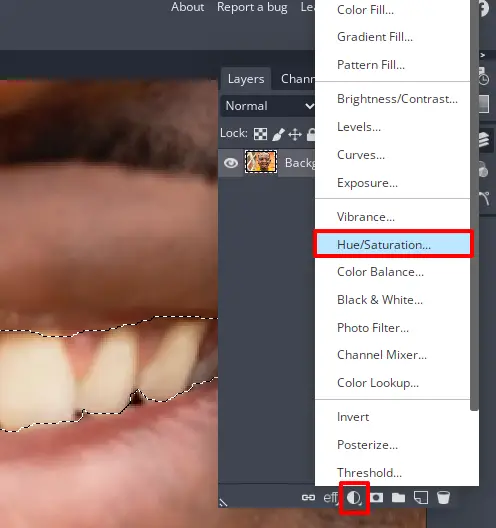
To start whitening the teeth you need to add the hue/saturation adjustment layer. This will allow you to remove the yellowing and brighten the teeth. Add a hue/saturation layer by opening the Layers panel from the right toolbar, click the adjustment layer icon and select Hue/Saturation.
4. Remove Yellowing by Selecting Yellows Adjustment Setting
The hue/saturation adjustment layer gives us greater control over the color selection of the teeth. We’ll first remove the yellowing from the teeth by following the below instructions:
- With the hue/saturation layer selected, click on Properties to open the properties panel. This may have automatically opened when you added the adjustment layer.
- Click on the Range where it says “Master” and from the drop-down select “Yellow.”
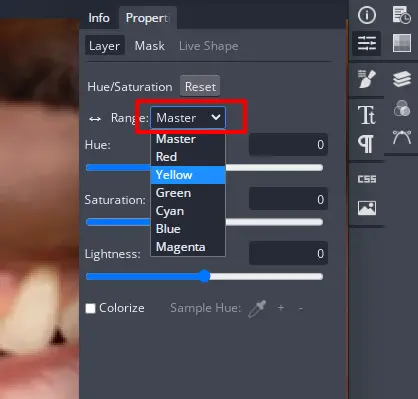
- Now, you’ll be presented with different sliders that control the yellows of the selection which in this case are the teeth of the subject.
- Decrease the Saturation of the yellow until the yellow color from the teeth is removed.
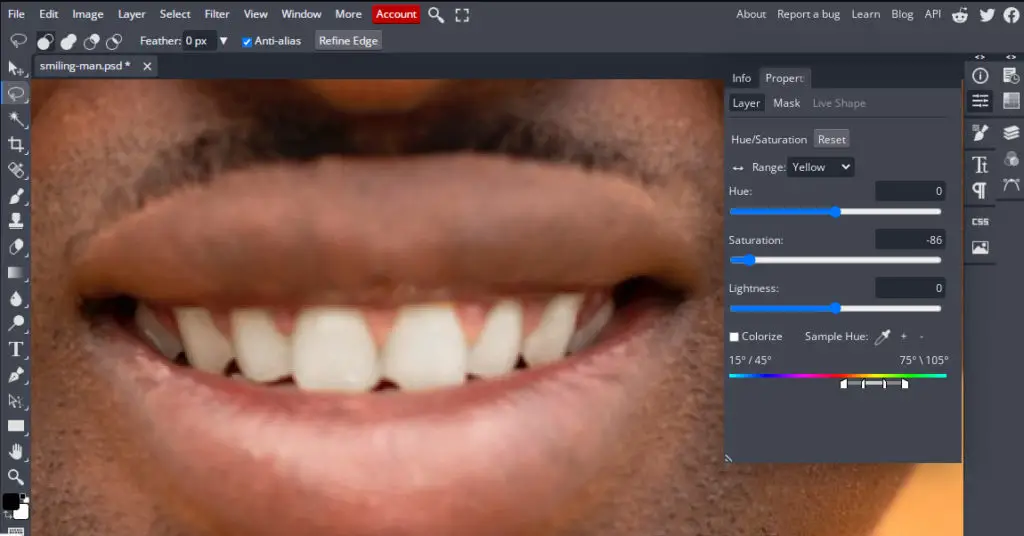
Although we’ve removed the yellow from the teeth they’re looking dull. To fix this we’ll have to brighten the teeth so they match our new whitened teeth.
5. Brighten the Teeth with Lightness Slider
Brightening the teeth is easy as it is also done from the hue/saturation layer. To brighten the teeth change the Range back from “Yellow” to “Master.” From the sliders adjust the Lightness to a higher value to make the selection brighter
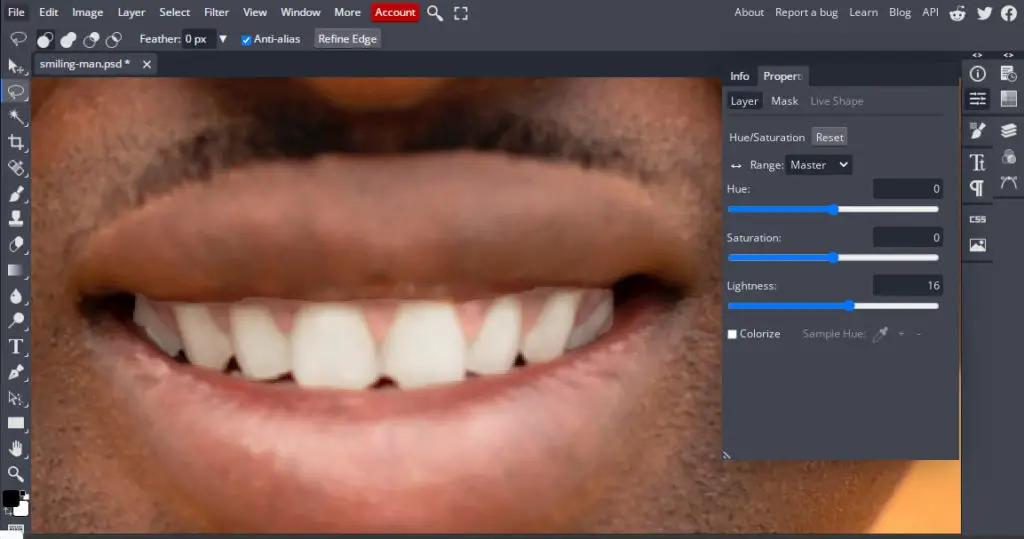
Our subject’s teeth are now white and bright, great! However, they still don’t look right. You’ll notice some places that are roughly whitened as well. This is due to our selection not being perfect. We’ll use the Brush tool to take care of this.
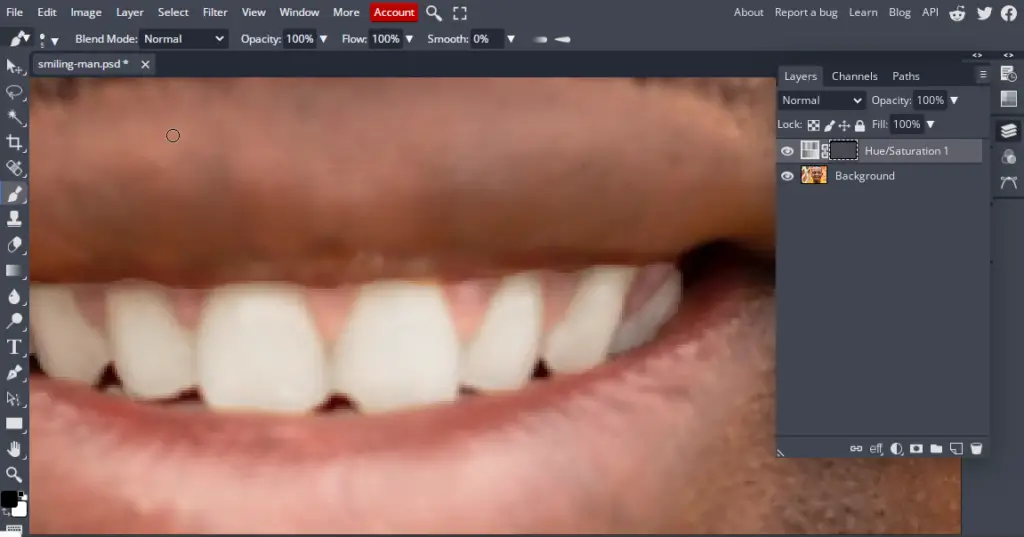
6. Select Brush Tool
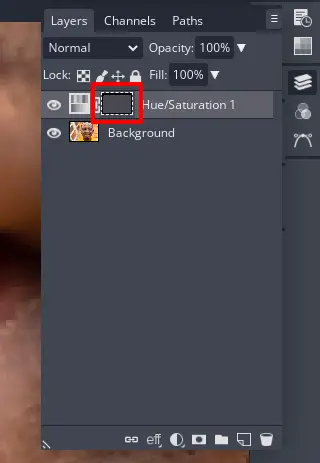
Now to clean up our selection we’ll use the brush tool. Select the brush tool from the left toolbar and select the mask of the hue/saturation adjustment layer.
7. Clean Up Imperfections with Brush Tool
With the brush tool active and the layer mask selected brush over the parts of the image you don’t want to be effected by the hue/saturation layer. For the most accurate results make your brush size a little smaller by pressing the left bracket key ([) and zoom into the image.
After brushing over the selection you can now see our teeth whitening is looking much more better.
Teeth Whitening Online: Before and After Results
Finally, after following all the steps correctly your image should have a bright smile with pearly white teeth. Take a look at the before and after results:
