
Celebrating a birthday of a loved one is a great opportunity for family and friends to get together. It’s also a great way to express your love for the birthday boy or girl in the form of a gift. You don’t want to give them cash because it would make them feel as if you didn’t put any though into the gift.
You want to give them something special, something they could cherish for years to come. Handcrafting a birthday frame and giving it to them as a gift or using it as decoration is a lovely way to say, “You’re special to me.”
But, you may not be the “arts & craft” or “DIY” type – so how do you go about making a birthday frame? In this article we’ll explore BunnyPic a free online photo editing tool and a great alternative to Photoshop to help you make the best Online Happy Birthday Photo Frames.
Celebrate special moments with personalized happy birthday photo frames available in both A2 and A3 frame sizes at Eagelframes.co.uk. These high-quality frames provide the perfect backdrop to showcase cherished memories, adding a touch of elegance to your birthday celebrations. Explore their stunning collection to make your loved one’s birthday even more memorable with a customized A2 or A3 frame.
How to Make a Happy Birthday Photo Frame on BunnyPic
Creating a photo frame for the birthday boy or girl is easy with BunnyPic. But before we go ahead you need to make sure you have a high-quality digital image of the subject. Once you have your images it’s time to go into the BunnyPic Editor and start editing!
1. Create a New Project in BunnyPic
Go to the BunnyPic editor and click on New Project. A new screen should appear asking you what size you want the image. If you plan on printing your image you can select a print template from BunnyPic’s library.
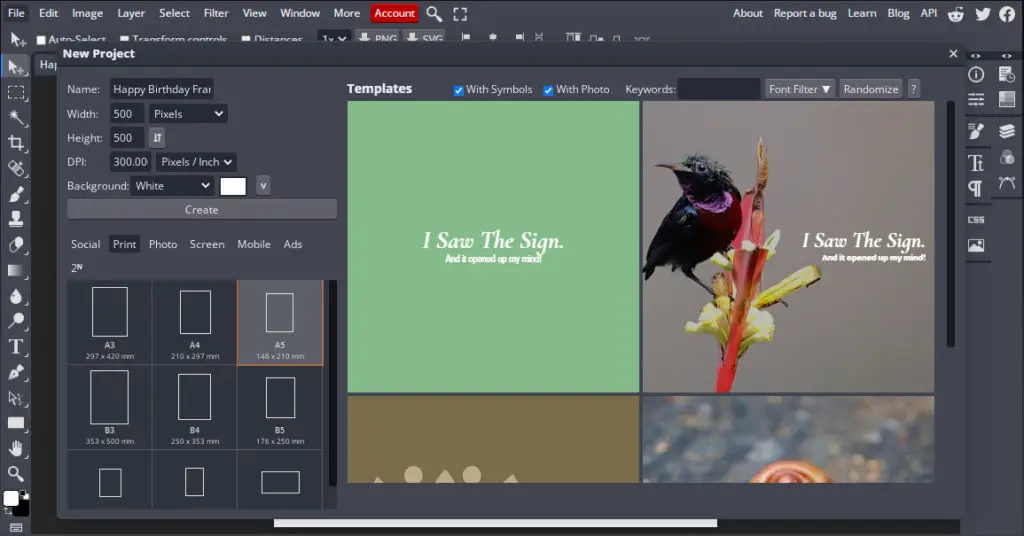
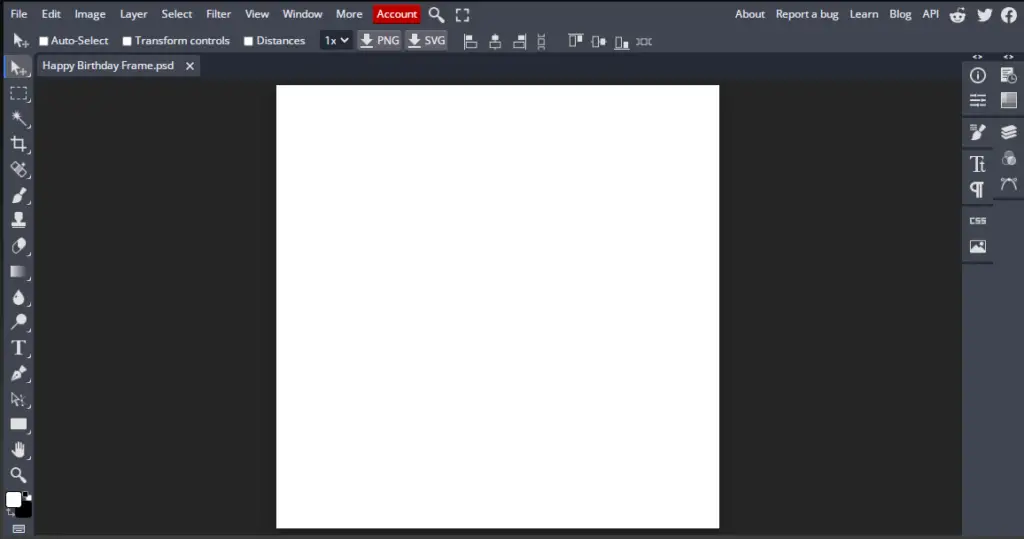
Since I’ll be using my image for digital I’ll stick with 500×500 pixels. After selecting the size, click on Create to create a blank document.
2. Open Your Image
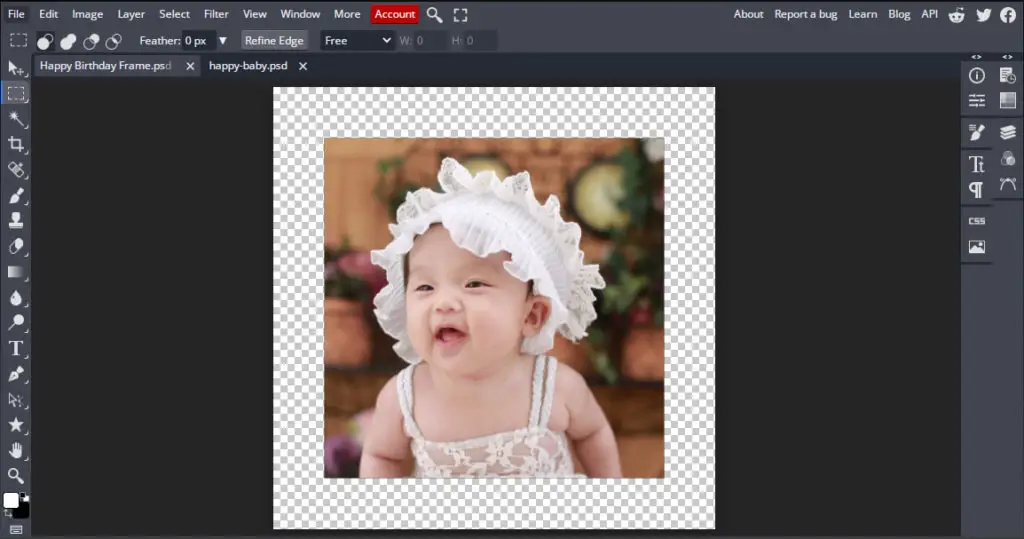
To place your image in your new document you need to open it in BunnyPic as well. To do this go to File > Open > and select the image you want to add the happy birthday photo frame to.
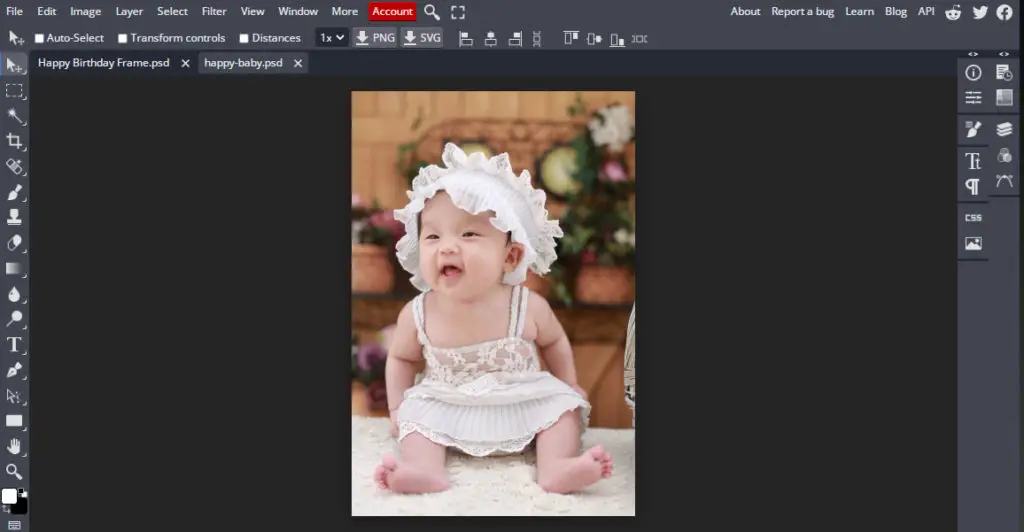
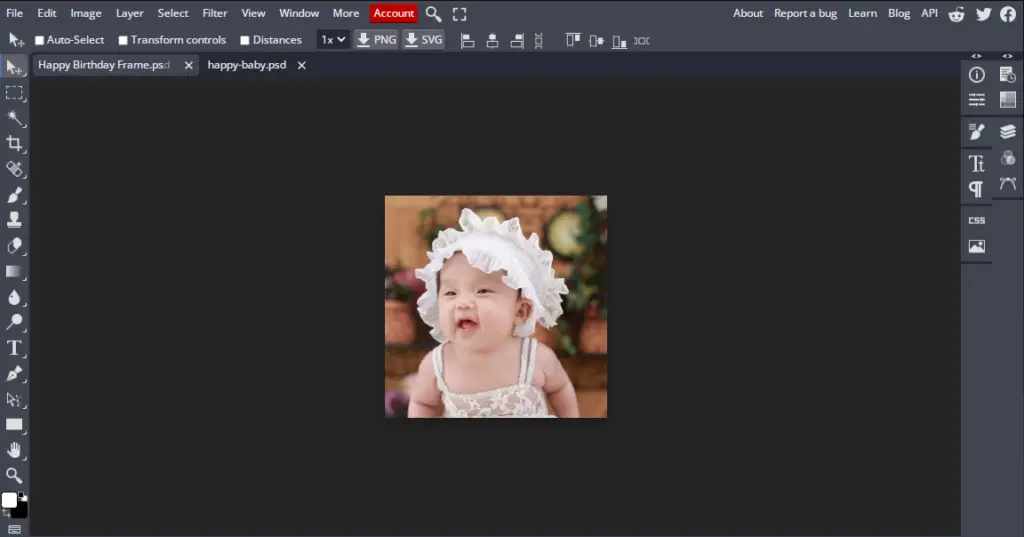
After adding the image you have to drag it on to the blank document to place it there. Once you do that the size of the image might be different than the document. To resize your image click on Transform Controls from the toolbar and scale the image up or down from the anchor points.

3. Add Borders
We have the image correctly placed and sized however we won’t add happy birthday graphics just yet. Before adding graphics we need to create some space around the image or borders. To create borders follow the instructions below:
- From the top toolbar, go to Image > Canvas Size
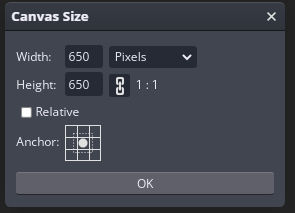
- In the prompt, select a value greater than the original width and height of the document. This will make transparent borders on all sides of your image
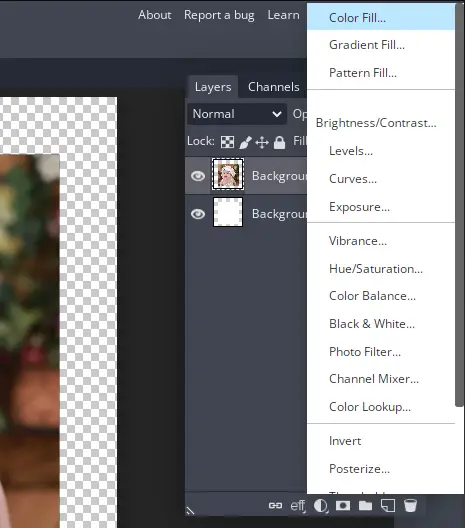
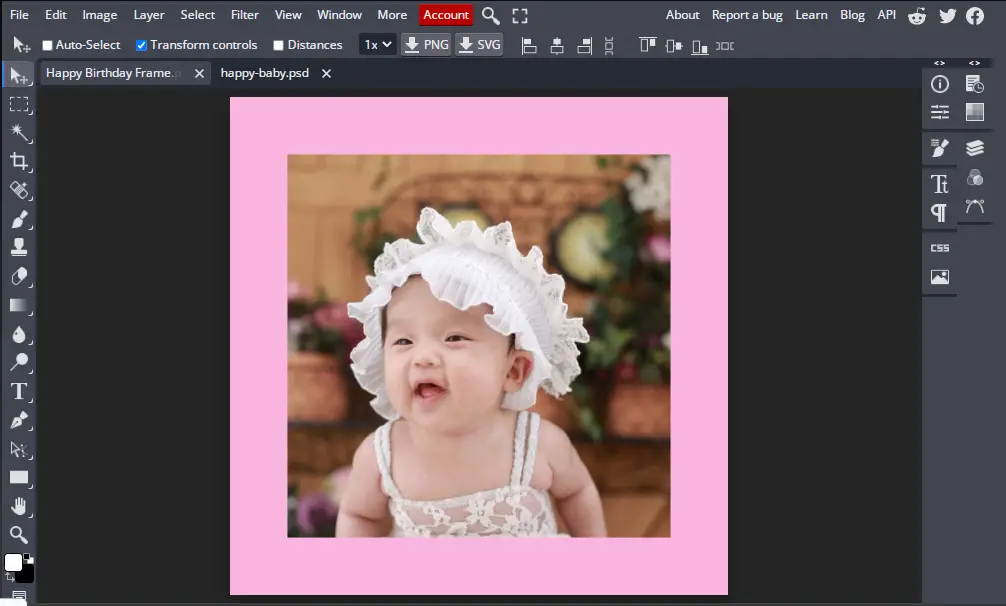
- Next, we’ll be coloring the borders for an added effect. Do this by going to the Layers panel and adding a new Color Fill layer
4. Add Graphics
The main difference between a normal photo frame and a happy birthday frame are the decorations/graphics. You’ll need a few birthday graphics to add to your photo to really make it shine. This includes birthday wishes, balloons, banners and other things.
You don’t need to be an artist and draw these graphics by hand. You can just download them for free from FreePik.com
I just searched for “birthday cake” in FreePik and here are the results:
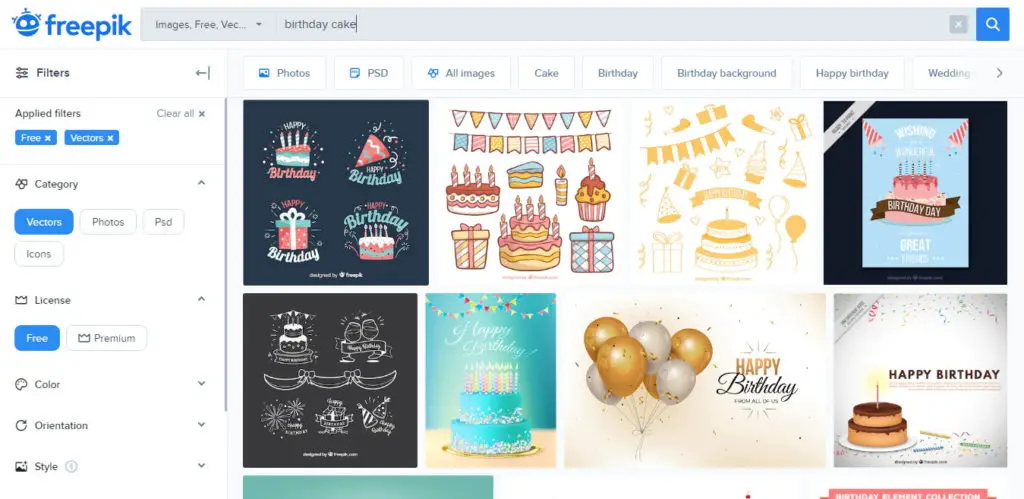
Download the ones you find interesting, open them in the BunnyPic Editor and drag them into the original document.
When you drag-and-drop a vector file into BunnyPic the intelligent AI will separate them into multiple layers. Select all the layers and create a new folder by pressing the folder icon at the bottom. Now these layers would be more manageable and easier to make changes to.
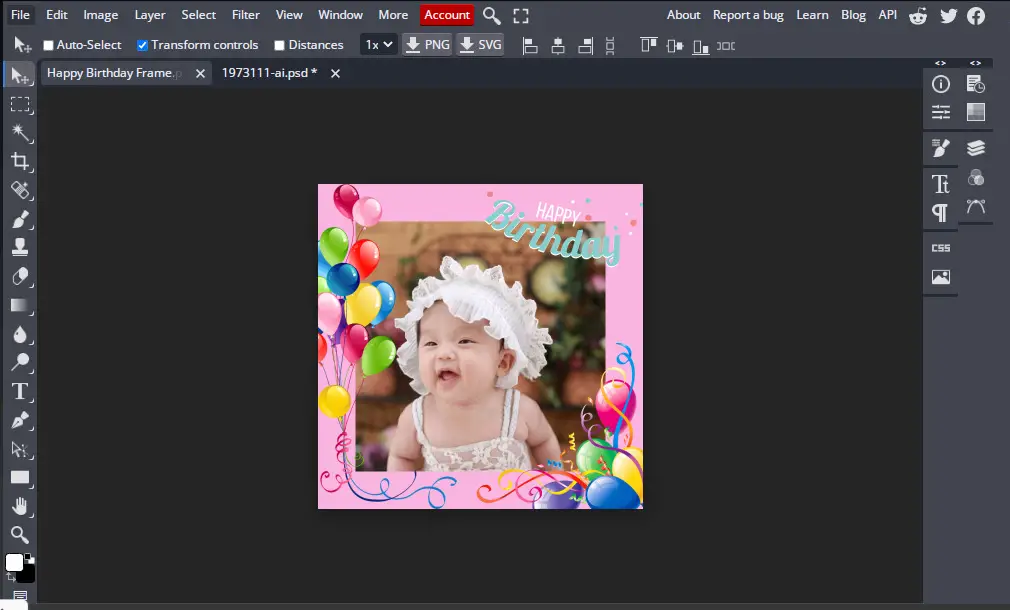
Finally place all the graphics on the sides/borders of the image. Here’s what our final image looks like:
5. Save/Export Your Image
Now that our photo is complete the only thing left to do is save it. This is easy, all you have to do is go to File > Export As > Save as PNG or JPG.

If you are planning on printing the photo you shouldn’t save it as a PNG or JPG image. This will reduce the quality or ruin the colors as it is printed. To optimize your image for printing go to File > Export As > Save as PDF. PDF files are generally offer a more higher-quality press and although it is optional I would also recommend you to add thin margins to your image. When printed, you can cut off the sides of the image to ensure a clean print with no rough edges.
And there you have it, you’ve just made a fantastic happy birthday photo frame online for free! If you need more help with finding the right size to print your photo, check out our guide on 4×6 photos.