

If you’ve always been a windows user and have dabbled with photo editing you’ve probably heard of Photoshop. Photoshop is the industry-standard photo editing software for photographers and artists. Thanks to its huge range of features Photoshop is popular among many people but what if you don’t have Photoshop?
Maybe you bought a new Mac or you’re strapped of cash paying Photoshop’s recurring monthly fees. Switching from windows to a Mac can be exciting and difficult at the same time. The macOS can be hard to understand for any first-timer – but learning Photoshop on top of that can become increasingly overwhelming.
You might have wondered if there is a way to edit photos on your Mac without making the heavy investment on Photoshop.
BunnyPic is a free photo editing tool that has almost all the same features as Photoshop. It is an online tool that is completely free-to-use and doesn’t require any installation or sign-up. whether you’re just looking for a quick trim with the crop tool or fully transform your image with the dodge and burn tool – BunnyPic would cater to all your photo editing needs. In this article, we’ll explore how to edit your photos on a mac with BunnyPic.
Why Use BunnyPic Over Other Photoshop Alternatives?
When you first opened up your Mac you might have noticed an app called Apple Photos. This is a photo editing app that comes built-in with all the recent Macs but it has some limitations. Although you can perform basic edits on Apple Photos, its lack of photo enhancement and manipulation tools restricts users from going above and beyond with their editing.
Just like Apple Photos there are many other free alternatives to Photoshop but they share the same issues. This is why we suggest BunnyPic for Mac users as it doesn’t cost a single penny and gives you the same freedom you expect from Photoshop.
Since BunnyPic is similar to Photoshop it also gives you most of the same tools as Photoshop such as the Spot healing brush tool, Clone stamp tool and Content-aware fills/selections. Now, let’s look into the possibilities of BunnyPic and how you can use it to edit photos on your Mac.
Getting Started with BunnyPic On Your Mac
If you already have some experience with Photoshop, navigating through BunnyPic is going to be a breeze. But, even if you have no previous experience working with photo editing software – this guide will clear up everything.
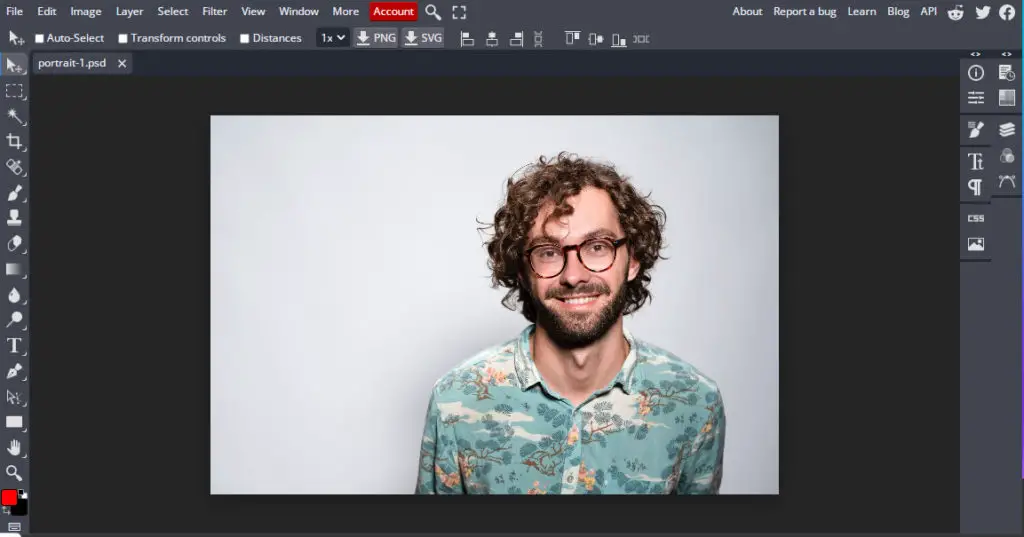
To get started, you need to go to the BunnyPic editor and open your image you want to edit. You can even download a free stock image from Unsplash to practice on.
With our image open in the editor we’ll discuss how to use some of the tools to perform the most common kinds of editing.
Convert Your Image to Black and White
A common and professional looking photo is a black and white portrait. If you are planning to take a photo of yourself for your business profile or your LinkedIn account a black and white photo never fails to impress. With BunnyPic, you get much more options to edit your photos into the classic black and white look.
To convert your photos into black and white on a mac with BunnyPic:
- Open your image in the BunnyPic editor. Go to Open from Computer and select your photo or drag it straight into the editor.
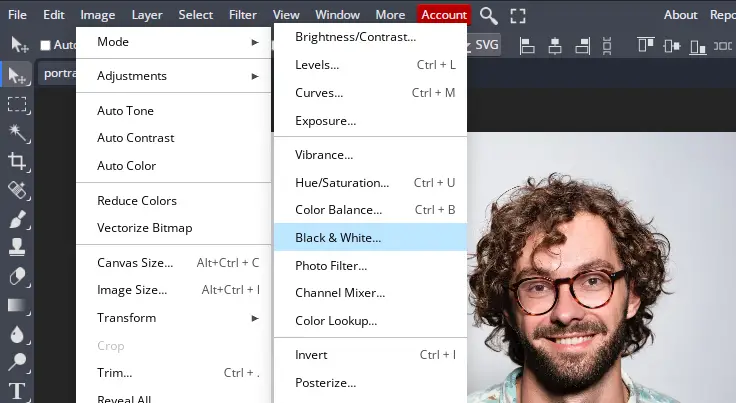
- Next, from the top toolbar, go to Image > Adjustments > Black and White. Your image should now be in black and white and a prompt box should appear.
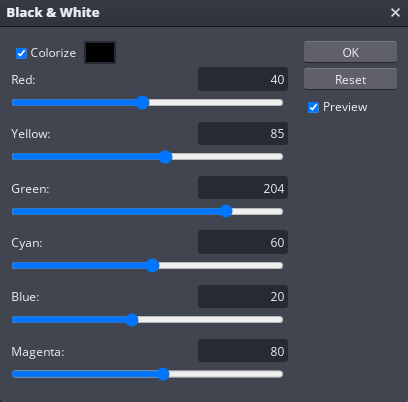
- Adjust your black and white filter with the sliders provided to get the effect you want. With this sliders you can change, increase or decrease the effect of shadows and highlights. You can adjust the Red, Yellow, Green, Cyan, Blue and Magenta in your photo – which would give expert photographers more options to capture the ideal photo. Once done, click OK.
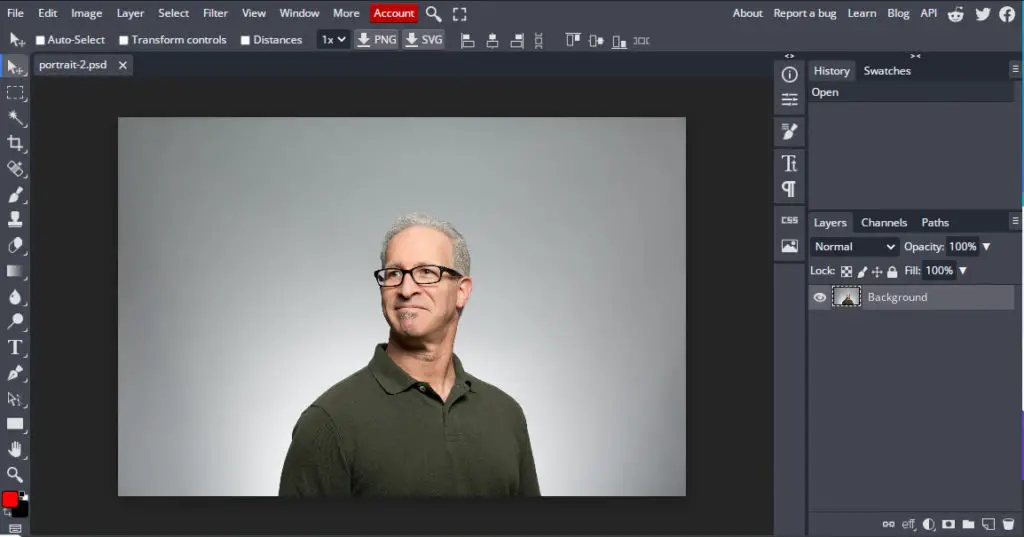
If you followed all the steps correctly your photo should be in black and white.

Cropping Your Image
It’s rare to capture the perfect photo on your first click. The crop tool in BunnyPic gives you flexibility and makes it easy to crop your photos quickly and effectively. If you plan on posting your pictures on social media or want to frame them for you family photo album – you’ll need to know to crop your photos for a right fit.
Cropping your photo in BunnyPic is easy:
- Open your image in the BunnyPic Editor
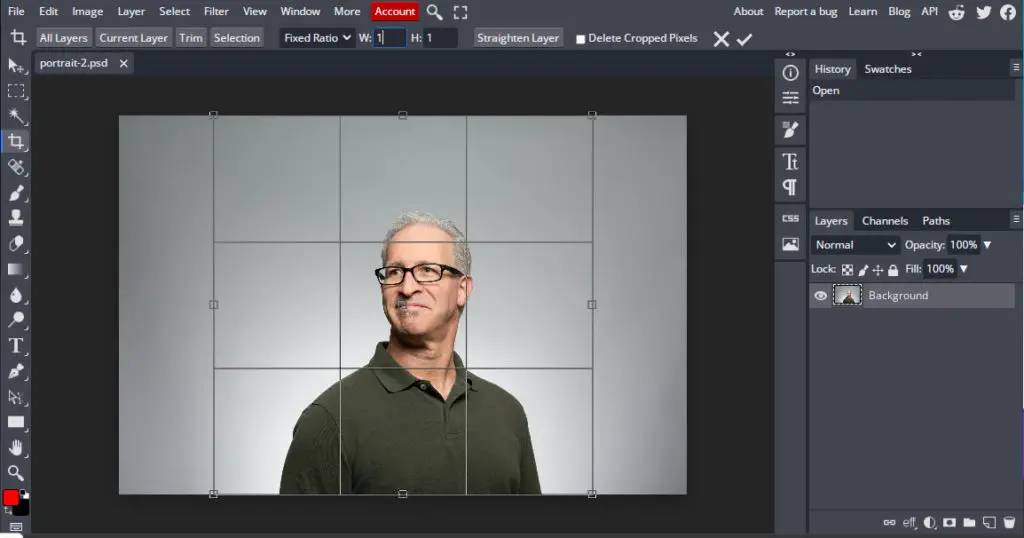
- Select the Crop tool from the left toolbar

- Once the Crop tool is activated your photo would have anchor points on each of its sides. Drag those anchor points to the point where you want the photo to be cropped.

- If you want you could also set a fixed ratio to maintain the ratio of your image. To do this navigate to the top toolbar and click on Free > Fixed Ratio and manually adjust your ratio.
This would be a better option if you are trying crop your photo to make it fit on Instagram or some other social media platform.
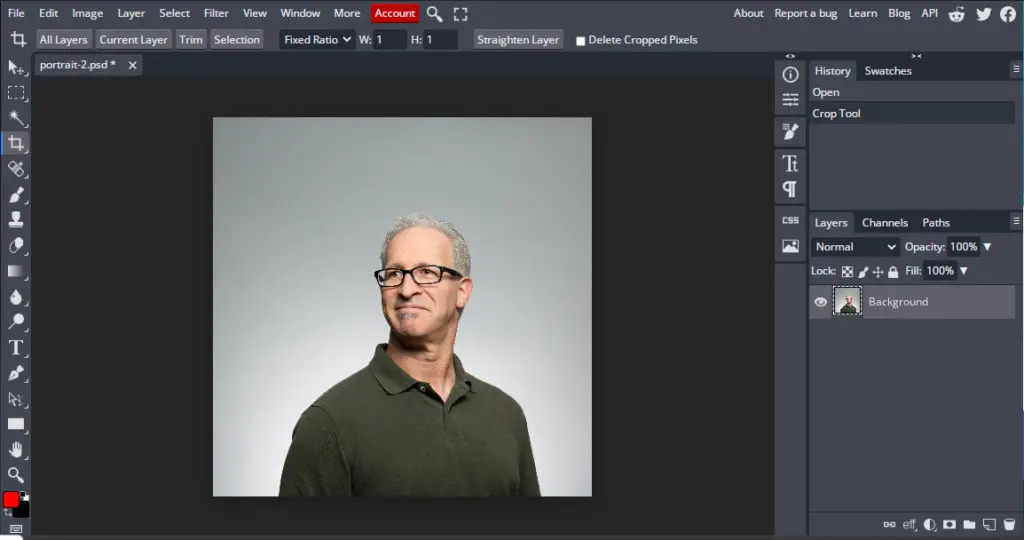
Once your happy with the crop click on the tick icon on the top right to save your selection.
Here’s what our new image looks like:
Enhancing Your Images With A.I. Tools
A.I. tools are used to totally transform your images. This process is also called photo manipulation. BunnyPic’s A.I. tools will help you change your image with the help of content-awareness so the image is not distorted.
There are several A.I. tools in BunnyPic for advanced photo manipulation. Below we’ve discussed some of the most common ones.
Spot Healing Brush Tool
The spot healing brush tool is used to remove imperfection in your photo. This is a quick way to remove unwanted items in your photos and can save you a lot of time.
To remove objects from your image using the Spot Healing Brush Tool:
- Open your image in the BunnyPic Editor
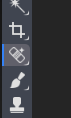
- Select the Spot Healing Brush Tool from the left toolbar
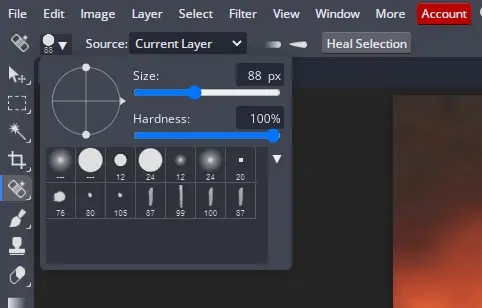
- Adjust the size and shape of the brush by clicking on the brush tip located at the top-left.
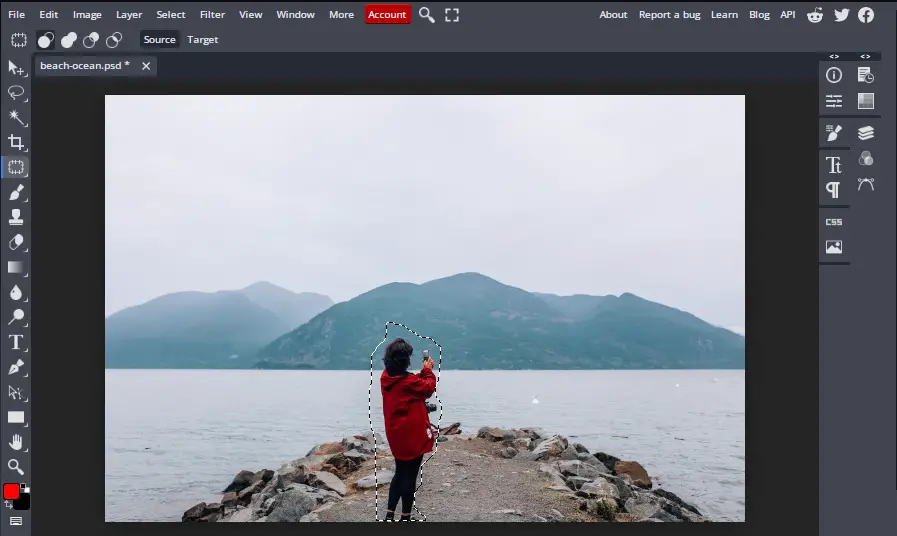
- Draw over the object you want to remove

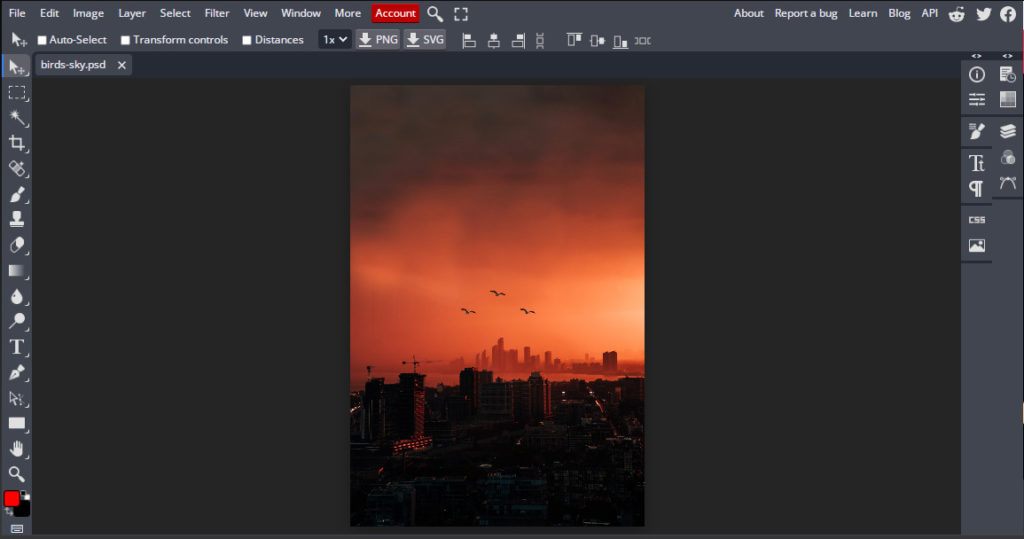
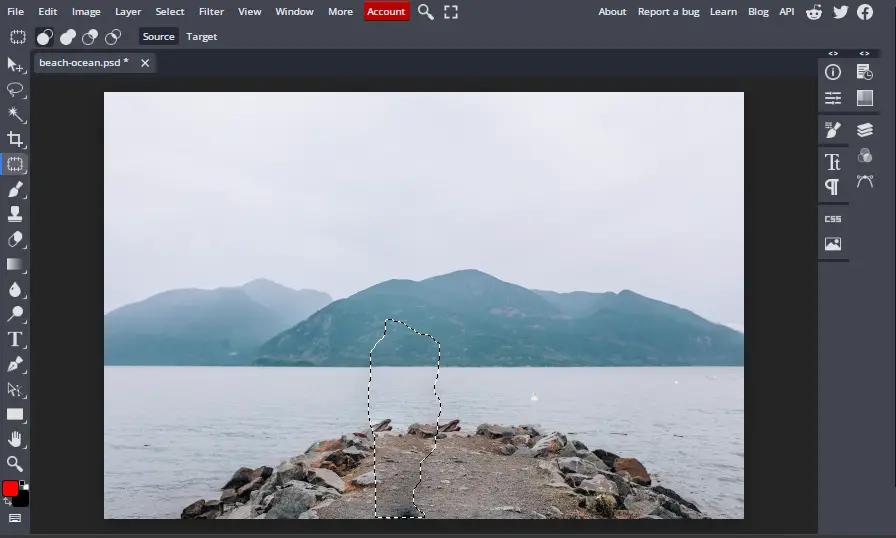
Now, our new image looks like this:

Healing Brush Tool
The healing brush tool is the same as the Spot Healing Brush Tool above. However, the Healing Brush Tool is used for bigger paints and matches the fill with the surrounding content.
Patch Tool
Using the Patch tool is ideal for simple landscape photos where the surrounding area is similar to the object you want to remove. With the Patch tool selected you simply select the subject and move it out of the image. BunnyPic uses smart content-awareness to fill the image with the background so no one can tell there was anything there in the first place.
Using Filters in BunnyPic
BunnyPic offers you a wide range of filters to quickly stylize your images. You can use these filters to make your photos look trendy and achieve cool-looking effects.
Filters really boost the whole vibe of your image. Through the use of filters you can increase/decrease the intensity of the photo’s saturation, contrast and vibrancy. You can also mimic the effects of Oil Paint or cartoon sketches for more fun experimental type of editing.
To apply filters to your photos in BunnyPic:
- Open the photo you want to apply the filter to in the BunnyPic Editor

- Next, go to Filter > Filter Gallery from the top toolbar.
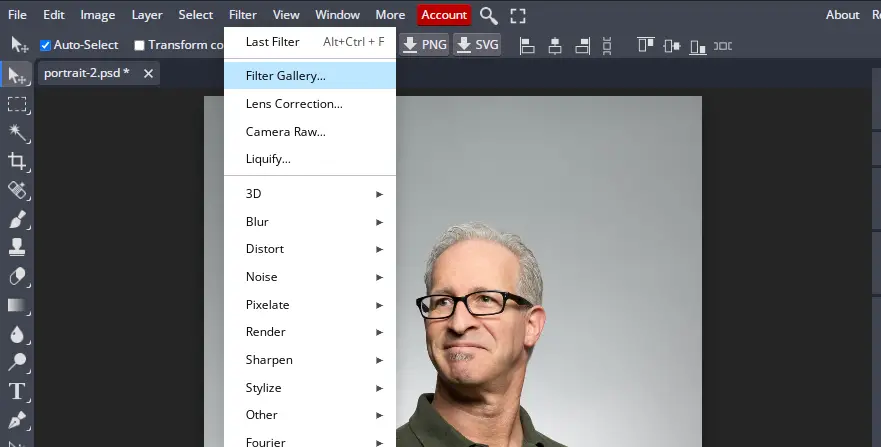
- A new window should open up that displays a library of different filters you can apply to your photo. These include Artistic, Brush Strokes, Distort, Sketch, Stylize and Texture effects.

- After selecting the filter you like you can modify it further so it looks the way you want it. You’ll see some adjustment sliders in the far right which you can use to adjust the effect of your filter.
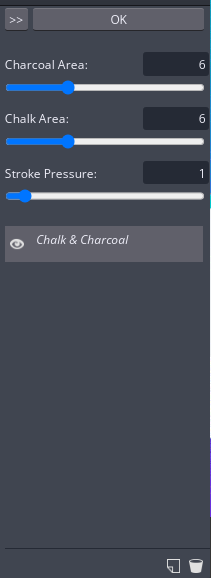
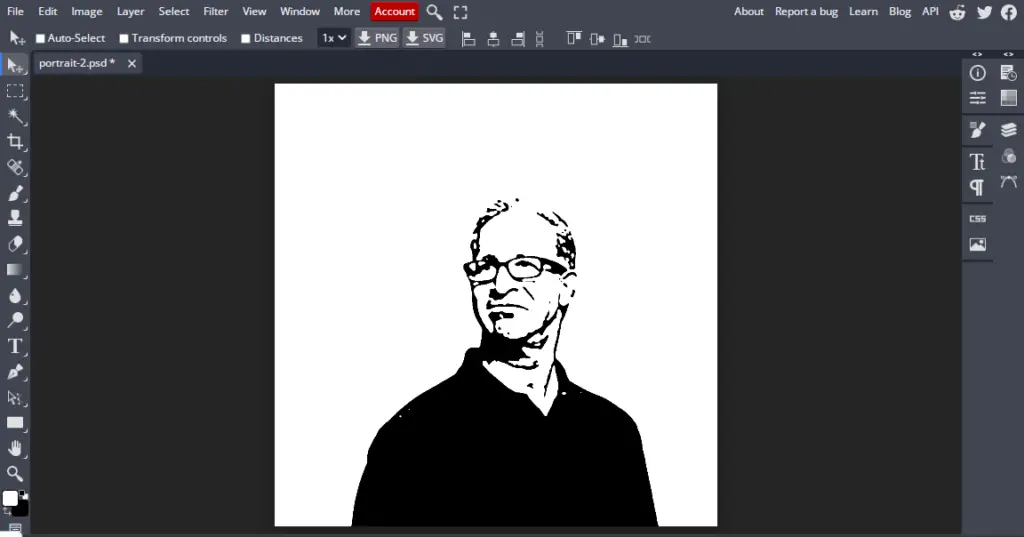
- Finally once the filter is looking good click OK to apply the filter.
Conclusion
Apple’s Mac treats its users right by providing a pleasant user experience and the advanced macOS. However editing photos on a Mac can get complicated. Even though Apple offers a free built-in app on its Mac – it isn’t the best photo editor for more advanced editing.
To edit photos on your Mac without Photoshop use BunnyPic. BunnyPic is an advanced Photoshop tool that is free to use and fully online. No installation or registration required. You can start using the BunnyPic Editor today or explore our blog to learn how to use it.