

A photo collage is a creative way to treasure memories and tell a story. A photo collage is a great way to practice your composition skills and archive memories into one single frame.
There are several portable apps you can get that allow you to insert your images and they make the collage for you.
However, Photoshop gives you a lot more control over how each individual image looks and allows you to customize them freely.
In this tutorial, we’ll look at how to select photos for your collage, import them into Photoshop, add them as separate layers, and compose them into a single collage.
If you want to make photo collages without Photoshop, you can use Bunnypic which is our free online tool that requires no sign-up.
1. Choosing your photos
Choosing the right photos is an essential step to making a beautiful photo collage. It’s not possible to compose a whole photo album onto one single frame so you should add photos sparingly. An optimal measure is to have more than 2 but less than 10 images for your collage.
If you add any more than that the photos will look cluttered and would lose the interest of the viewer.
Secondly, you should choose images with a consistent theme. A collage isn’t a bunch of random images compiled together rather they have a flowing narrative. Images that are connected through a single event, color, or design element can really brighten up your collage.
Finally, use images with different scales.
For example, pick some images that have a wider frame and some that are close enough to show the fine details and texture. This will make your collage be able to tell different parts of a complete story and without these, the collage won’t feel complete.
If you don’t have any photos, you can download free high-quality stock photos from Unsplash and Pexels
2. Create a New Document
After choosing and organizing your photos it’s time to open Photoshop.
In Photoshop, click on File > New and create a new document.
Photoshop provides you with some templates but these are quite limited. If you are using BunnyPic you’ll have access to a lot more pre-made templates that are perfect for collages.
If you choose to have full control over your document you can customize the size according to yourself.
For this example, I chose a size of 800 x 600 pixels.
3. Open Images in Photoshop
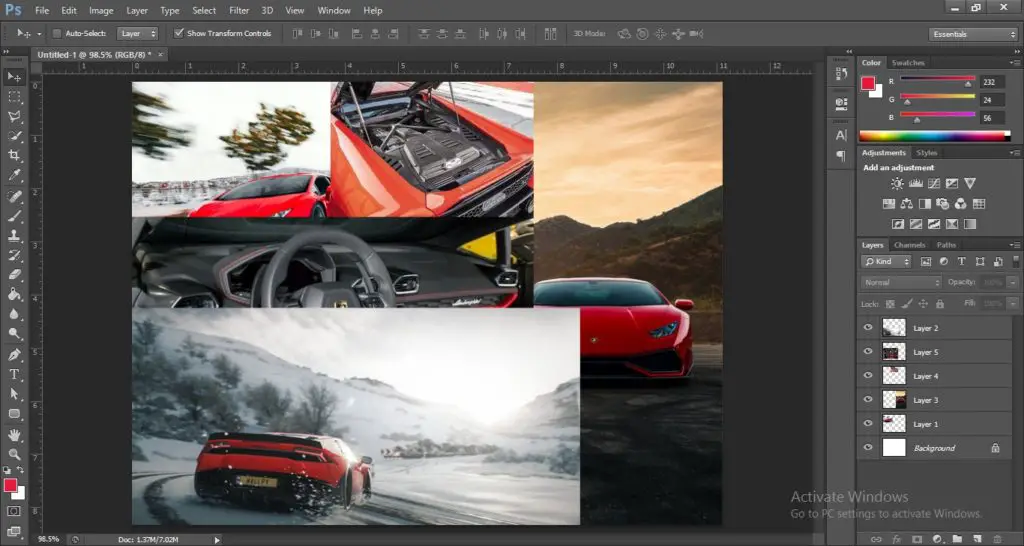
Now that you have your document set up it’s time to import your photos into Photoshop. To do this you could drag and drop them all into your document or open them individually.
We are going to be placing our images into separate layers so that we can manipulate them individually as we like.
To do this, open each image in a new tab by going to File > Open and selecting all your images. Now click and drag the image to your main document.
Your image might be too big or small so use the free transform tool (grab the select tool and enable “show transform options”) and resize them appropriately.
Don’t worry too much about adjusting them right now, just place them randomly.
4. Position your images
With your images loaded and sized to the document, you need to roughly position them to where you would like them to be.
Again, don’t worry too much about the tidiness of the collage yet. This is just to set an idea of where you would want the images to be so it is easier to adjust them in the next step.
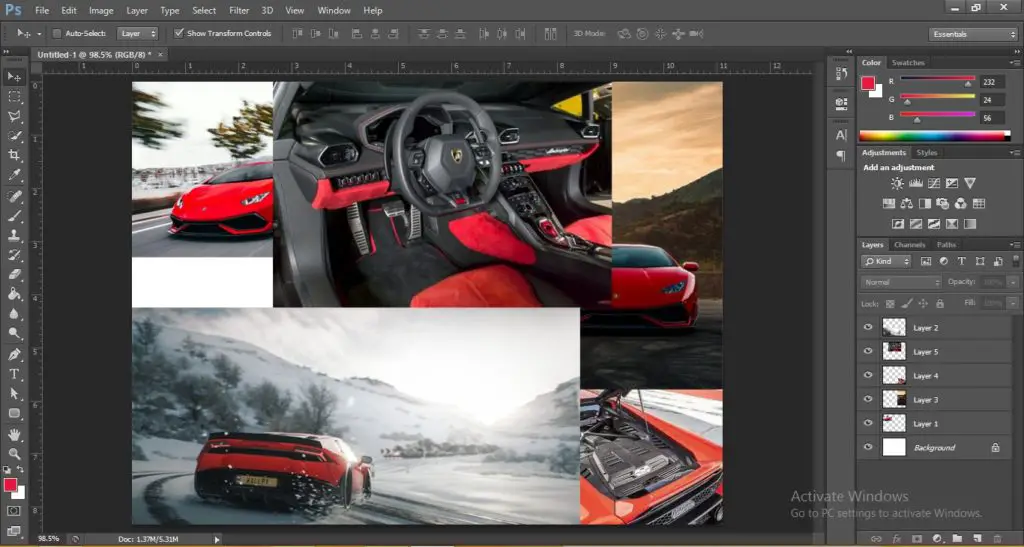
5. Crop the excess part of your images
With images positioned and sized we have to tidy them up by cutting off parts of the image, we don’t need. This will ensure that the images fit properly on the document.
You can do this by selecting the image layer and using the marquee select tool. With the marquee select tool active click and drag to select the part of the image, you want to keep. With the selection active, go to Select > Inverse or press Shift + Ctrl + I to inverse the selection.
This will select everything other than the main image you want to keep. Delete this part of the image and then deselect it by going to Select > Deselect or press Ctrl + D.
Repeat this with every image until you are happy with the result.
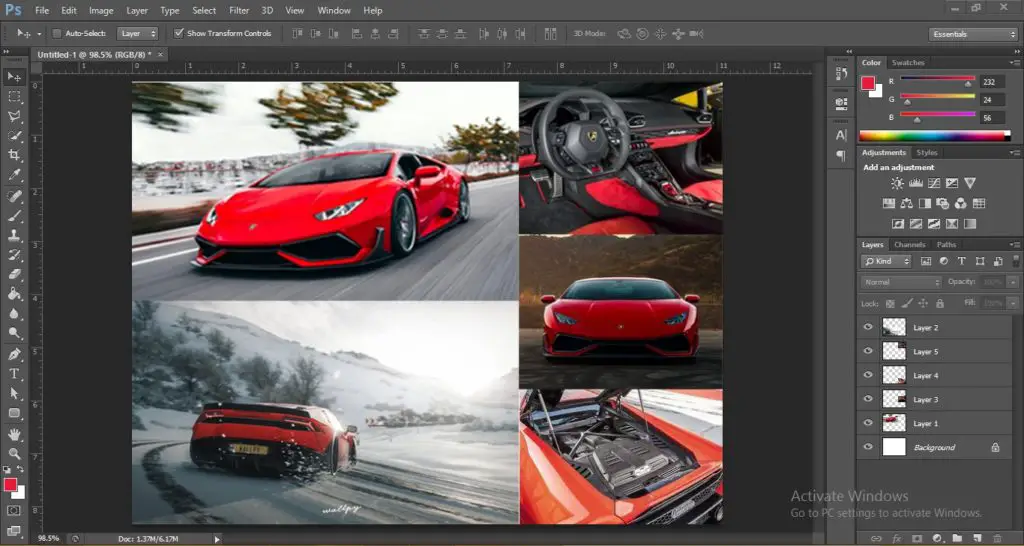
6. Add Borders around the images
Once you have the layout done and the images sized perfectly you can export it if you want however I would recommend adding some borders around your images to give it a nice clean effect. Not only does the effect look good but it also gives your pictures some room to breathe.
There are multiple ways you can do this:
- Manually space the images further apart
- Add rectangles to look like borders
- Add a Stroke Effect
Spacing the Images
This one is easy to do and pretty self-explanatory. All you have to do is select each image and use either your cursor or the arrow keys to separate the images until you see some white space between them.
Adding Rectangles
To add borders using rectangles select the rectangle shape tool and draw a shaped end to end and color it white. Repeat this for every image until you are satisfied with the final design.
Adding Strokes
This way is the best and most effective way to add borders as you don’t have to size them manually.
To do this, go to your Layers Panel and double-click on an image layer.
Now a box would appear with multiple options on the left click on Stroke to add a stroke to the image.
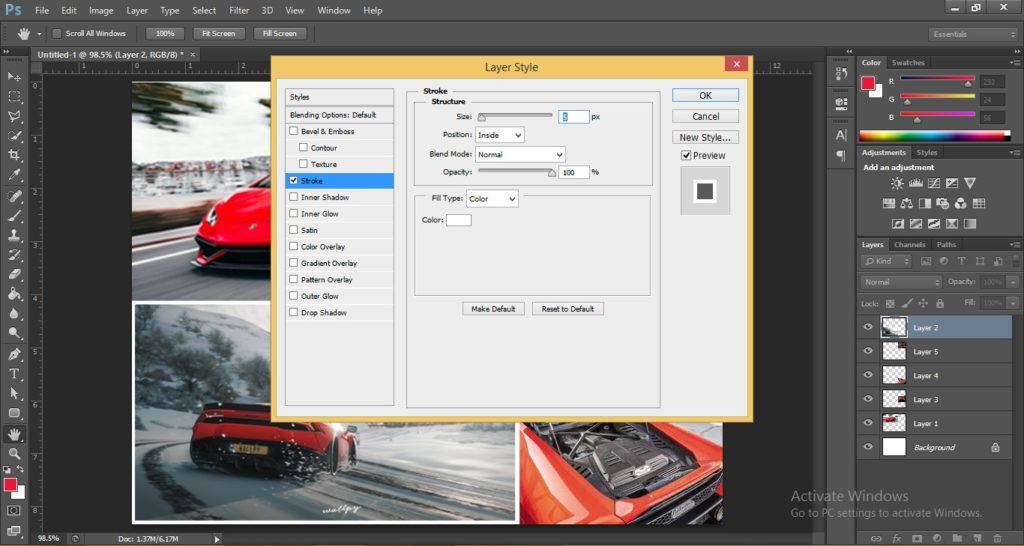
Next, adjust your strokes accordingly. Make sure the stroke position is set to Inside, the blend mode is set to Normal, and the color is set to White. After making these changes click OK and a border should appear around your image.
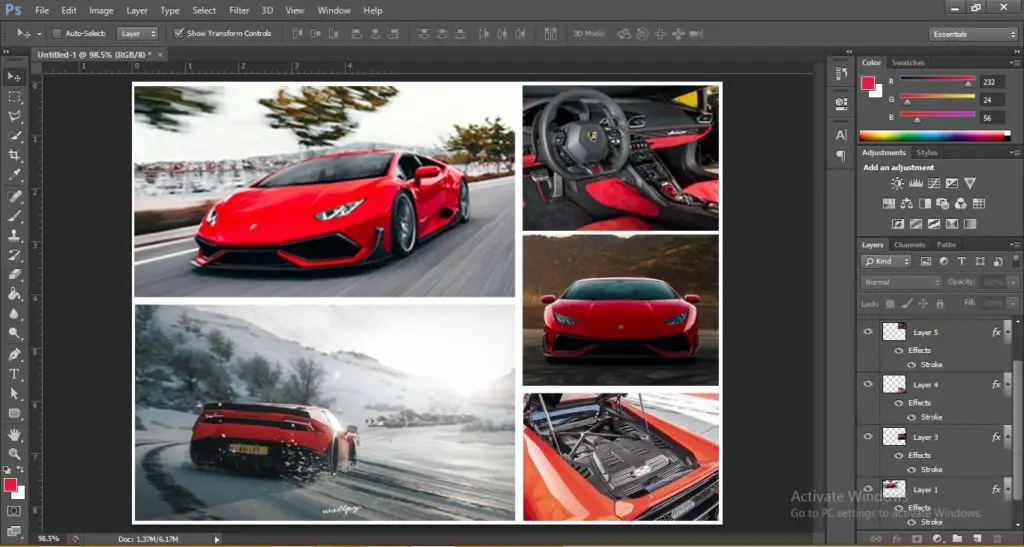
Repeat this with all the image layers.
Remember that since the strokes are set on the inside, it may crop the ends of the image so be sure that there aren’t any important details on the edges of the photo you want to keep.
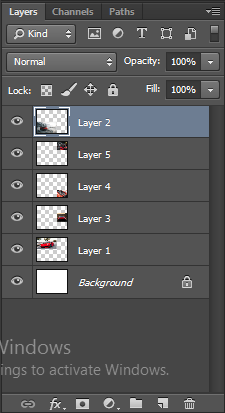
7. Merge all the layers together
When everything looks fine it’s time to compile all your layers into one layer to finalize your collage.
With any layer selected go to Layer > Merge Visible to merge all the layers together.
Now all the layers are compiled into one beautiful collage.
8. Resize your Collage (Optional)
Before you save your collage you can resize it according to the medium you are going to use it for.
For example, if you plan on printing out your collage to be hung in a photo frame or as a gift you might want to reconsider the dimensions of the document.
If you are designing for social media, then it’s important to set the correct dimensions. If you are using Bunnypic you’ll notice that it comes with preset templates with the optimal sizing for social media imagery including YouTube, Instagram, and Facebook.
To resize your image go to Image > Image Size and set the width and height.
9. Save and Export your File
Finally, when everything is done save and export your file.
To do that go to File > Save As and save as a JPG or PNG file.
If you plan on using it for the web go to File > Save for Web and hit save.
If you plan on doing more editing work go check out other tutorials or try our free online editing tool BunnyPic!