
Photography has evolved and come a long way from film cameras. However, with this change photographers seem to miss that timeless grain finish that those films would produce.
Digital cameras don’t have the ability to produce that kind of texture but thanks to digital software we can add it to our photos to give it that classic vintage look.
The most common way of adding a film grain effect to your photos is by using Photoshop.
However, not everyone can use Photoshop because of its expensive price and complicated functionality.
Fortunately, our free online Photoshop editor, Bunnypic lets you add grain to your photo without Photoshop. The Bunnypic editor has almost all the features of Photoshop, is completely free, and requires no sign-up.
How to add grain to a photo using Bunnypic
In this article, you’re going to learn how to add a film grain effect in your photos and style them according to your needs.
Let’s get started.
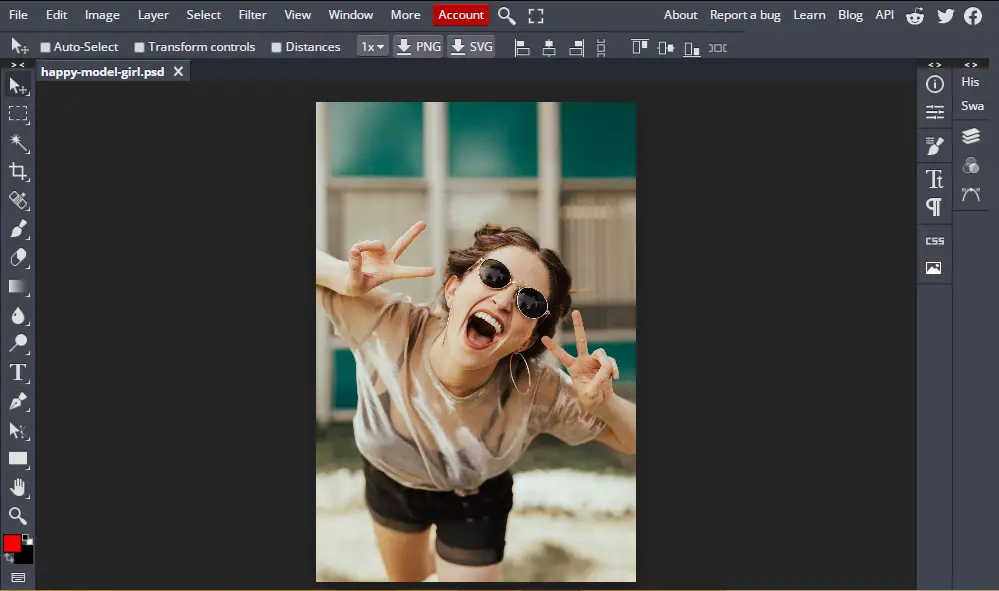
1. Open your image in Bunnypic
Go to the Bunnypic editor press Open from Computer and select the image you want to add grain to.
2. Create a New Layer
We’ll have to create a new layer on top of our original image. This is important as all the edits would be applied to this layer not damaging the original image.
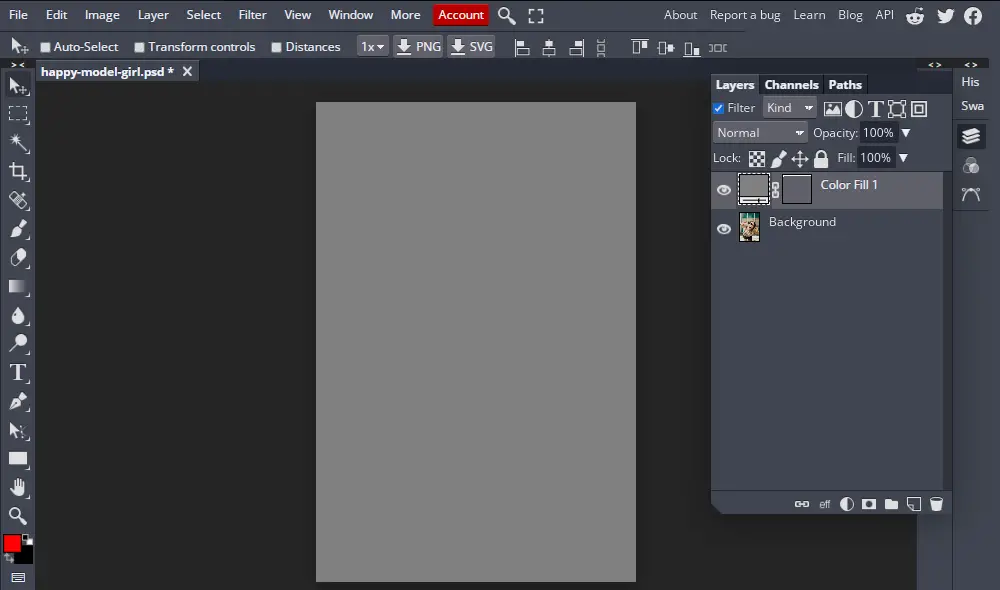
- Go to Layer > New Fill Layer > Color Fill. Name this layer something you will remember later on such as, “film-grain”.
- Color the layer gray. This will ensure that the layer gives the correct effect.
- After selecting the color click OK.
Your document would look like this (click the layers icon on the right to see the Layers panel):
3. Convert the Layer into a Smart Object
Now, convert this new layer to a smart object so we have more flexibility over its style.
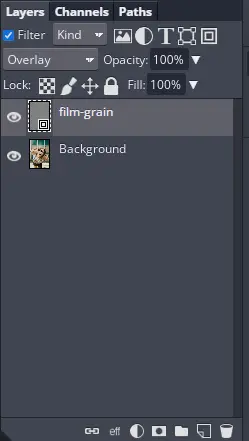
To convert into a smart object go to Layer > Smart object > Convert to smart object. You’ll notice a small square icon on your layer. This indicates that a layer is a smart object.
Next, from the blending modes select Overlay.
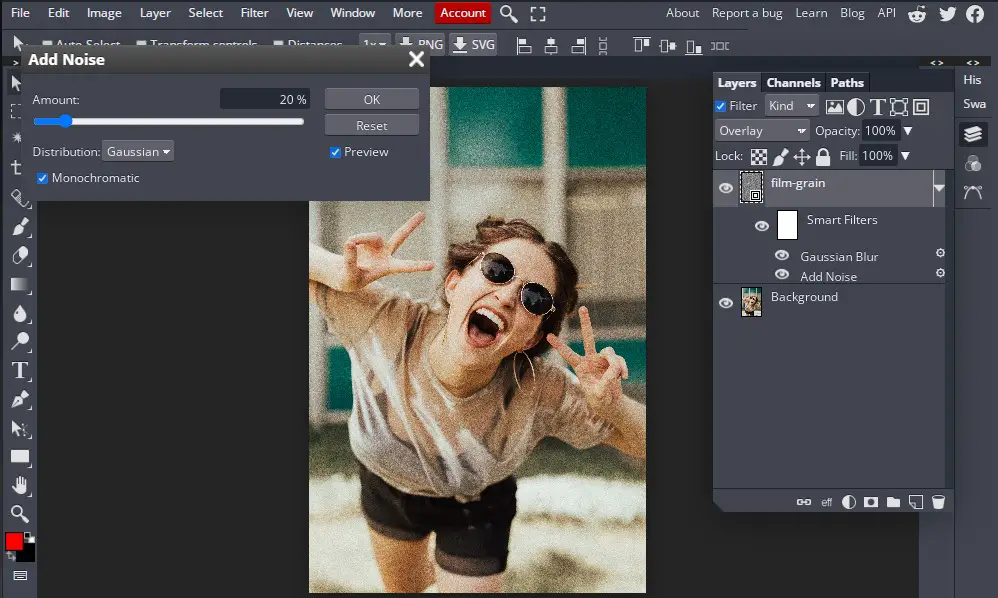
4. Adding the Film Grain effect
Our document is set up and now It’s time to add the film grain effect to the photo.
To add the grain effect go to Filter > Noise > Add Noise.
- Adjust the amount of noise you want to add to the photo.
- Set the distribution to Gaussian.
- Check Monochromatic. This will make the grain black and white rather than sample colors from the original image.
When you’re happy with the adjustments, click OK.
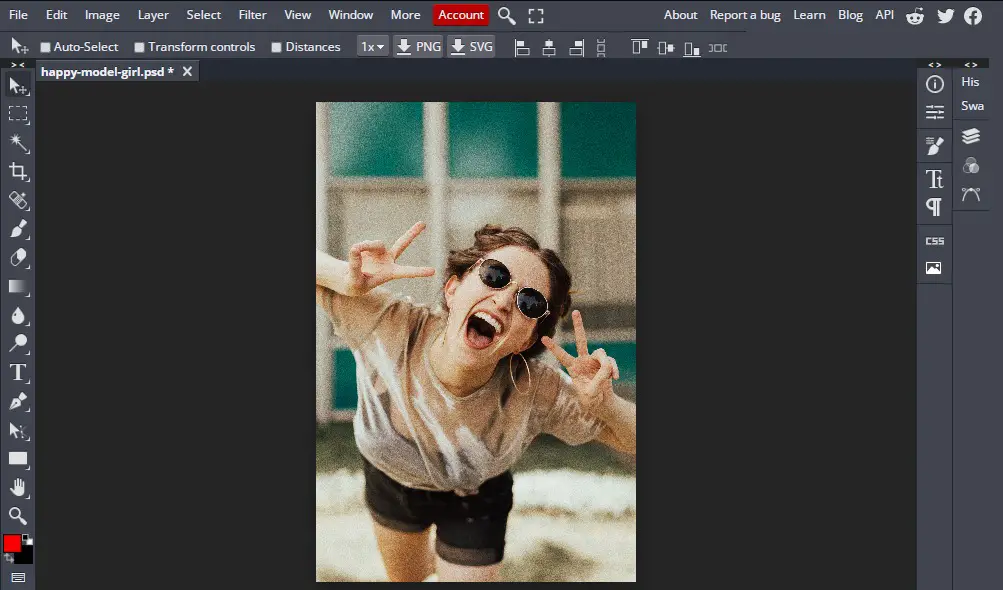
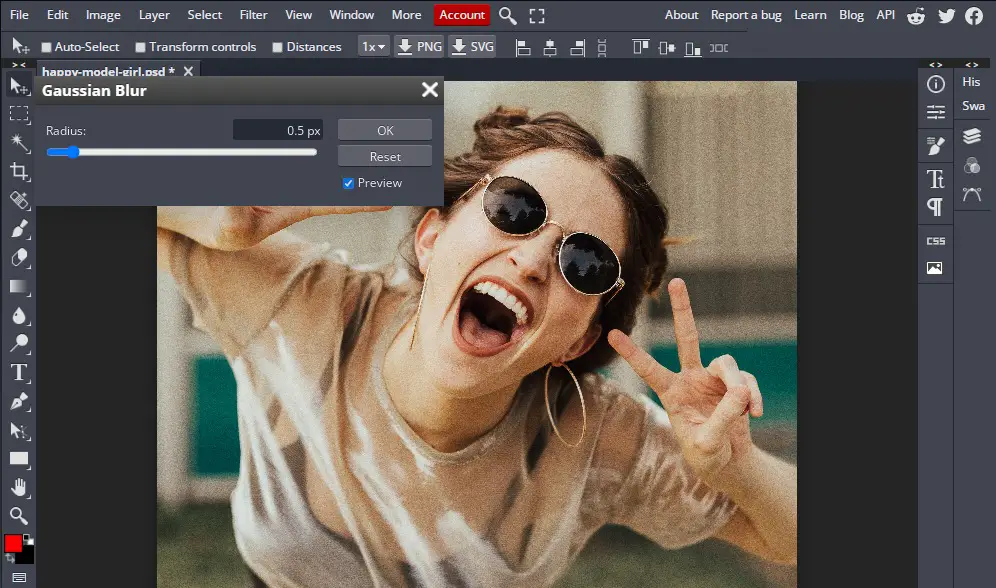
5. Adding Gaussian Blur
The photo looks great but there’s one last effect we need to add to make it even better. Gaussian Blur.
To add Gaussian blur to your photo go to Filter > Blur > Gaussian blur and adjust the radius of the blur. Don’t set a high value as this would smooth out your image and remove the grain effect from your photo.
After adjusting the Gaussian blur, click OK.
Tip: zoom in your photo to see exactly how the Gaussian blur is affecting your image. You can either use the Zoom tool (magnifying glass icon) or hold CTRL and press the + button.
6. How to edit the film grain effect
Since we created the film grain effect on a smart object using smart filters we can edit the filters.
To do this, open the layers panel (Layers icon on the left toolbar) under the smart filters layer you’ll see a list of the filters you applied. To change the effect double-click on the filter and adjust the values to your liking.
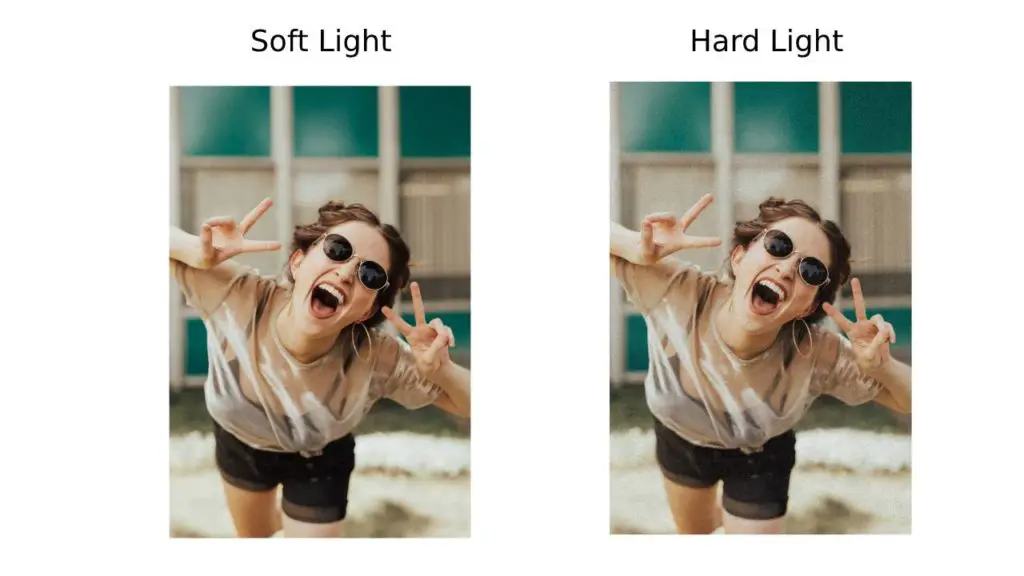
Changing the Blending Mode
Another cool way you can edit your film grain effect is to experiment with different blend modes. Just go to the blending modes and set a mode different than Overlay.
I’ve seen the best modes are Soft light, Hard light, and Vivid light. Play around with them and see which one you like best.
Reducing the Opacity
One final tweak you can do to your image is to reduce the opacity of the film grain layer. If you feel the grain is too intense you can reduce the opacity to give it a more subtle effect. This will help you achieve a balanced effect.
Conclusion
If you want your photos to get that classic, timeless feel, a film grain effect would really make them stand out. Usually, this is done using expensive software like Photoshop but Bunnypic helps you add grain to your photos without Photoshop for free.
Awesome photography doesn’t stop here. If you liked this article be sure to check out these 10 Photoshop Tools to take your photography to the next level.