

Adobe Photoshop is a highly advanced image editing and photo manipulation software.
Adobe products have been the industry standard for all creatives from graphic designers to photographers for a long time.
Photoshop gives photographers endless opportunities to edit their images; from basic adjustments to creating stunning effects.
Do Professional Photographers use Photoshop?
All professional photographers edit their photos using some kind of graphic design software, the most popular amongst these is Adobe Photoshop.
Photoshop has many different tools to help photographers tweak, edit, manipulate or retouch their images. Photographers may use Photoshop for minor tweaks or major edits.
In fact, statistics show that 90% of the world’s creative professionals use Adobe Photoshop for their work.
Most photographers tend to hire professional photo editors and retouchers to edit their photos which can be costly if you plan on going full-time.
However, Photoshop is also expensive and the subscriptions to afford this service might end up being more costly than just hiring a photo editor.
Fortunately, BunnyPic, our free online photo editor, is a great free alternative to Photoshop which includes almost all the tools and effects of Photoshop.
In this guide, I’ll show you 10 tools and techniques to improve your photography using Photoshop. The tools below are also available on BunnyPic so you don’t necessarily need Photoshop to improve your photography!
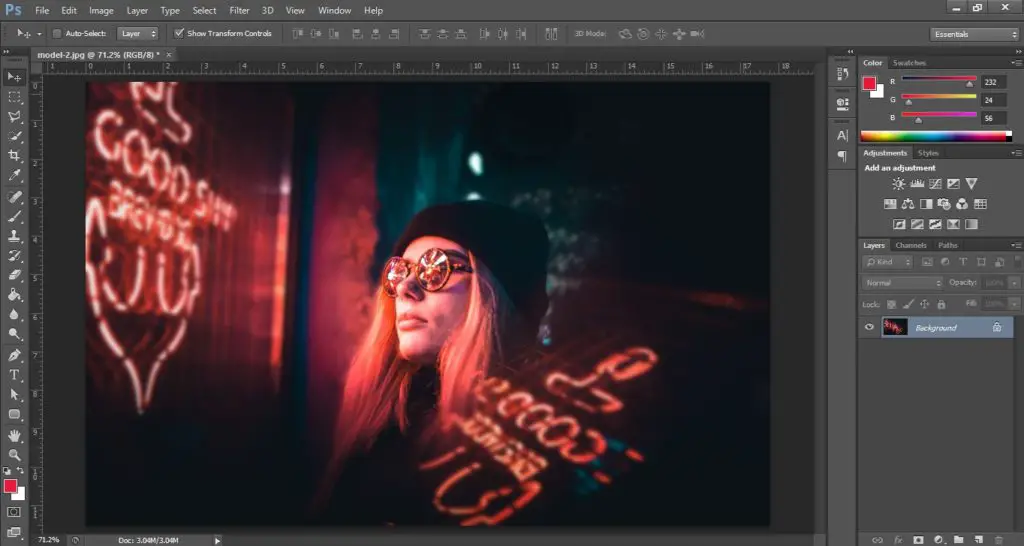
1. Adjustment Layers
Adjustment layers are layers that sit on top of your original image and allow you to make slight adjustments to your images without altering the original.
This feature is great for retouching and basic editing.
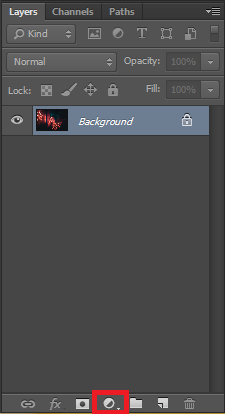
The adjustment layers can be found at the bottom of the Layers panel, it is a half-black, half-white circle icon:
This feature is a gem for photographers as it allows you to adjust the:
- Hue and Saturation
- Brightness/Contrast
- Exposure
- Color balance
- And much more…
It also gives you more flexible controls by having the Levels and Curves feature which allows you to adjust the photo in a more consistent manner.
2. Hue/Saturation
The hue/saturation feature lets you adjust the hue, contrast, saturation, and brightness of the image. This is especially helpful if you want to adjust your colors for a CMYK image so that it fits the appropriate color range.
The hue/saturation can be accessed in a number of different ways:
- In the menu bar, choose Layer > New Adjustment Layer > Hue/Saturation. Click OK in the New Layer dialog box.
- Click on the Adjustment layer icon from the adjustments panel.
- Go to Image > Adjust > Hue/Saturation (This option makes direct adjustments to the original image. If you want to keep the original safe choose one of the above options.)
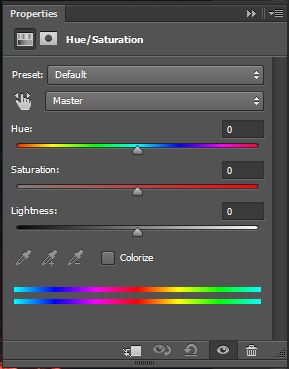
After selecting the hue/saturation option you are prompted with a box with certain adjustments like this:
With these options, you have limitless possibilities.
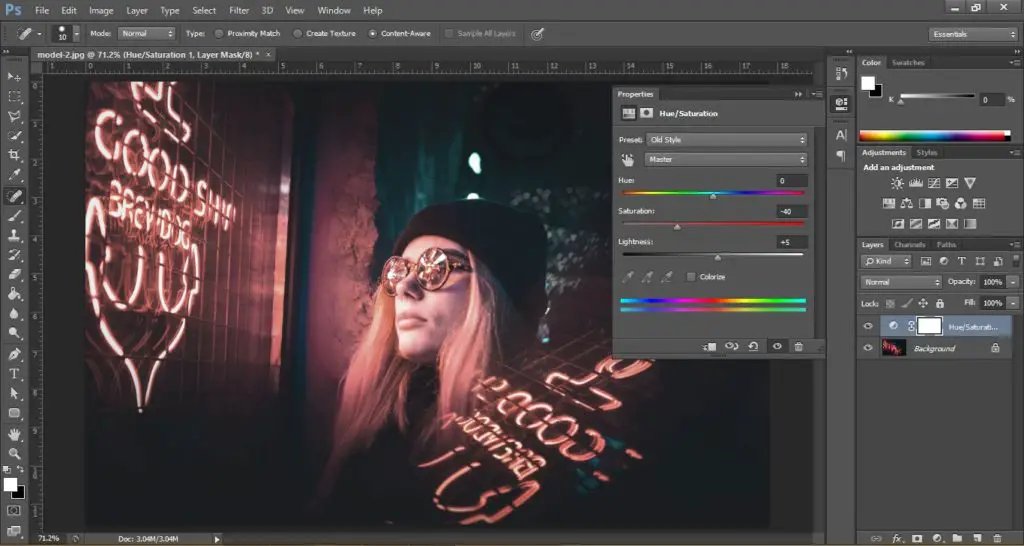
Firstly, if you plan on making some basic photo editing or effects, you can choose the presets Adobe has to offer. This is our image with the “Old Style” preset active:
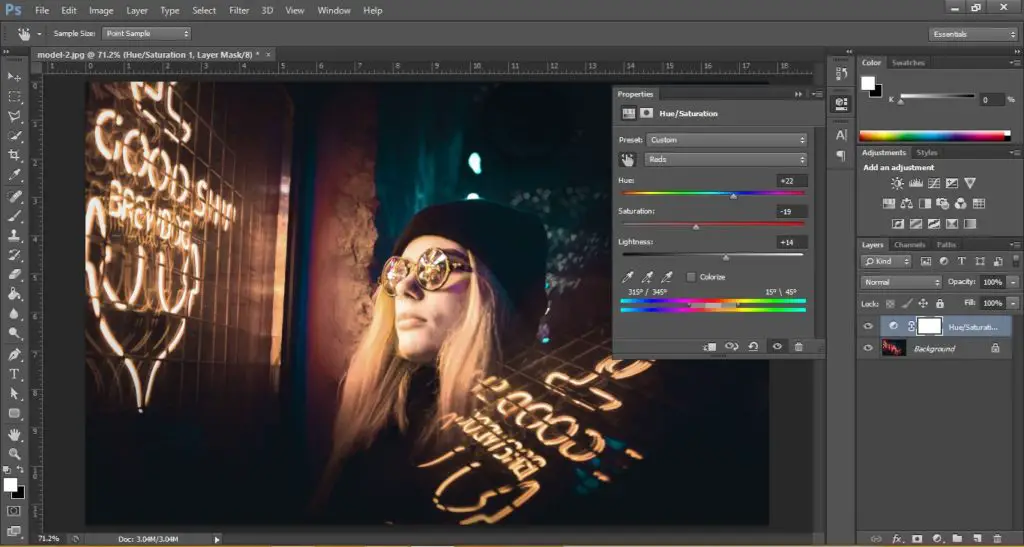
Another useful feature is the On-Image adjustment tool marked with a hand icon.
Click on this and choose Master to adjust the colors of the entire image together. After selecting it, hold CTRL and click and drag the slider to the sides to see the color adjust.
After adjustment this is what our original image looks like:
3. Spot-Healing Brush
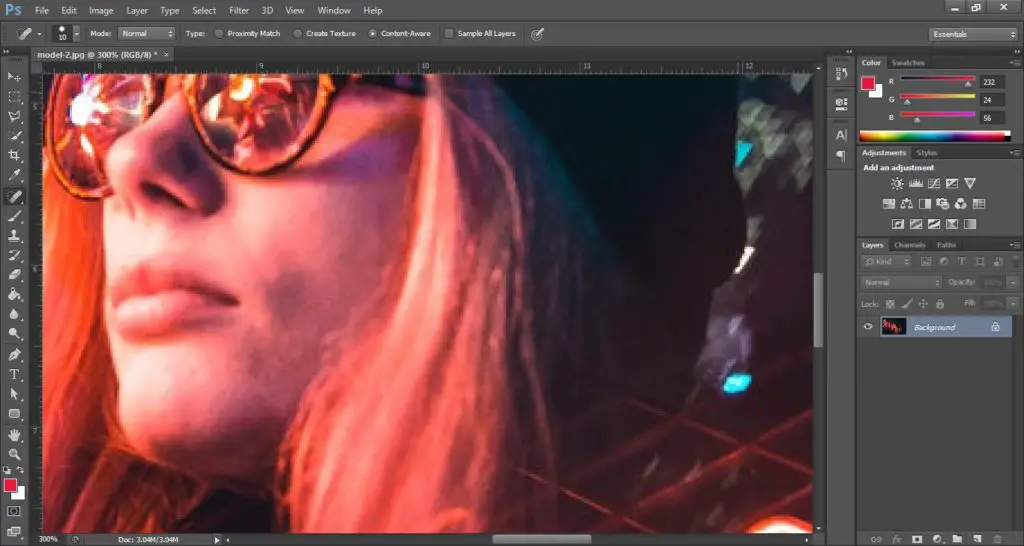
The spot-healing brush is great for removing small imperfections in your image. These could be anything like dust, glare, or blemishes on the skin. The spot-healing brush is marked with a bandage icon on the left toolbar. Select it and start drawing over the image.
A best practice to follow is to first zoom the document to 100% and work in short strokes so that if you make a mistake you can hit CTRL+Z (undo) and not lose a lot of work. This tool is content-aware and samples the background pixels to match with the brush so it doesn’t look like you artificially removed some things.
4. Converting to Black and White
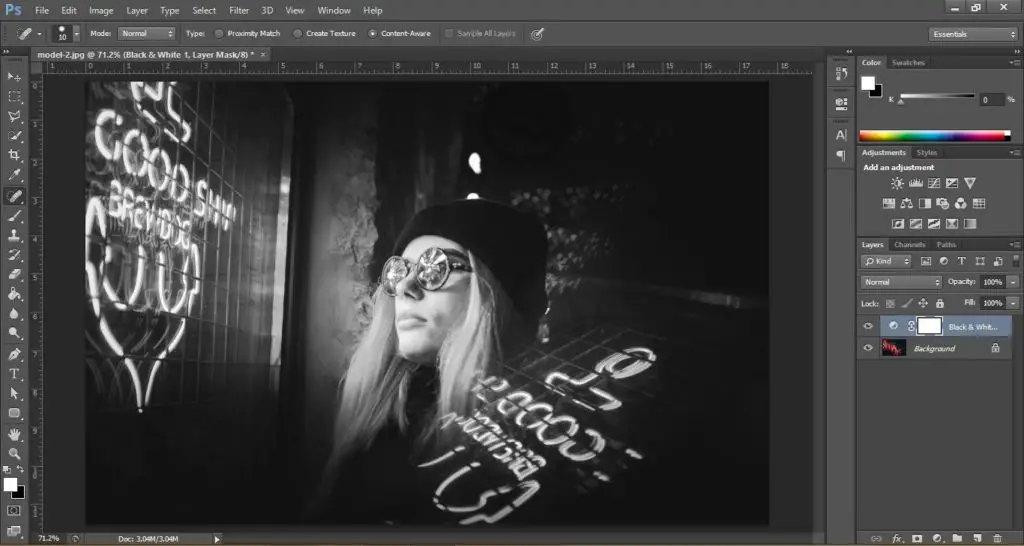
The black and white adjustment layer in Photoshop allows you to convert any image into black and white. There are a lot of apps nowadays that can turn images into black and white but the beauty of Photoshop is that it gives a lot of options to work with.
You can adjust the Reds, Yellows, Green, Cyans, Blues, and Magenta values of the black and white layer. This allows a lot of flexibility in your black and white image.
To add a black and white adjustment layer go to Add Adjustment Layer and click on Black and White.
5. Dodge and Burn Tool
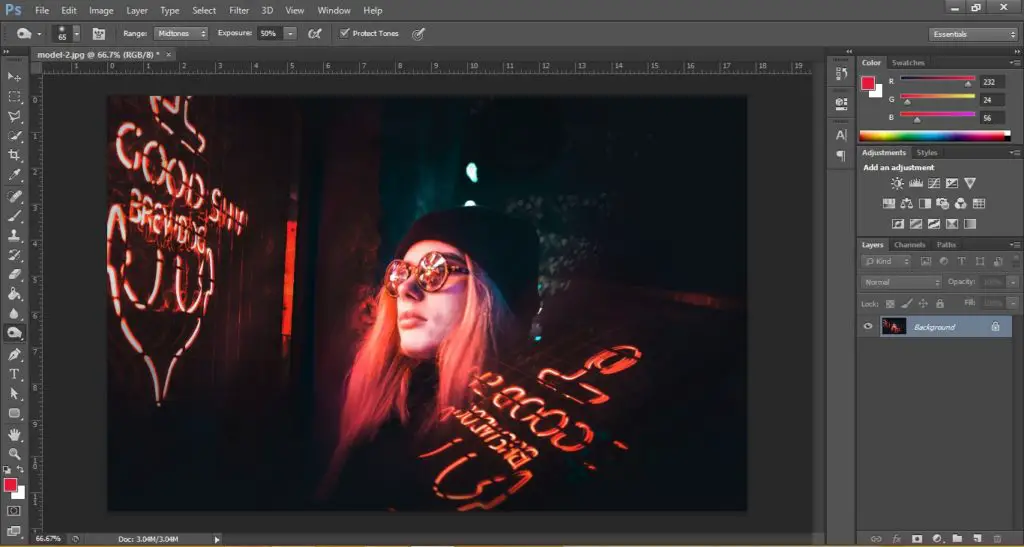
Dodging and burning is a popular method to adjust the brightness of certain parts of your images rather than the image as a whole. The dodge tool is used to brighten specific parts of your image and the burn tool is used to darken them. Keep in mind that these tools are “destructive” meaning they will alter the original image. To use these tools you’ll have to work on the original background image or create a copy of the layer by going to Layer > Duplicate Layer or pressing CTRL+J on your keyboard.
The dodge and burn tool can be found on the left toolbar. After selecting the tool you can choose different tonal ranges such as mid-tones, highlights, and shadows. You can also adjust the exposure to your liking. It’s best to keep a low exposure and gradually work your way up if necessary.
6. Sharpen Filter
Photoshop has a number of filters that are great for tweaks in your photos. These can help improve your photography a lot as they provide subtle effects and make minor adjustments that make the overall image slightly more appealing.
To sharpen your images go to Filter > Sharpen > Sharpen this will instantly sharpen your image and remove blur. If you want more control over the sharpness of your image you can also use the Smart Sharpen filter. This will give you a live preview of the sharpness effect and advance adjustments to remove motion blur, lens blur, and Gaussian blur from your image.
7. Gaussian Blur
The Gaussian Blur is another effective and useful tool for photographers. It allows you to blur out unnecessary parts of your image like the background or rough edges. The Gaussian effect results in a smooth blur which you can add as an artistic effect, reduce noise or create depth in your image.
To apply the Gaussian Blur on your whole image go to Filter > Blur > Gaussian Blur choose the radius and click OK. If you want to blur a specific area of the image, like the background, you can select it using the quick selection tool and then apply the Gaussian Blur.
8. Cropping and Selection Tools
Being able to select and crop your images effectively is an essential skill for every professional photographer. Adobe Photoshop makes these selections highly flexible by offering advanced adjustments and select presets. You can use the Lasso tool for free-form selections, the Polygon tool for click selections, the Marquee tools for shape-based selections, and the Quick selection tools to smartly detect the subject and make accurate selections. You can then inverse your selections by going to Select > Inverse Selection or pressing Shift+CTRL+I. This is helpful if you want to select a complex background.
There are also a number of crop tools to better crop your images. Select the Crop tool from the left toolbar, crop your image by dragging the borders, and hit Save. You can also cycle through crop presets from the top toolbar. This will give you multiple presets like the rule of thirds, golden ratio, golden spiral, etc.
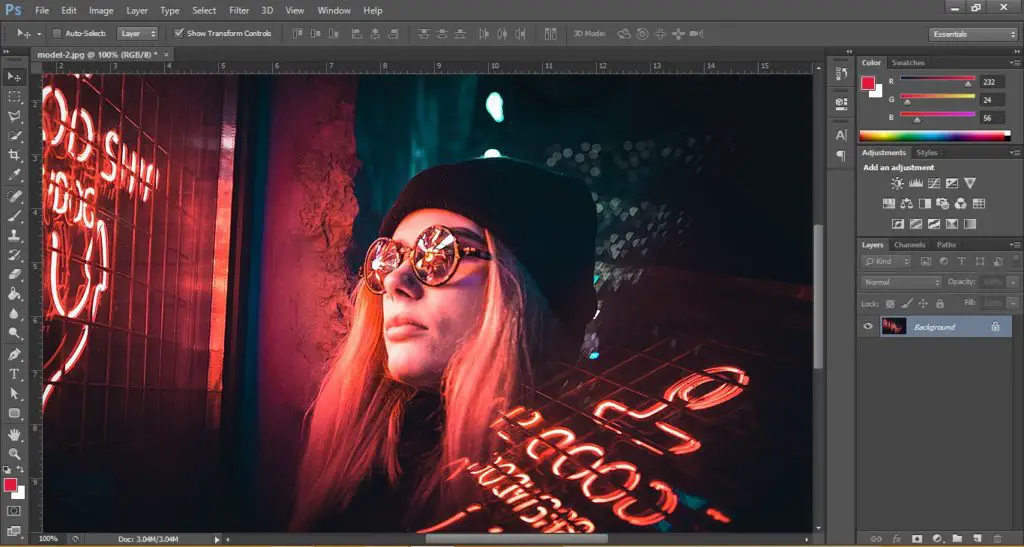
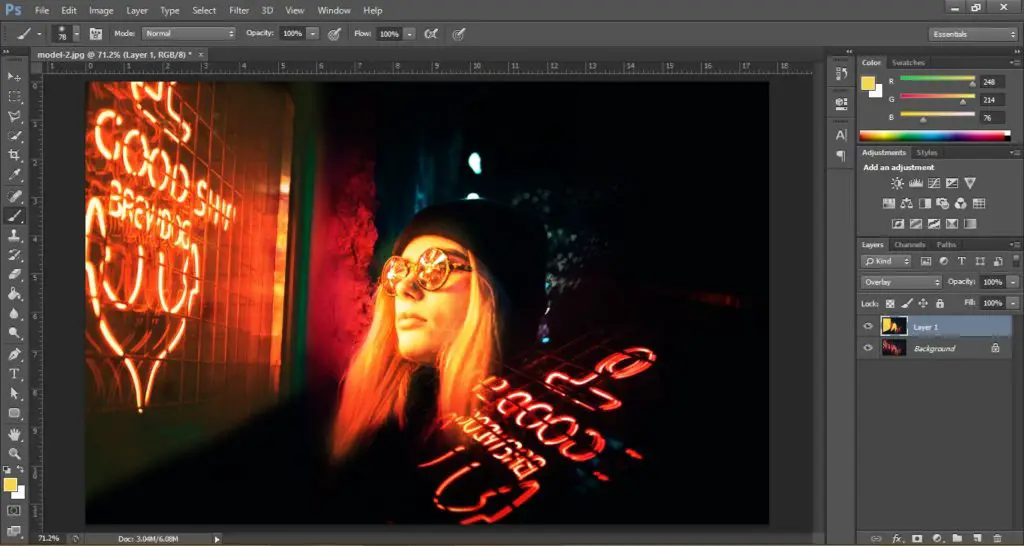
9. Blending Modes
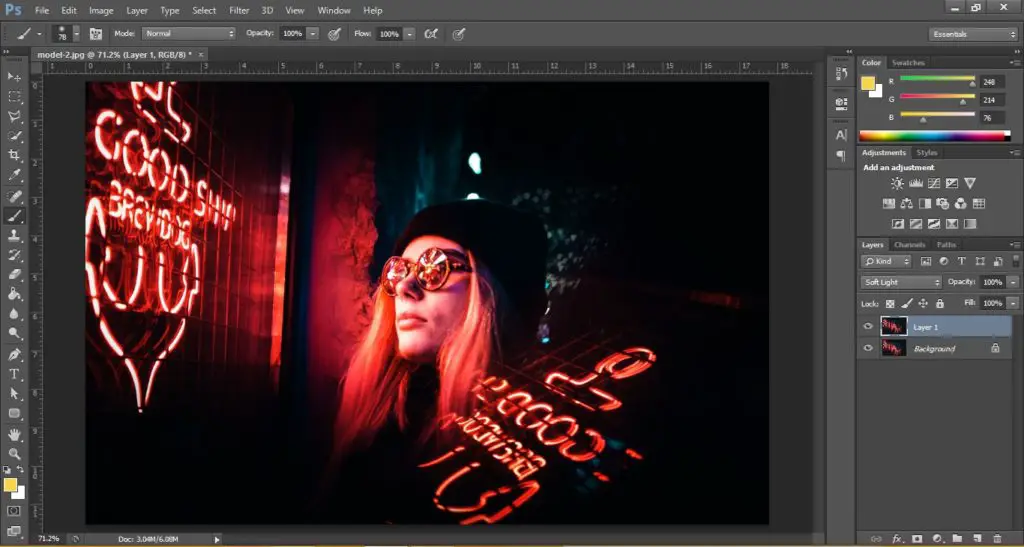
The blending modes in Photoshop are often utilized by photographers to achieve stunning artistic effects on their images. Blending modes are usually used for major editing but can also be used for minor tweaks in lighting or the background. Blending modes are layers sitting on top of the original layer and blending with them.
A good way to experiment with blending layers is to make a copy of the original image and cycle through the blending modes under the layers panel. You can also add brush fills on the blended layers to achieve unique effects like this:
10. Create Photo Collages

You can use Photoshop to create awesome-looking photo collages by setting up your photos together as layers in Photoshop. Photoshop makes it extremely easy to make and edit photo collages and allows you to separately adjust the images according to your liking.
We have an easy-to-follow guide to making photo collages in Photoshop. Be sure to check that out if you plan on creating a professional-looking photo collage.
Conclusion
In this article, we learned to use 10 tools in Photoshop that would help improve your photography. Many professional photographers use photo editing software but nothing beats Adobe Photoshop which is why it is the industry standard. However, we know not everyone can afford Photoshop, which is why our free online Photoshop tool can help you achieve the same effects with your photos.
Try BunnyPic for free with no sign-up here.