
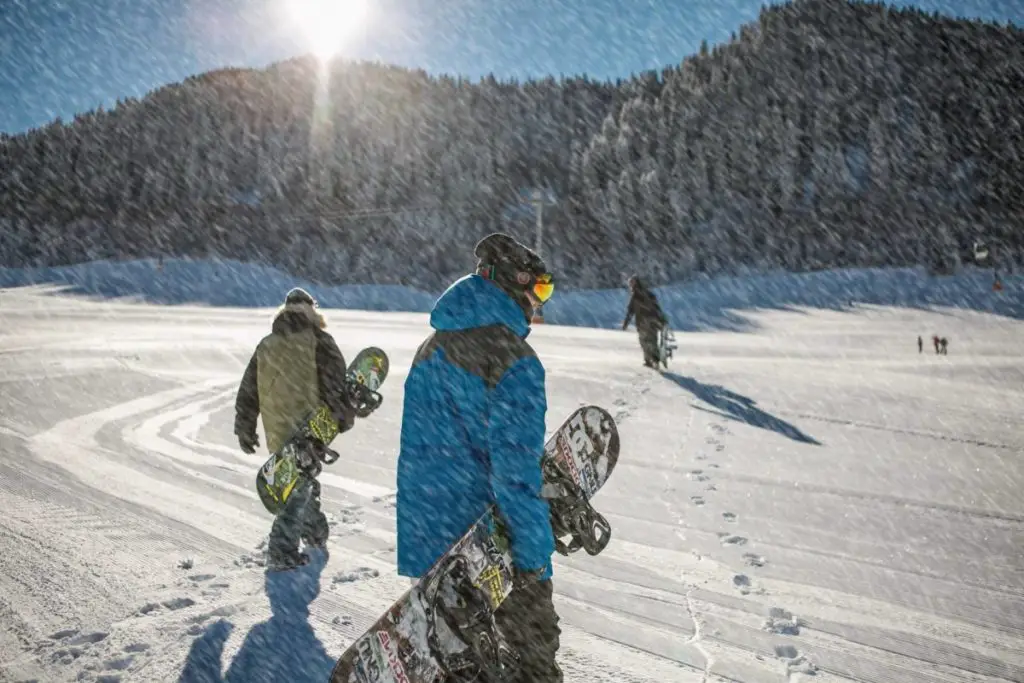
The wintertime is great for shooting photos for your gallery or social media. The winter snow falling on the ground and stacking up on the trees can be a beautiful sight.
However, you have to be lucky to find some snow falling and ensure it doesn’t damage your camera’s batteries.
If you’re an influencer or Instagram model it can be difficult to look your best in the winter season with risks of dried skin and frostbite.
So, how do you add a realistic snowing effect even when it’s not actually snowing?
How to add snow to a photo using Bunnypic
Fortunately, we have developed Bunnypic. An online Photoshop tool that has similar features to Photoshop that is free-to-use and requires no sign-up.
In this article, we’ll look at how to add a realistic snowing effect to your photos using Bunnypic.
1. Open your image in Bunnypic
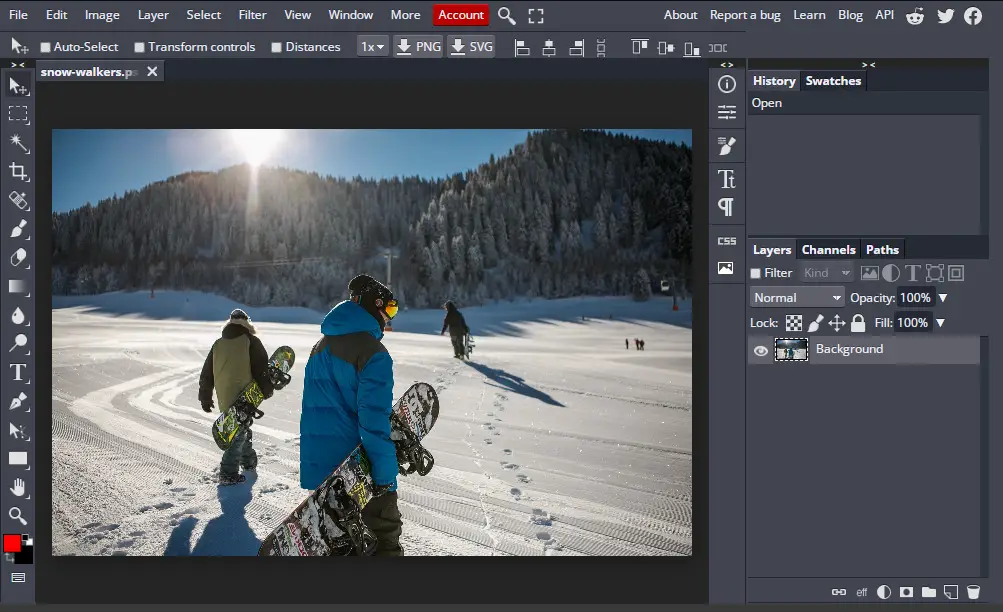
Go to the Bunnypic editor and click on Open from computer and select the image you want to add snow to.
2. Create a new layer
Next, we’ll create a new layer on which we will add the snow effect.
- Go to Layer > New Layer or press CTRL+SHIFT+N.
- Double-click the layer under the Layers panel and rename it to “snow”.
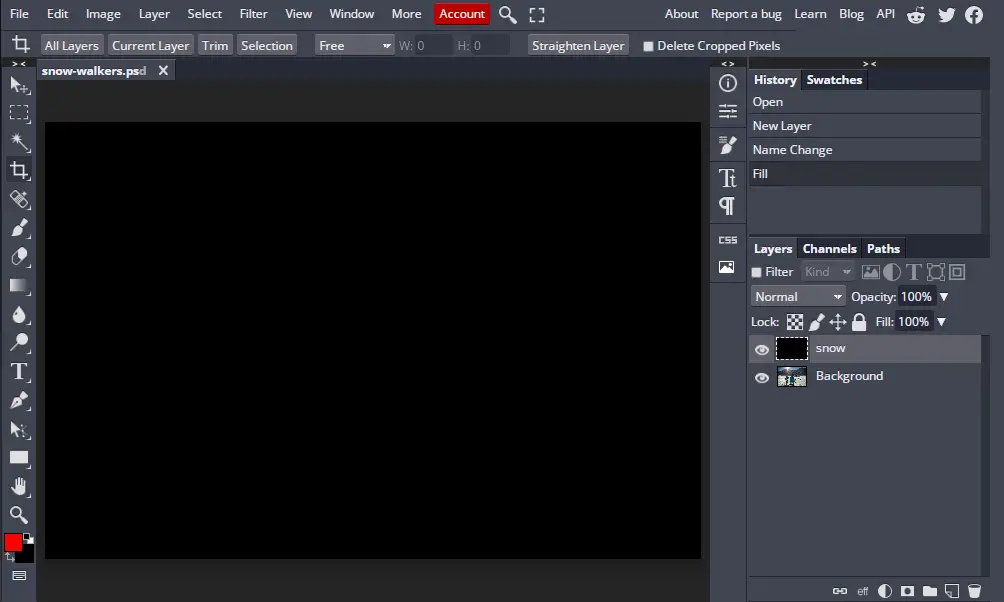
- Next, we’ll color it black. Do this by going to Edit > Fill and select Black.
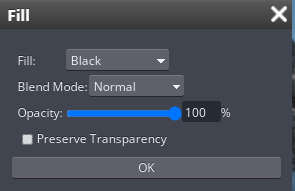
- With the new layer now black, click OK.
3. Add Noise filter
Now that the document is set up we can start adding snow to the image.
To do this we need to add the noise filter:
- With the “snow” layer selected go to Filter > Noise >Add Noise.
- Set the amount around 20-30%, set the distribution to Gaussian and check Monochromatic.
- Once done, click OK.
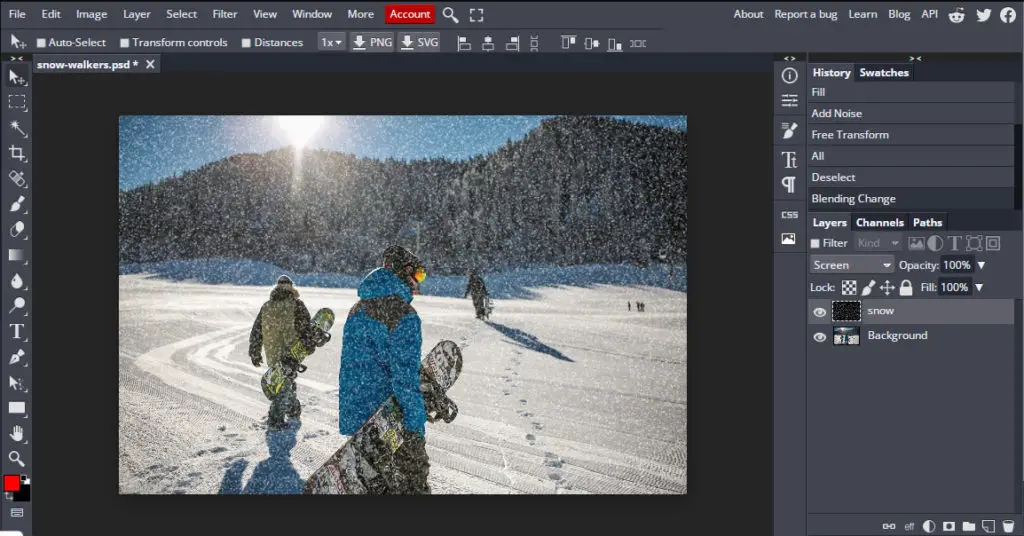
This will have your document looking like this:
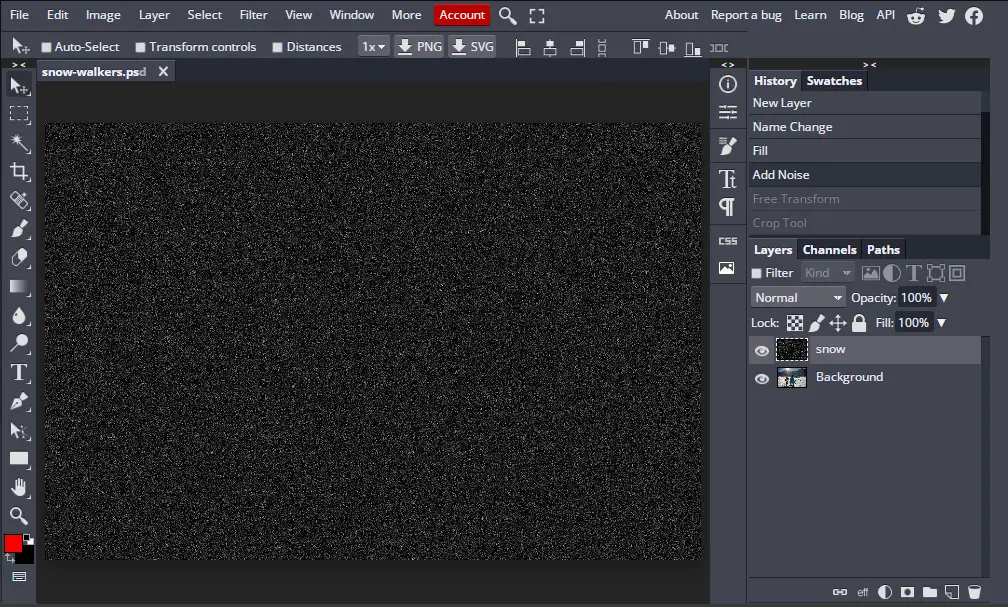
This grain effect is going to act as our snow however, the dots are too small.
4. Scale the noise filter
We will increase the size of the noise filter by using the scale option in Bunnypic.
- Go to Edit > Transform > Scale.
- On the top menu bar change the width (W) and height (H) of the image from 100% to 400%.
- Click the Tick icon to save your changes.
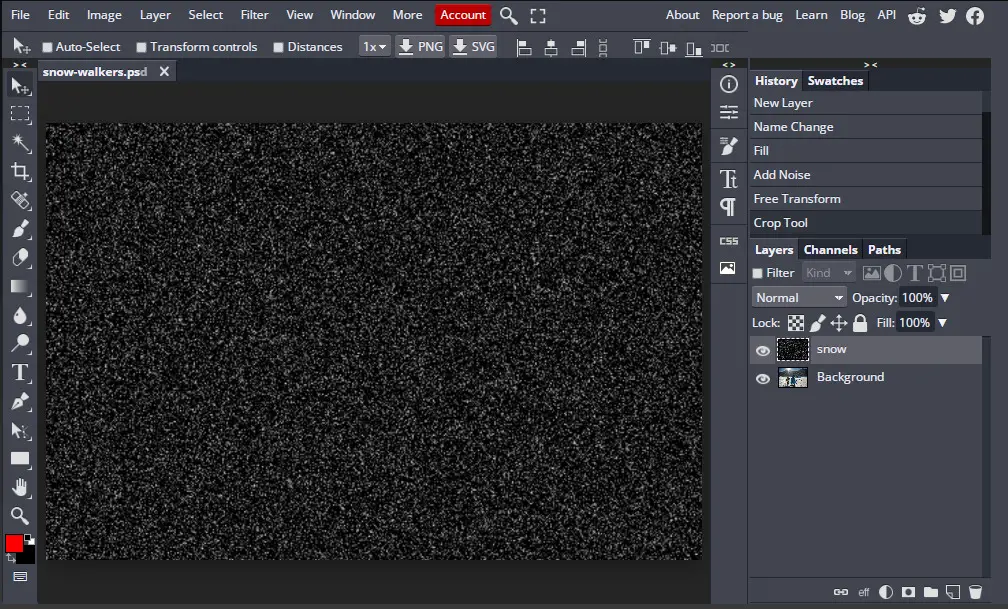
Now, our snow layer is looking much better.
5. Cropping the excess snow
When we scaled up the noise in our snow layer it also increased the size of the layer as well. To see how much excess hidden snow we have:
- Select the Move tool from the left toolbar.
- On the top bar click on Transform controls.
- Zoom out of the image using the Zoom tool or pressing CTRL+ “-” till you see the edges of your selection.
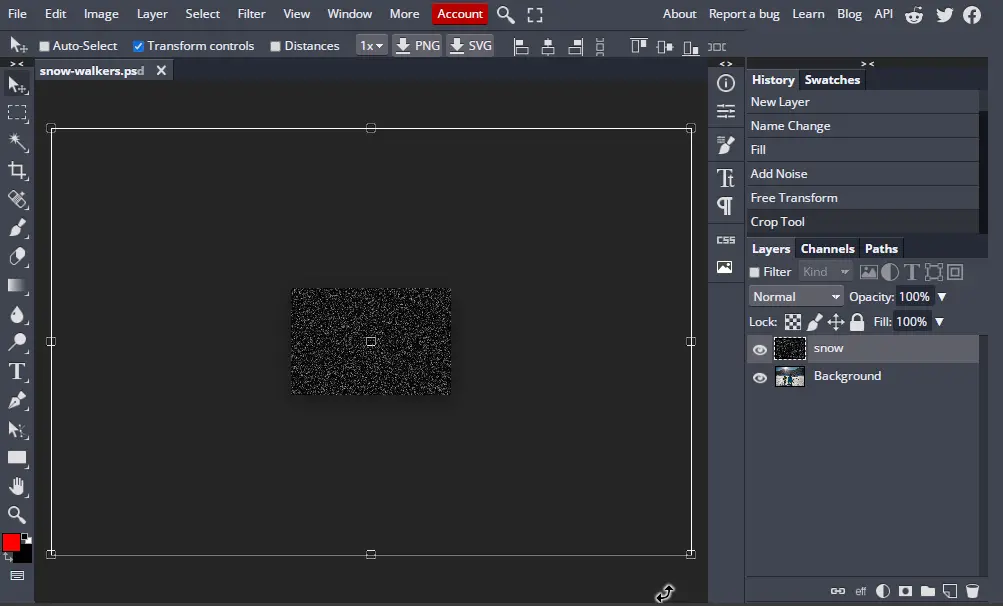
You can see that there is a lot of hidden snow in our document.
All this excess is going to be added to your final document which will increase the file size. To remove this excess we need to crop the layer.
Firstly, deselect the image by unchecking the Transform controls and zooming in on your photo. Zoom in by going to View > Fit on screen or press CTRL+0.
To crop the layer:
- Go to Select > All or press CTRL+A. This will select everything on the layer.
- With everything selected, go to Image > Crop to crop the image.
- Now, deselect the layer by going to Select > Deselect or press CTRL+D.
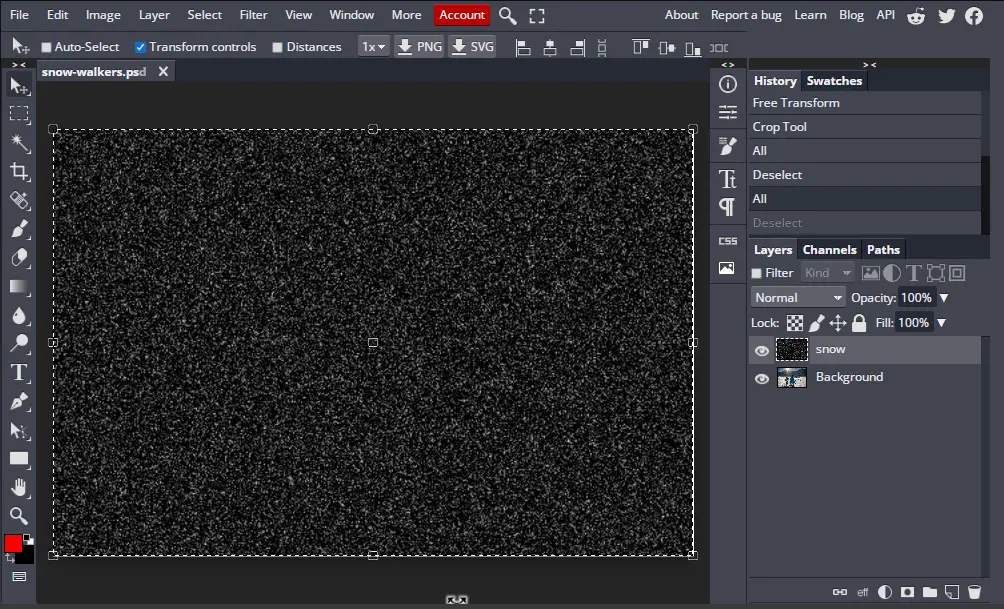
Your photo is now cropped to normal size. You can confirm this by selecting the Move tool and clicking transform controls. The boundaries of the image should appear on the ends of the snow layer.
6. Convert the layer into a Smart Object
We’ll convert the snow layer to a smart object so we can edit it later if needed.
With the snow layer selected, go to Layer > Smart Object > Convert to Smart Object.
7. Blend the layers together
Next, we want to blend the snow layer with the original image.
To do this go to blending mode under the layers panel and set the blending mode to Screen.
This will hide all the black color from the layer and give a snowing effect.
8. Add Motion Blur
Till now our photo is looking great but the snow is not realistic as it doesn’t give the falling effect. We need to give the snow some “motion” and to do this we will use the motion blur filter.
To add the motion blur filter:
- Go to Filter > Blur > Motion Blur.
- Adjust the distance and angle of the blur. The distance increases the amount of blur and the angle determines the direction of the blur.
- Once you’re happy with the blur Click OK.
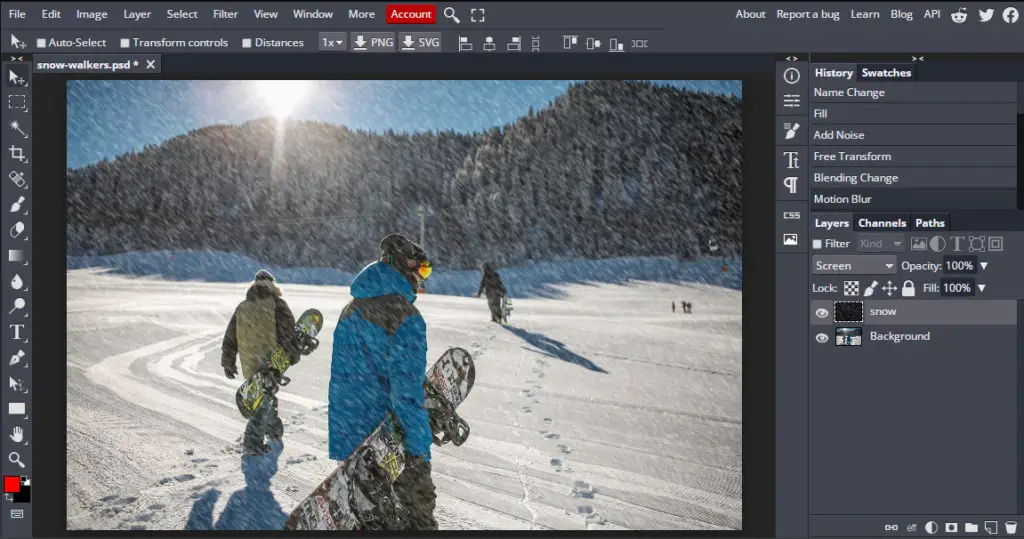
In this image the distance is 14px and the angle is -44 to give it a more realistic effect.
Conclusion
Adding a snow effect to your photos can really brighten them up. However, when it’s not snowing it can be difficult to get those beautiful cinematic shots.
Thankfully, our free online editor, Bunnypic is great for adding a realistic snowing effect to your photos without Photoshop.