
Instagram is a great app for sharing the daily highlights of your life and experiences – and the platform being highly-visual makes that even more appealing. Everybody wants their photos to look good on Instagram and once you finally have that perfect photo it can be annoying to see it get cropped by Instagram.
Instagram uses different image aspect ratios, specifically 4:5 for portraits, 1:1 for squares, and 1.91:1 for landscape pictures. If your image does not align with image guidelines for Instagram your image would get cropped to fit.
However, there are multiple ways you can add your pictures on Instagram without them getting cropped which involve resizing, adding borders, and using third-party apps to make your image fit within Instagram’s given frame. Read on to find out how to fit your images for a cleaner and more consistent look.
1. Resize Your Images with Instagram’s Crop Feature
When Instagram first started out it only had the option to upload square images with a ratio of 1:1 however an update back in 2015 changed this as Instagram started to allow uploading portraits and landscape images as well.
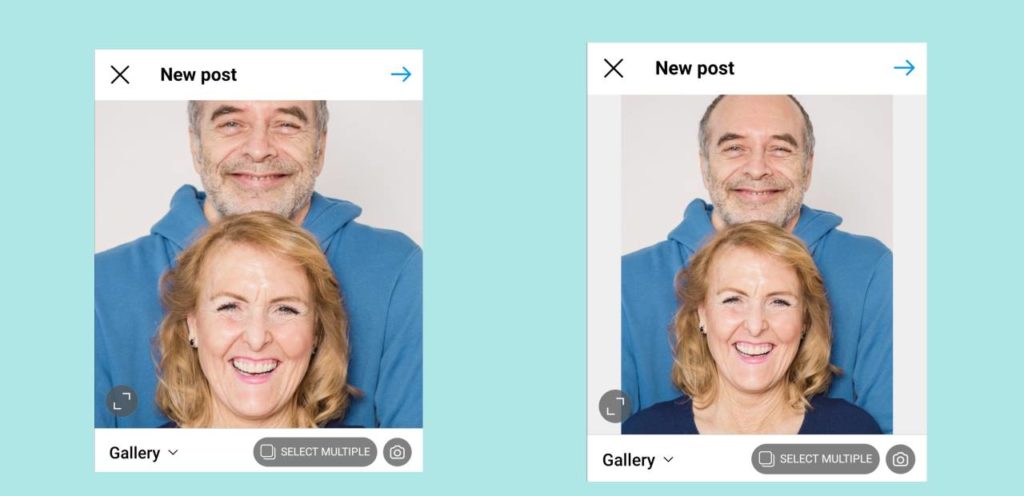
It’s very easy to resize your images using Instagram’s crop feature. When adding a new post you will see a light grey icon with a white frame inside on the bottom left of your post screen. Click on it and it will automatically resize your images to fit the frame. You can also pinch your fingers together to shrink your image so it fits in the post.
The main downside to this method is that it is limited and might not fully cover the excess or might awkwardly resize them. You want your images to look good, natural, and neat but the zoom feature can only do so much.
If this method does not work on your image then a much better way to resize your images is to do it manually using a photo editing tool or third-party apps.
2. Manually Resize Your Image
The best way to make your images fit on Instagram without cropping them is to manually resize them. Resizing your pictures this way would allow you to have full control over the image.
It’s important to know that when you do resize your image you will have some empty space around your image. The thing cool thing is that if you are manually resizing your images you can have a custom background for your images.
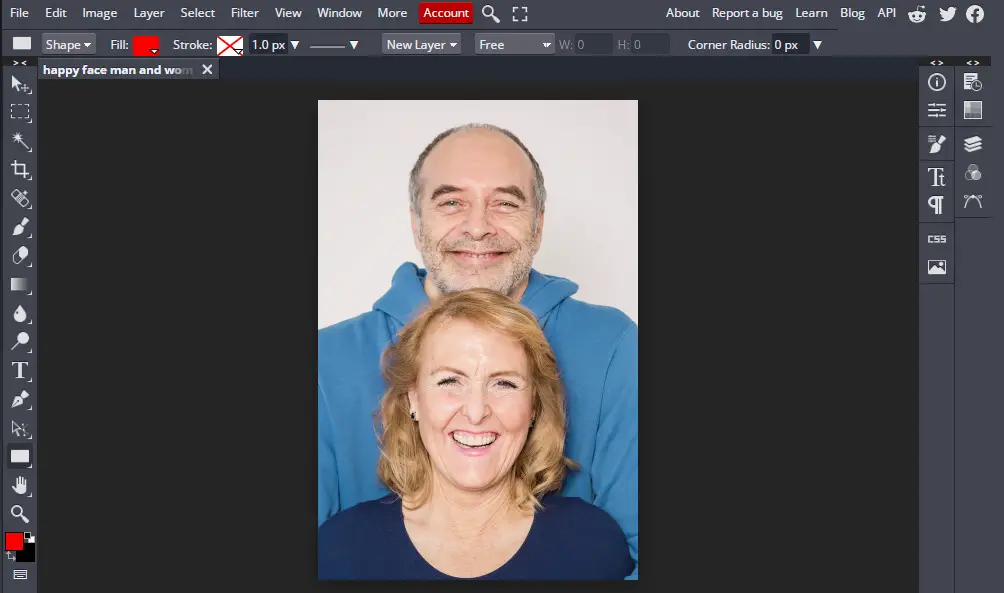
A great tool you can use is BunnyPic – a free online photoshop editor. You don’t have to sign up, install it or be worried to have a watermark on your images. It is totally free to use and beginner-friendly.
To resize your images using BunnyPic follow the below steps:
- Go to the BunnyPic Editor.
- Click on Open from Computer and select the image you want to resize.
- Go to Image > Canvas Size and scale the canvas to 1080 x 1080 pixels or a 1:1 aspect ratio.
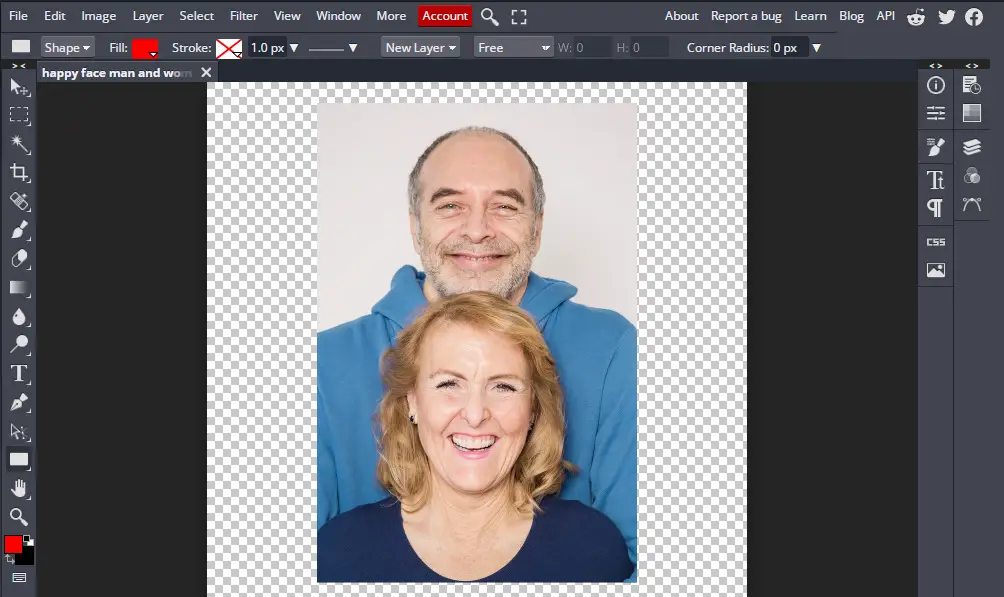
- Create a New Layer and place it below the picture layer.
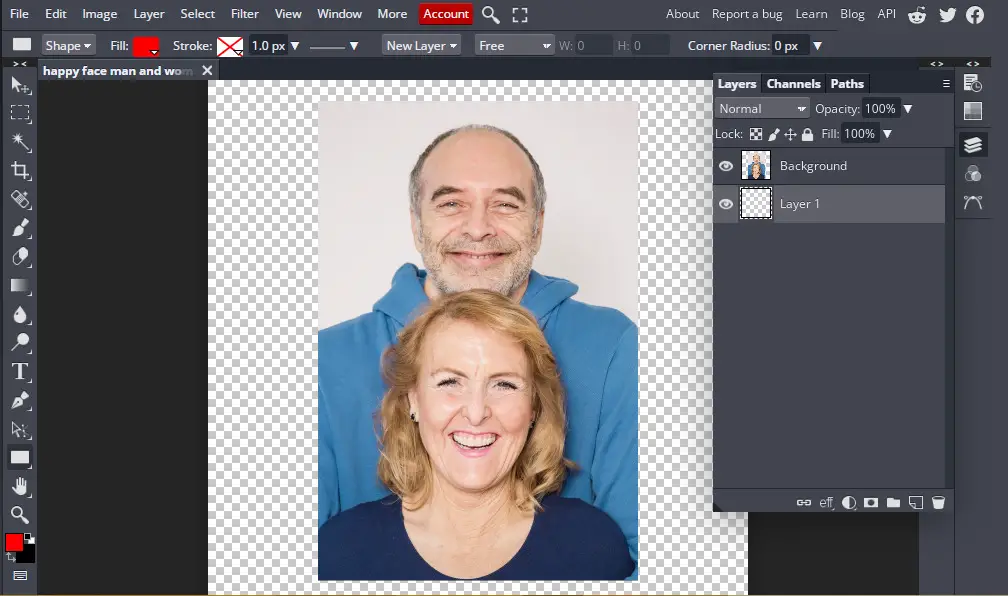
- Fill the new layer with a white color or black if you and your followers use dark mode.
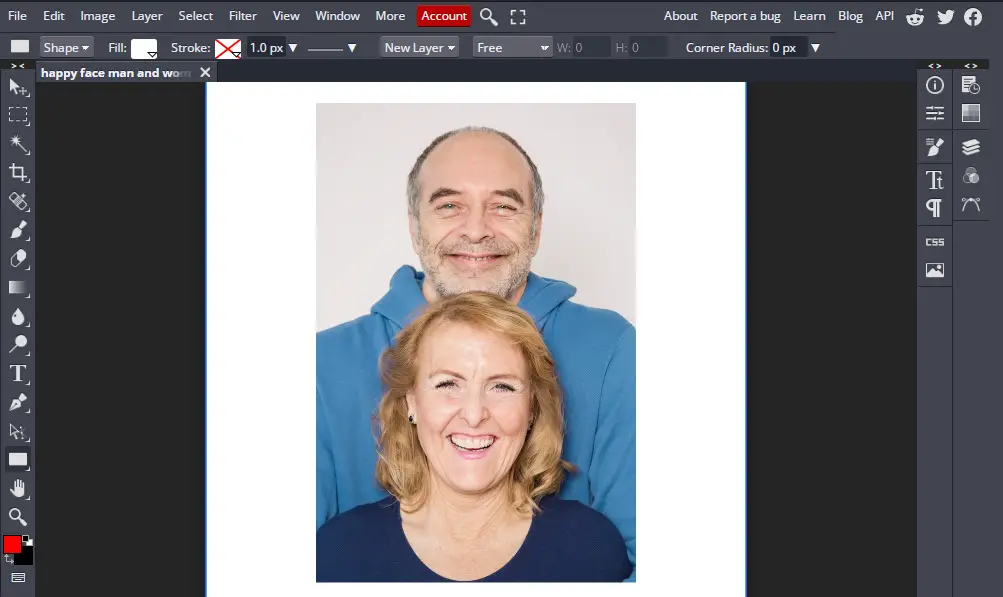
- Once you’re happy with the results go to File > Export As and export it as a PNG or JPG.
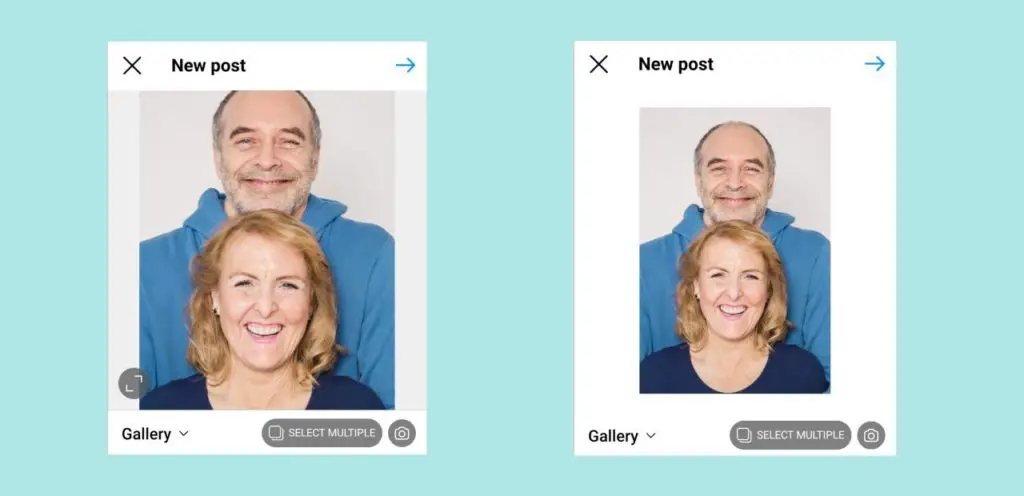
You can see how the image now fits perfectly inside the frame compared to the cropped image from before without losing any of its original value.
3. Using Third-Party Apps
The above method should work for all your photos but if you want to keep the whole process on your phone without having to switch around your photos from your computer you can try third-party apps.
There are numerous third-party apps on Google Play Store and Apple App Store that you can download which would automatically resize your photos to fit into your canvas.
The best free apps to make pictures fit on Instagram without cropping are No Crop & Square, Whitagram, and PicsArt.
No Crop & Square
No Crop & Square for Instagram is an app that gives you different options to edit your photos for Instagram. It has a number of resizing options such as rotation, shrink, and enlarge. You can also add text and stickers to your images; making it a great app to meet all your needs.
No Crop & Square is only available on Android and can be downloaded for free from the Google Play Store here.
Whitagram
Whitagram is an IOS app that allows you to add white borders and resize your images for Instagram. It is quite similar to the above app and will get the job done to make your images look cleaner without going through a complicated editing process.
Download Whitagram from the Apple Store here.
PicsArt
PicsArt is a popular editing app that is available for both IOS and Android and has a better and unique way of resizing your photos for Instagram. It has a blur effect which can be added to the image borders which is far more attractive than the white or black borders from the previous apps.
To edit your Instagram pictures without cropping using PicsArt follow the below steps:
- Open your photo from your camera roll/gallery.
- Click on the share icon.
- Select PicsArt. This will open your image on PicsArt.
- On the bottom of the screen, select Effects.
- Select Square fit and add a 50% blur with the slider.
The effect works best for landscape photos. This is the kind of result you would get.

Download PicsArt on the Play Store or App Store.
Conclusion
Instagram is a great app for sharing your pictures online but it can be annoying when Instagram crops your image to make it fit in the post. This cropping is poorly done, making it look awkward and not as you intended.
To make your images fit better on Instagram you can use their crop feature, our BunnyPic editor, or third-party apps on your phone to resize your images and make them fit the way you want them to.