
Photoshop is powerful graphic design software that lets you make stunning images, edit your photos and create beautiful pieces of art.
YouTubers can definitely leverage the power of Photoshop to create highly engaging thumbnails, channel covers, and banners for their YouTube channel.
High-quality thumbnails and cover art will make your channel more attractive to your audience tempting them to check you out.
In this tutorial we’re going to be using BunnyPic, a free online Photoshop tool, which has almost all the same features as Photoshop to make a high-quality thumbnail and cover for YouTube.
The reason I’ll be using BunnyPic is that everyone can’t afford Photoshop’s hefty price tags and even if they manage to it’s a complicated tool to work with and has a huge learning curve.
If you want to start making your YouTube channel art right now for free you can use BunnyPic as it is free-to-use and doesn’t require any sign-up.
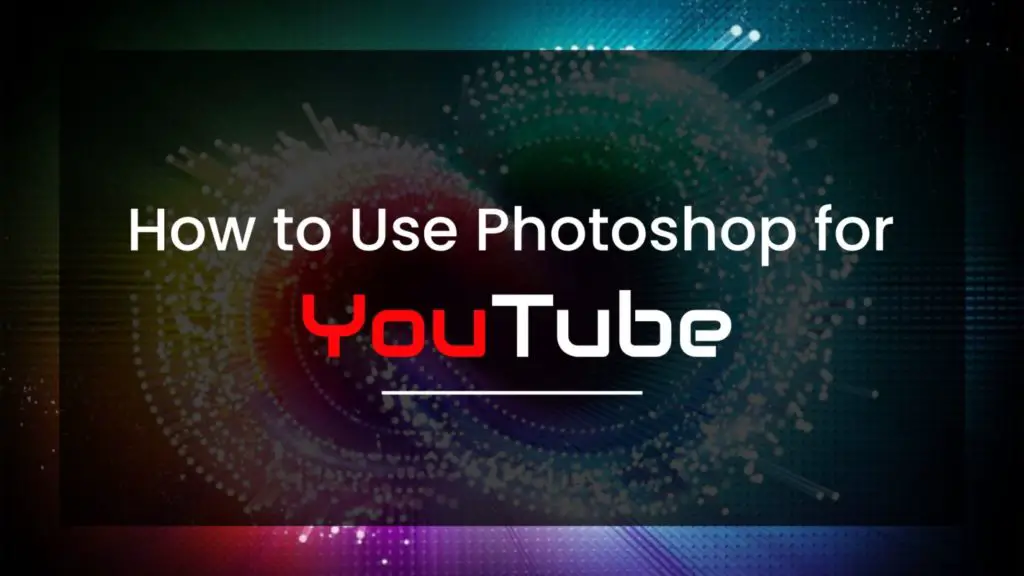
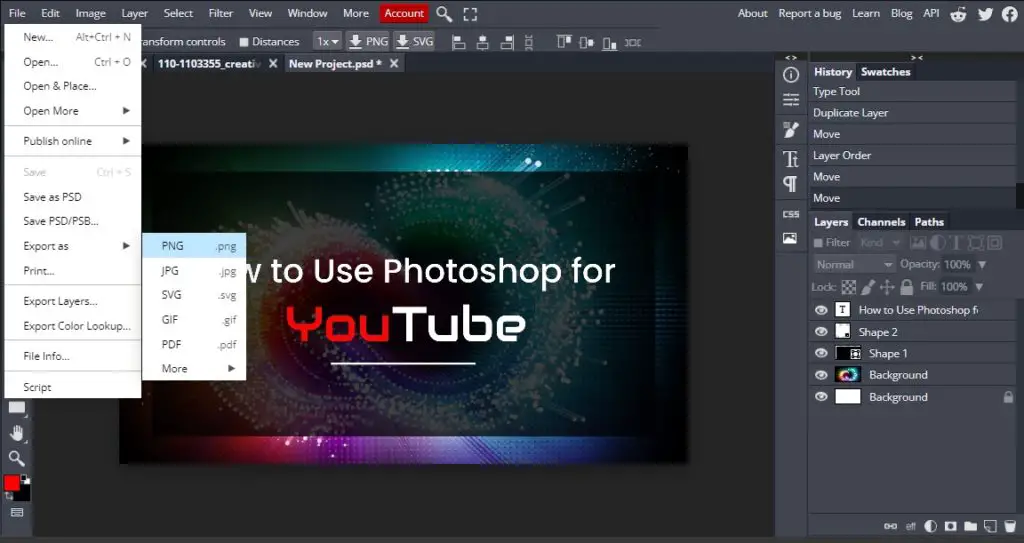
How to Make a YouTube Thumbnail
Follow the instructions to make the thumbnail you saw above:
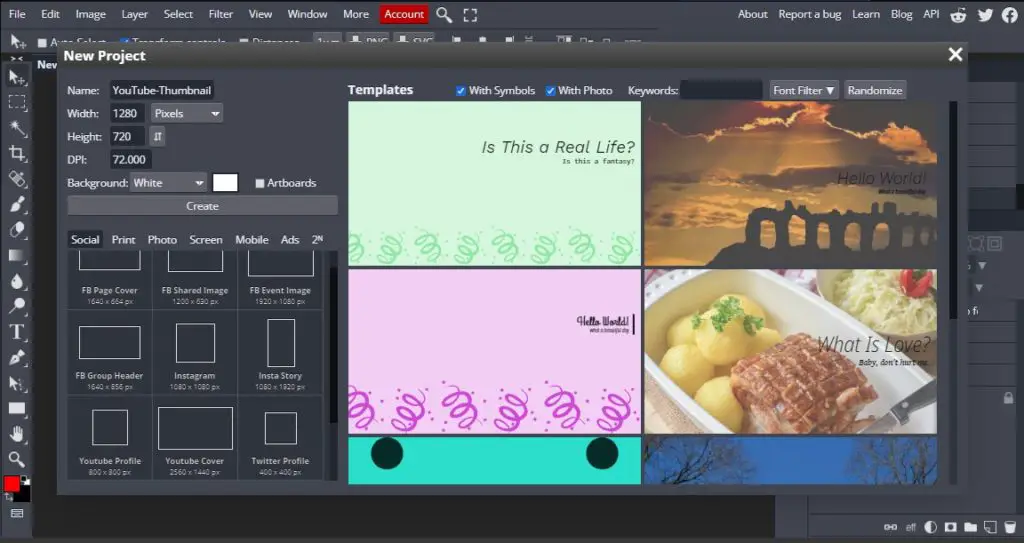
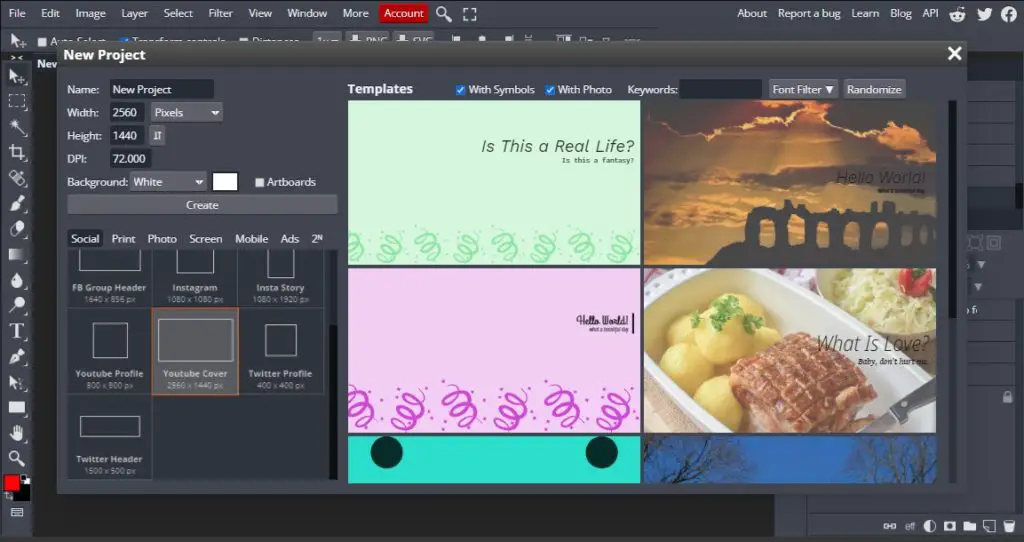
- Go to BunnyPic.com and click on New Project. Over here you will see an options to select a custom width and height. YouTube’s recommended thumbnail dimensions are 1280 x 720.
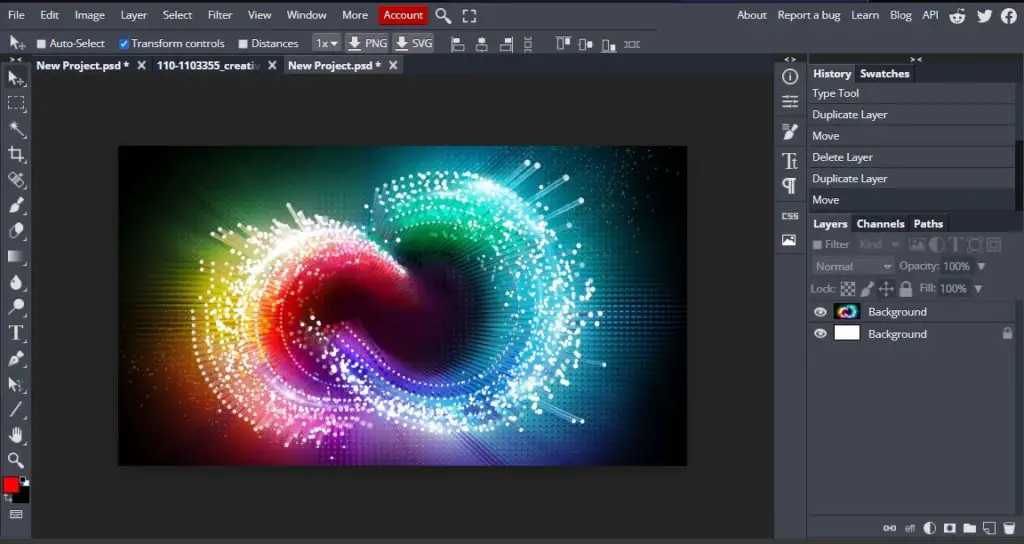
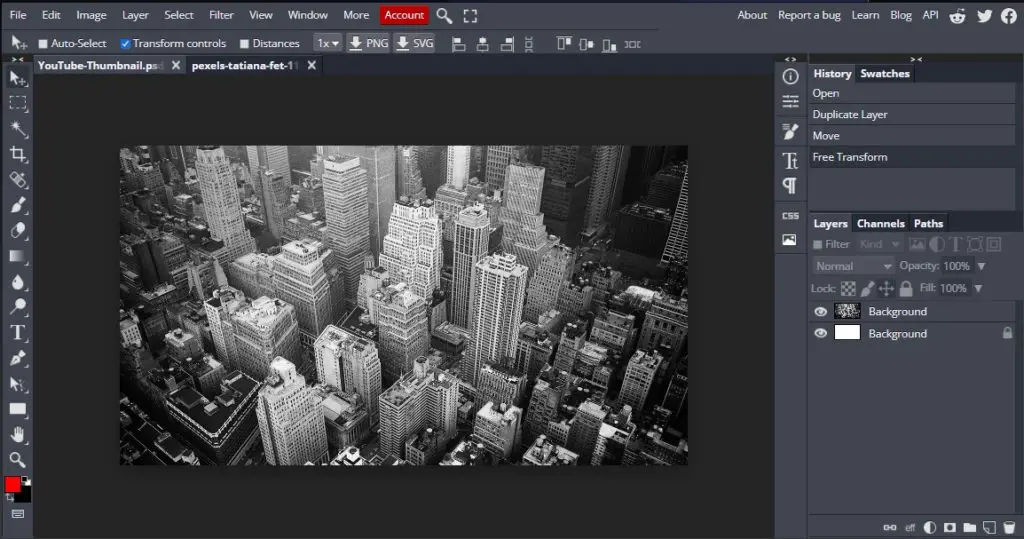
- After selecting your size you should load up a blank document. In this document we’ll add a background image to make the thumbnail more engaging.
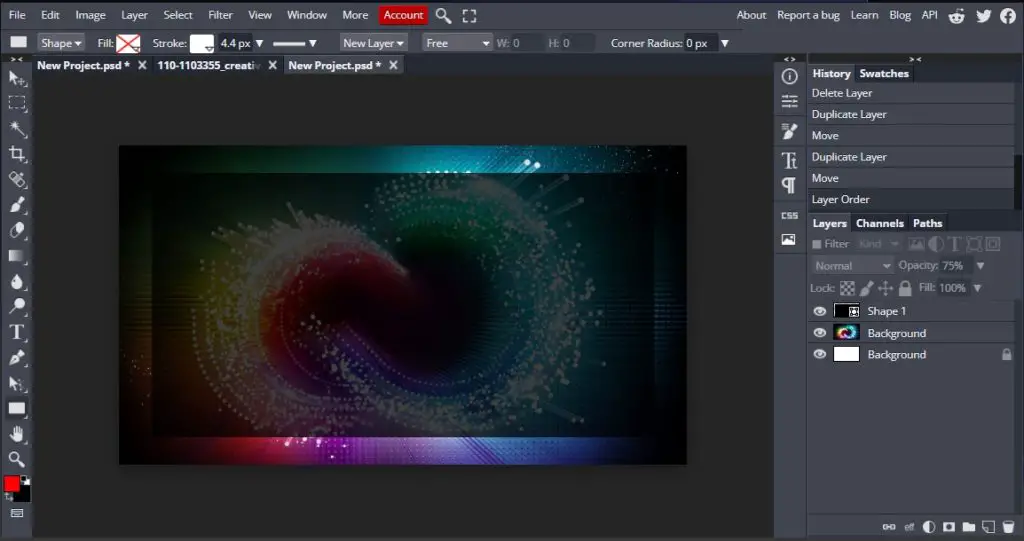
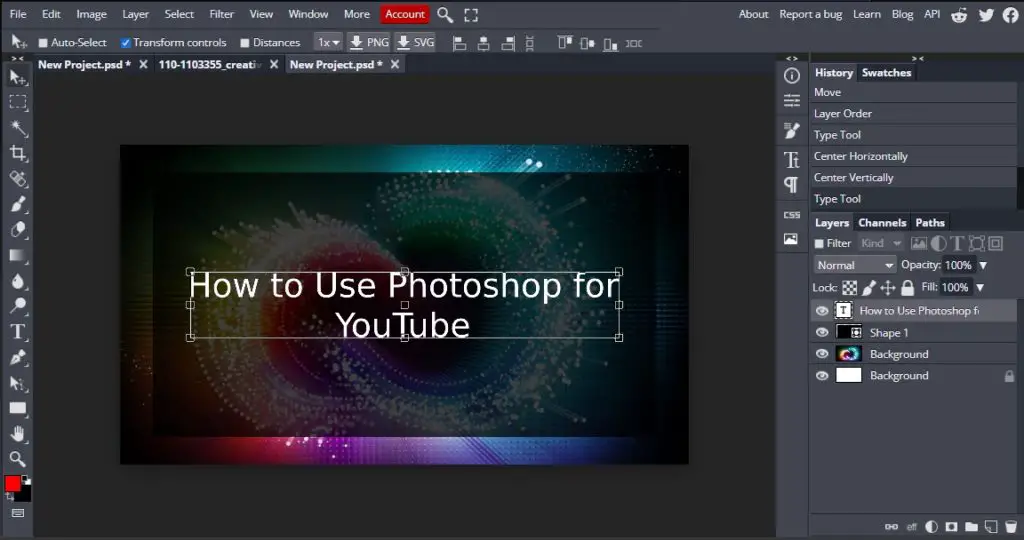
- On top of the background we are going to add a rectangle to use as a text overlay. From the left toolbar select the Rectangle Shape and drag your cursor to where you will be placing the text. Be sure to turn down the opacity from the Layers panel so the background is still visible.
- Now that we have a nice backdrop to work with we can add text on top of it.
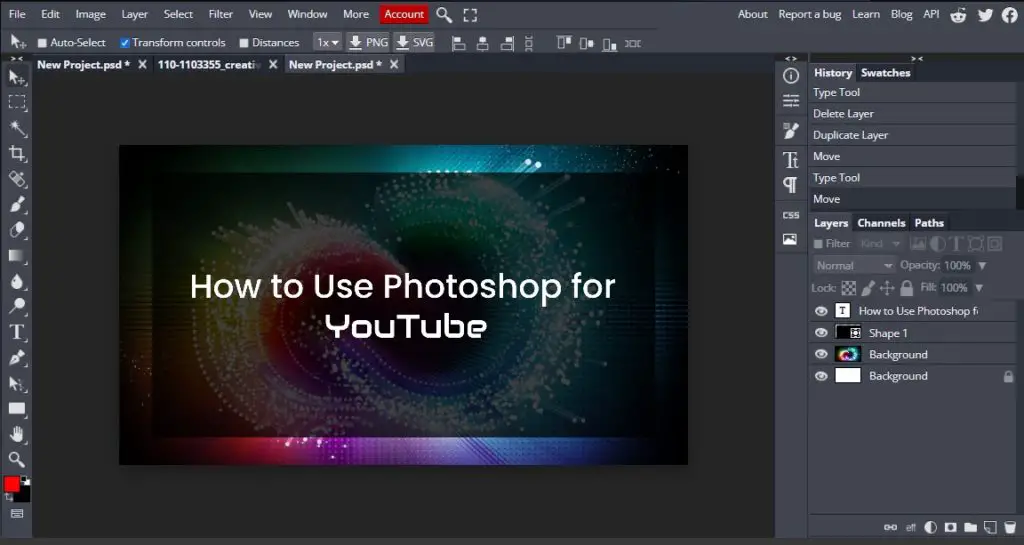
- The font looks a bit basic so with the text selected, go to the drop-down box located at the top to open up the list of fonts. Over here I’ll select the Poppins font for the upper text and I’ll select AudioMix for “YouTube”. If you want to use your own custom fonts check out our article, How to Add Fonts to Photoshop.
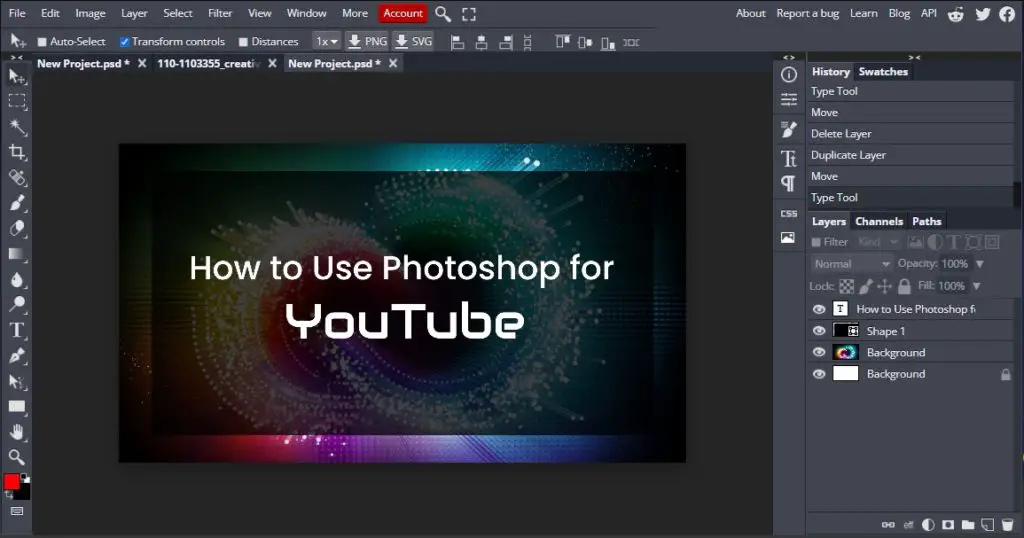
- I want to add more emphasis on the word “YouTube” so let’s scale it up a bit.
- Now that our text is set we can style it by adding some design elements like colors and lines. You can get creative but I just added a line below the text and made the YouTube text the same colors as the YouTube logo.
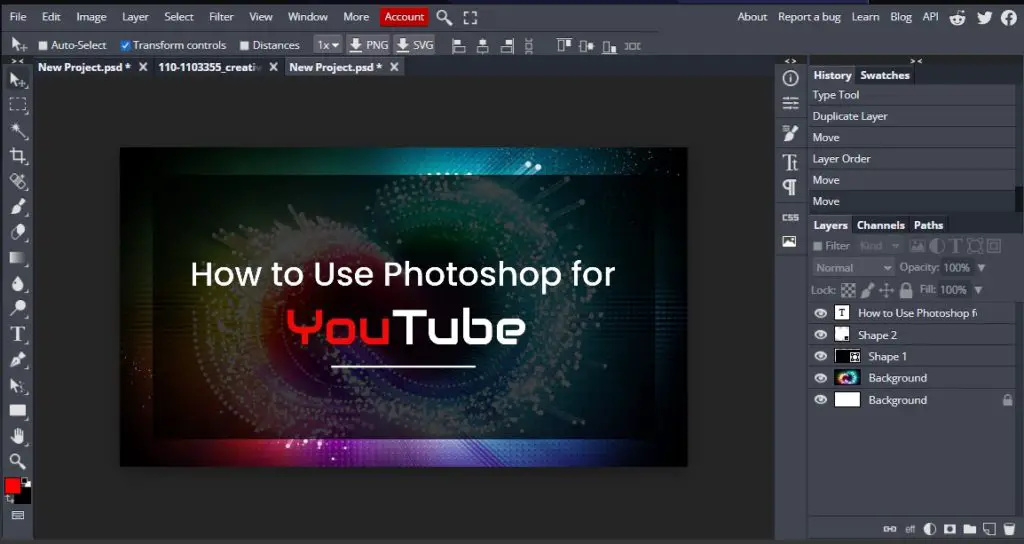
- Finally, all you need to do is export it and you got a YouTube thumbnail ready for your video.
How to Create a YouTube Cover or Banner
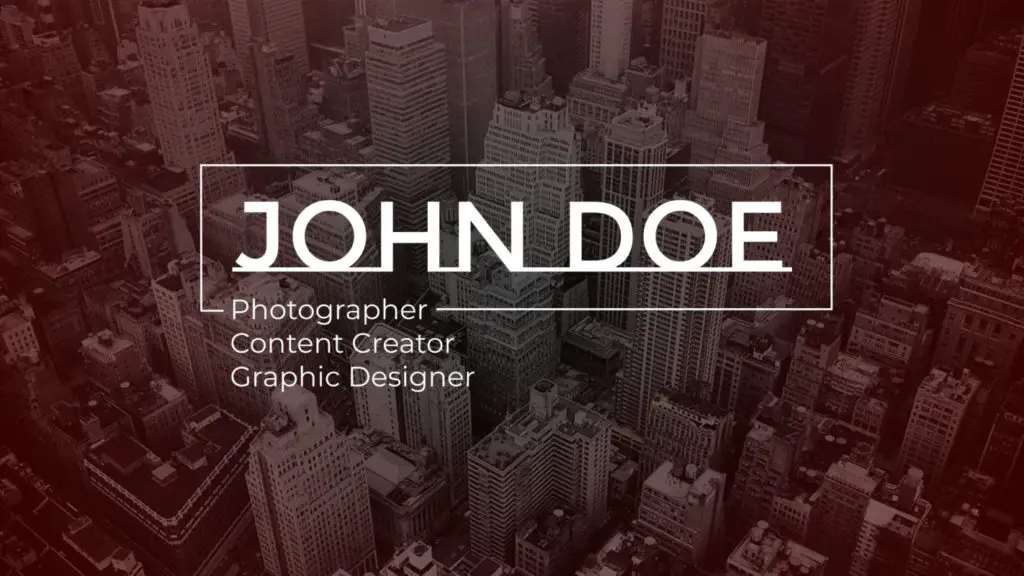
Now, that we have a nice-looking thumbnail we also have to create a cover for our channel.
This is what our final result will look like:
To create a YouTube banner go to bunnypic.com and follow the instructions below.
- Once you’re on BunnyPic click New Project. You’ll notice that BunnyPic provides you with several pre-made templates. On the left, scroll down and select “YouTube Cover.” (The recommended dimensions are 2560px by 1440px.)
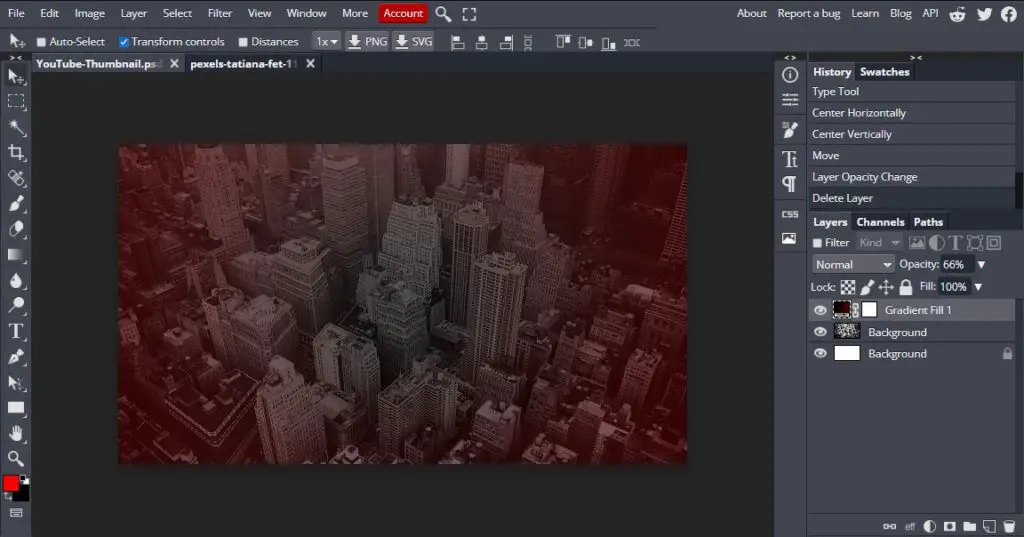
- Next we will add our background. To do that go to File > Open and select your image. Here’s my background:
- Now that we have our background we will add a gradient effect to it. With the image selected, Go to Layer > New Fill Layer > Gradient Fill. Now from here select the colors for your gradient, I chose Black and Dark red. Next go to Style and select Radial and the gradient should apply. Next you want to lower the opacity so that the background is visible.
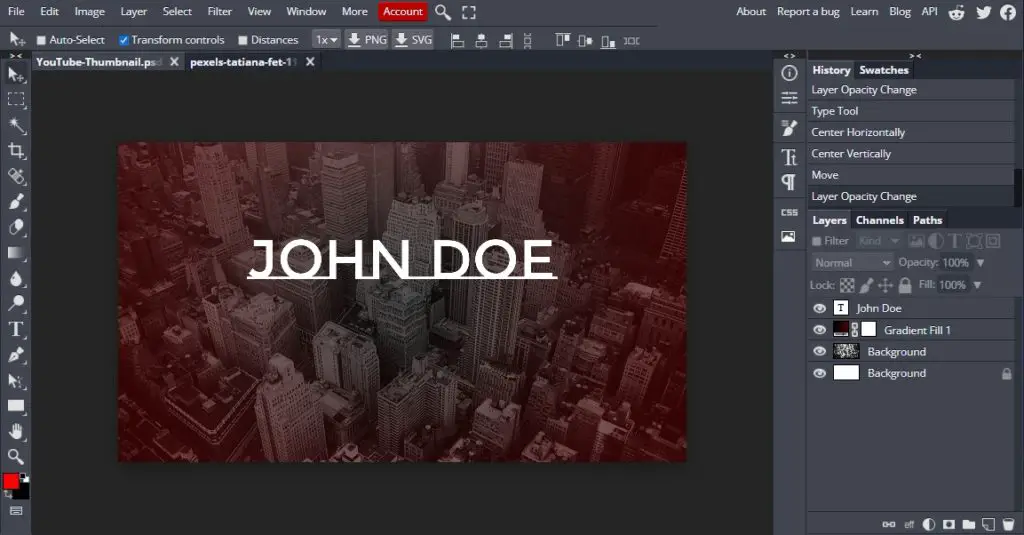
- Add your Text by selecting the Type Tool and then select a nice looking font. I’m using Montserrat Subyarada.
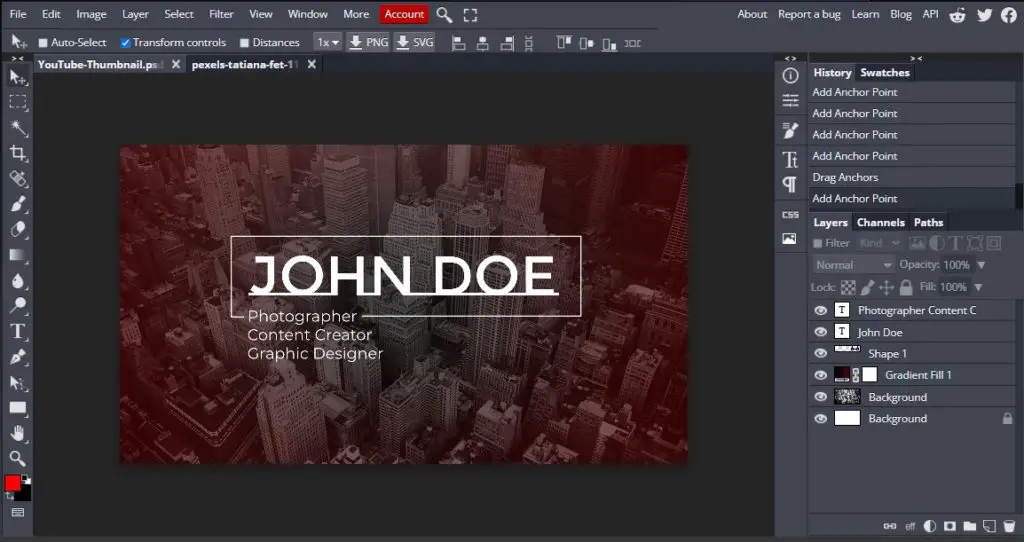
- Next we’ll add the secondary text. We’ll make this a different font (Regular Montserrat) in order to add some contrast and align it to the left.

- Next we’ll add a border around our text. To do this select the Pen Tool and adjust the stroke size to 5px. Now just click around the text to make a box, hold shift to draw a perfectly straight line.
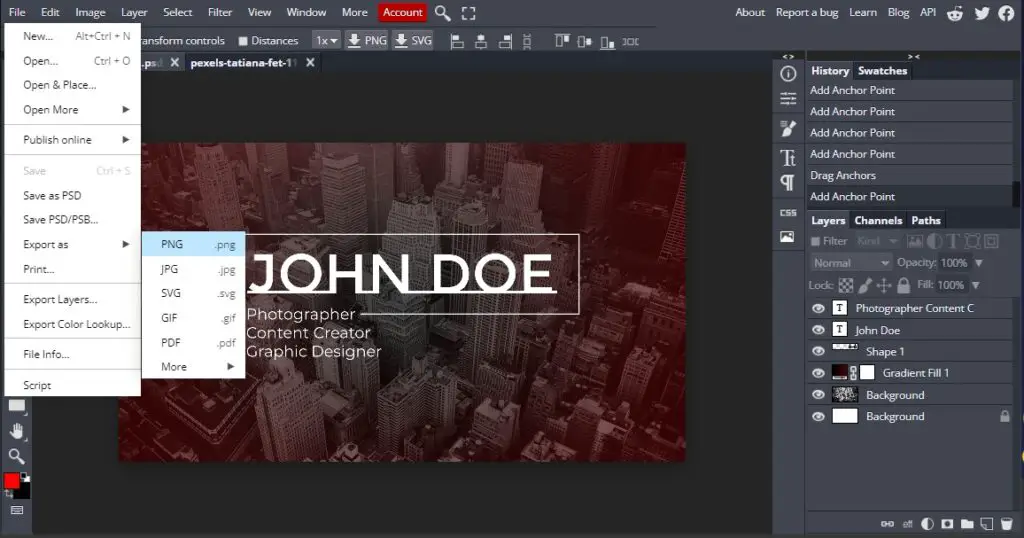
- Finally, export it as a PNG and save it.
Wrapping it up
Congrats! In this tutorial, you learned what the recommended dimensions are for YouTube’s thumbnail and cover art images as well as how to create your own.
Now, you should have a nice-looking, high-quality thumbnail and cover for your YouTube channel to start with.
If you don’t prefer to make your own YouTube thumbnails from scratch you can browse loads of free pre-made YouTube templates online and find one that suits you.