

Knowing how to add a white background to your photos can be helpful on many occasions.
Whether you want a photo for your professional profile, your resume, or for a product catalog, this tutorial will guide you through it.
In this article, you’ll learn how to add a white background to your photos using Photoshop.
If you don’t have Photoshop, no problem! You can use our free online Photoshop tool, BunnyPic. Bunnypic is a free-to-use, beginner-friendly Photoshop clone which has all the features we are going to discuss.
Let’s get started
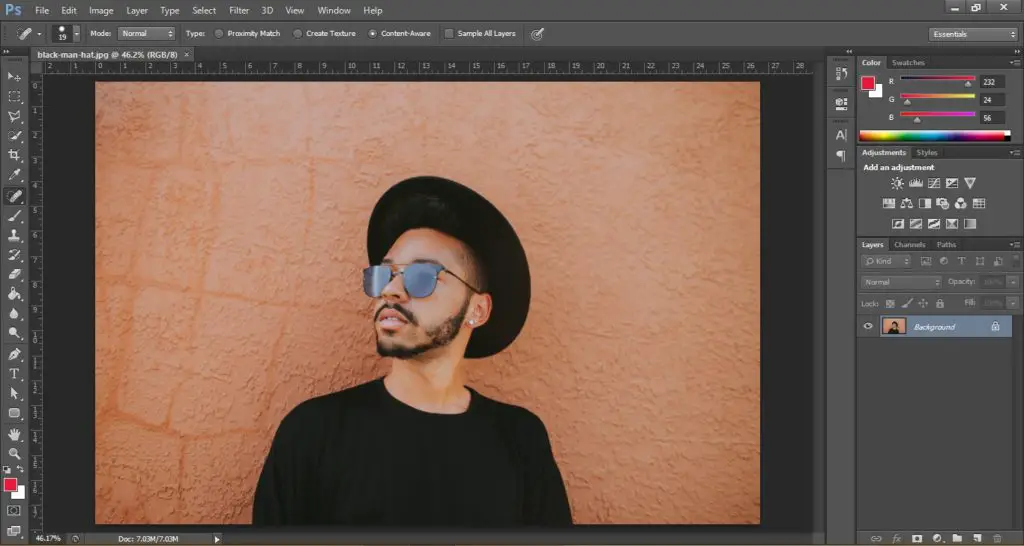
Open the image in Photoshop
Open up Photoshop and go to File > Open and select your image. If you’re using BunnyPic just click Open from Computer.
Once you have added your photo press CTRL+0 to fit it on screen for a better view.
Setting up the document
In the next step, you have to set up your document so we can edit the picture better.
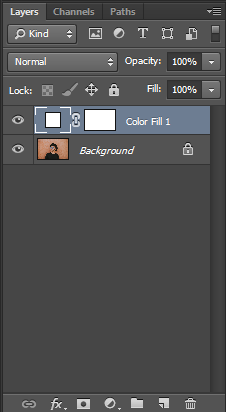
- Go to the Layers panel, select the Adjustment layers (half-black half-circle icon) and click on Solid Color. Make the solid fill white.
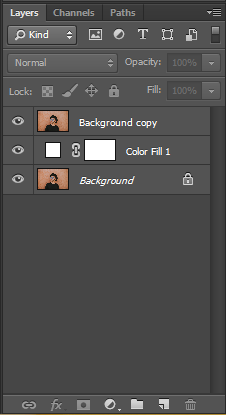
- Next, duplicate your original image by pressing CTRL+J or going to Layer > Duplicate Layer and place it above the color layer.
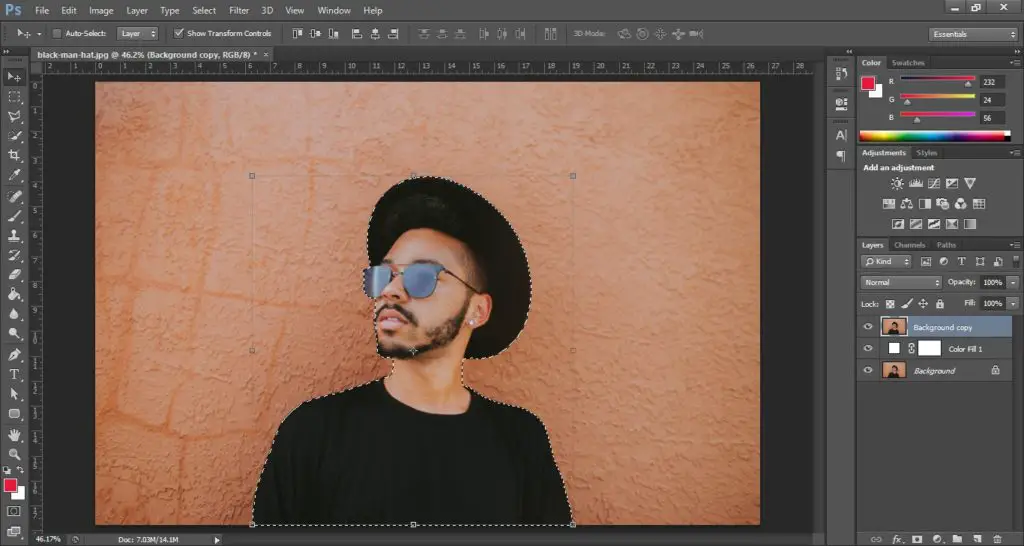
Select the subject
You would have to select the subject so we can manipulate the background behind it. To do this you can use the selection tools provided by Photoshop:
- Content-aware Selection
- Quick Selection tool
- Pen Tool
Content-aware Selection
If you are using the latest version of Adobe Photoshop (Photoshop CC) then after selecting the Quick selection tool you’ll see an option Select Subject at the top. By clicking this Adobe Sensei (Adobe’s smart A.I.) will automatically select your subject.
Quick Selection tool
If you are using Adobe Photoshop CS6 or below you won’t have the content-aware selection. The best way to quickly select your subject is by choosing the Quick selection tool and brushing over the subject. This will select it and you can undo any bits you accidentally select by holding Option (Mac) or Alt (Windows) and brush over the parts you want to exclude.
Pen Tool
The pen tool can be used to draw around your subject and then turn it into a selection. This is only preferred if you have a very simple subject without much detail.
With your choice of selection tool select the subject.
Refine the selection
You’ll notice that our selection is a bit jagged. We need to refine our selection a bit more before we start changing the background.
- If you are on Photoshop CC then go to Select > Select and Mask. If you are on Adobe CS6 or below go to Refine Edge.
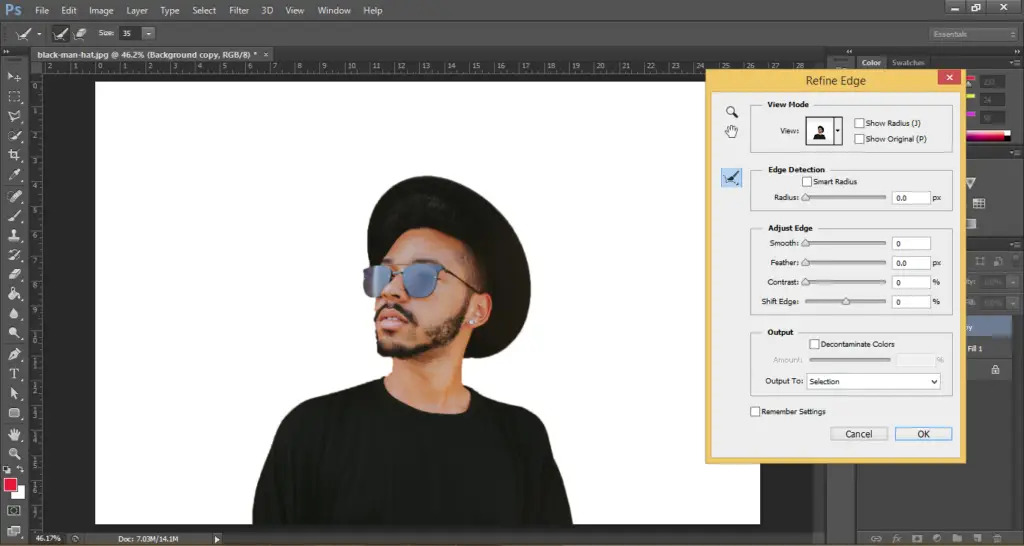
- Under the Adjust Edge use the sliders to refine your selection. Below are my settings, I increased the Smoothness to 80 and Contrast to 20.
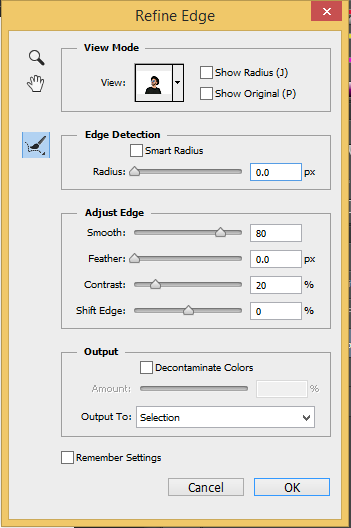
- Now, you should have a more refined selection with a white background.
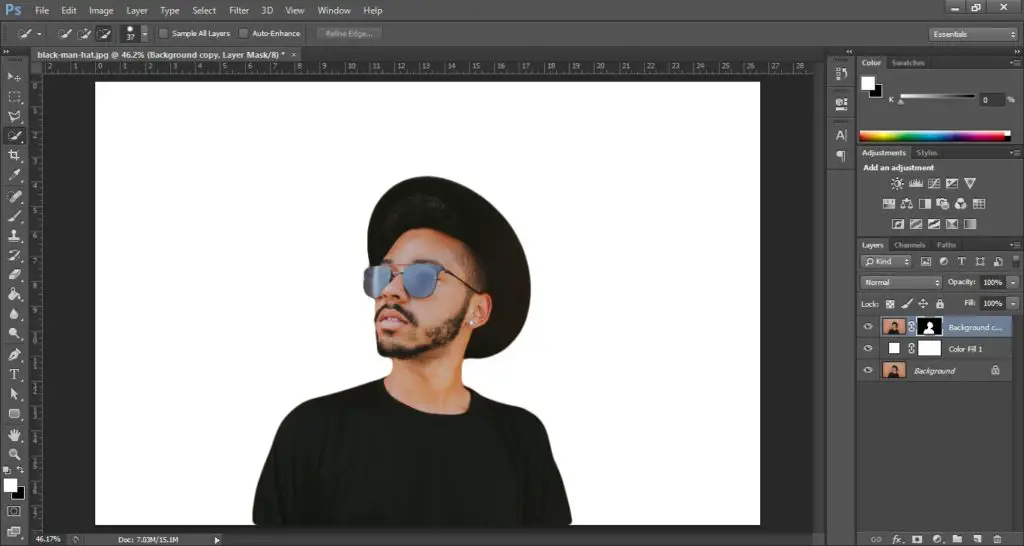
Adding the lighting
If you are taking a photo for a product catalog then you might just need a simple white background. If that’s the case you don’t need to add lighting, shadows, or highlights.
However, if you are working on a different kind of image, such as a photo of a person, then you would need to add some effects otherwise it would look flat.
To add lighting to your subject, follow the instructions below:
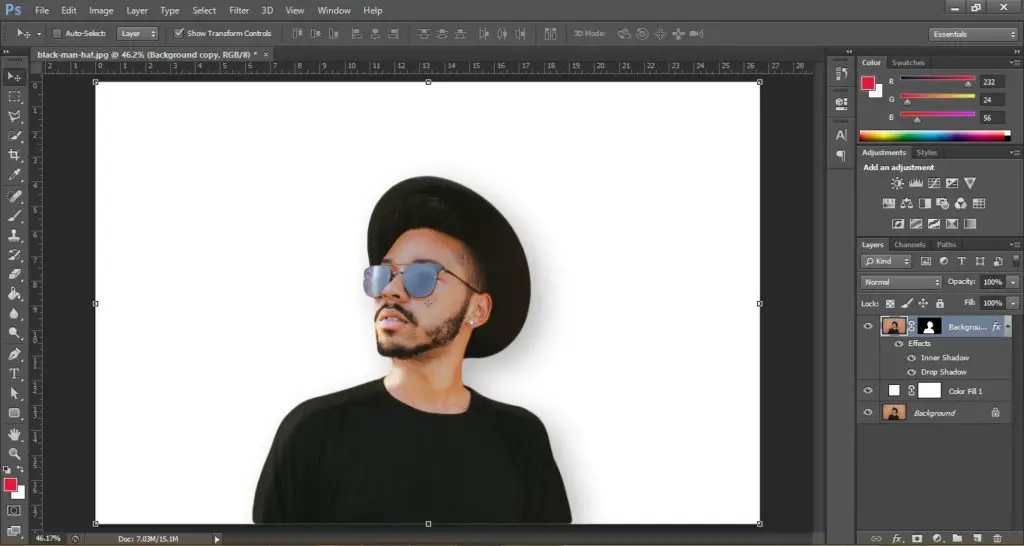
- Under the Layers panel double-click on the image of the duplicated background layer. This will open up the layer styles:
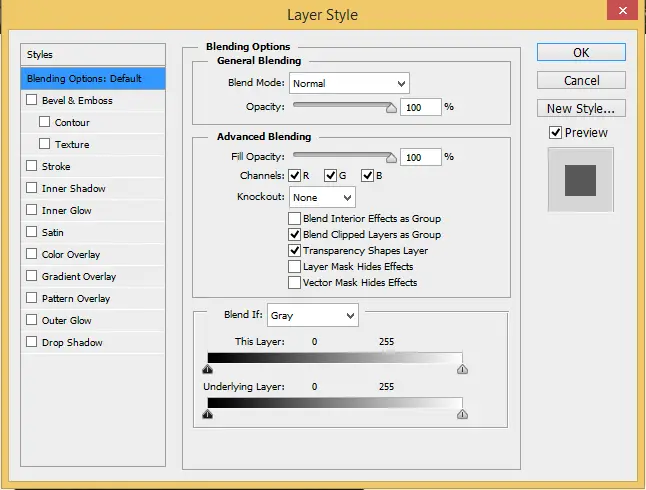
- From the Layer style we are going to apply Inner Shadow. Click on Inner Shadow from the left menu. With it applied, set the color to white, blending mode to Overlay and adjust the settings till you see a realistic light effect. You can also click and drag the shadow to place it where the light should be bouncing off from.

- With the Inner shadow applied you should have a good lighting effect on your photo.

Adding the shadow
Finally, to complete our picture we would need to add a shadow in the background to give it some depth.
To add a shadow to your photo, follow the instructions below:
- Under the Layers panel double-click on the image of the duplicated background layer. This will open up the layer styles
- This time go to Drop Shadow. Adjust your drop shadow until everything looks alright and keep the opacity low. This will make your shadow fade which will make it more realistic.
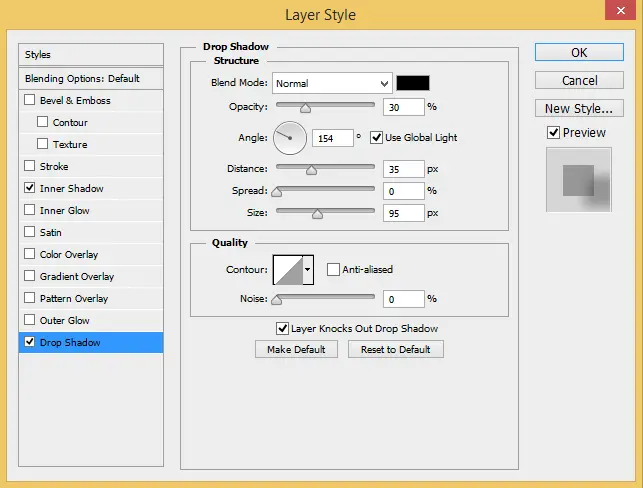
- When you’re happy with the results hit OK.
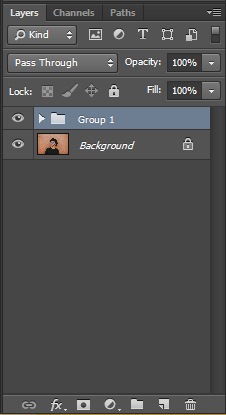
- Finally, group all the layers together by holding Shift and selecting the layers and going to Layer > Group Layers or press CTRL+G.
Congratulations you’re all done! Now just save the image by going to File > Save for Web.
If you want more photography tips, check out our article on the 10 Photoshop Tools to Improve your Photography.