
Looking for a creative way to add colors to your photos? You may have a lot of brightly colored, beautiful photos in your gallery but everyone needs a little pop in their photos to make them standout. One quick way to add that creative touch to your photos is by adding a color splash effect. A color splash effect can make your images stand out and add contrast to your focal subject from the background.
What is a color splash effect? A color splash effect is when you convert your photo into black and white and then color only one part of that photo. Adding color to just one specific spot creates a “splash” effect which makes it a an innovative way to add colors to your photos.
How to Add Color Splash Effect to Your Photos Using BunnyPic
In this quick tutorial we’ll learn how to add a color splash effect online using the free online tool BunnyPic. BunnyPic gives you all the tools similar to Photoshop that’ll help you change image color online without the expensive costs of Photoshop.
Adding a color splash effect to your photos will make them much more lively. These vibrant, colored photos will become a great look for your portfolio. Let’s get started.
1. Open Your Image in BunnyPic
To get started you’ll need an image with some bright colors. It’s good to have an image with a main focal point as this will help you have an idea on where to add the color splash effect. As you’ll be adding color to just one specific area of the image, make sure you want to highlight that part – which is why you should have a focal point.
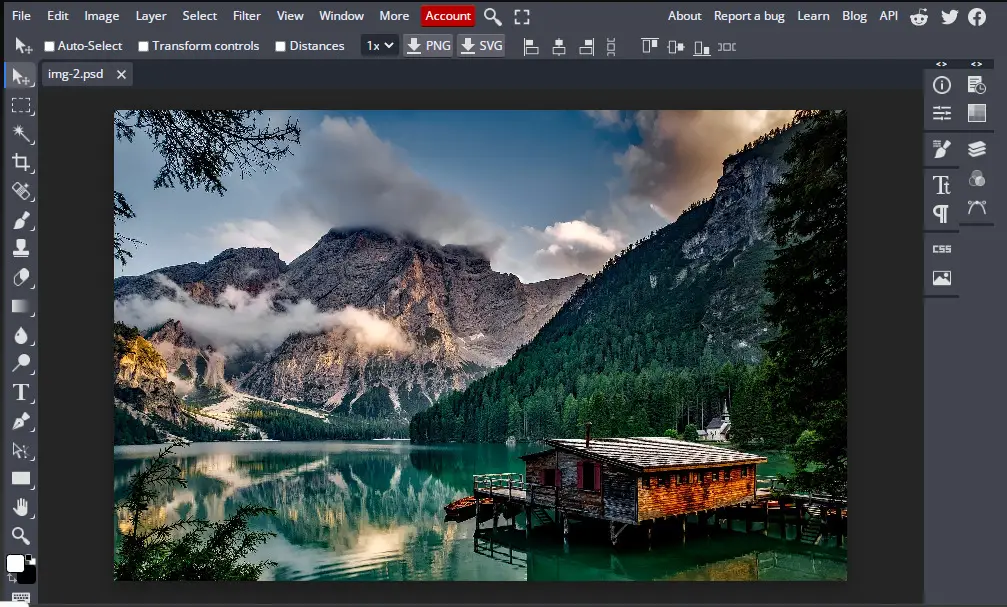
Once you have a good high-quality image ready, go to the BunnyPic editor and open your photo by clicking Open from Computer and selecting your photo.
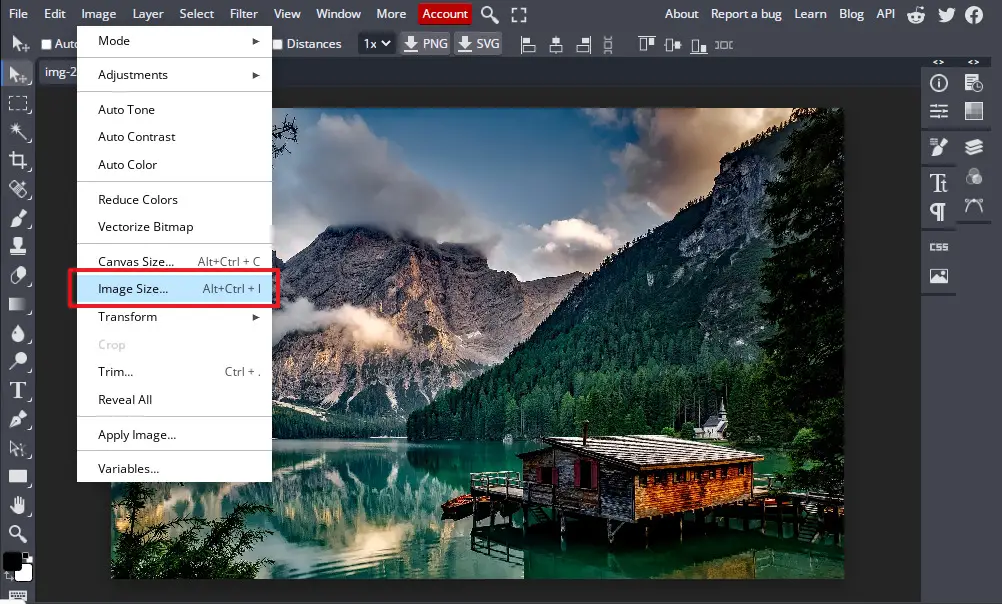
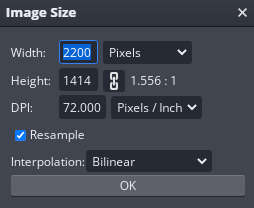
If you’re using this image for a specific purpose such as adding it into your portfolio website, you might want to resize it to the appropriate size. You can change the size of your image by going to Image > Image Size and then changing the size of your image.
After the change you can press CTRL + 0 to fit the image on canvas.
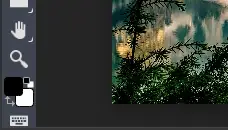
2. Set Your Foreground and Background Colors to Black and White
Next, you need to make sure that the foreground and background colors of the document are correctly set up. This will help you add the color back in your image once you’ve converted it into black and white. When working in BunnyPic the default foreground color will be white and the background color will be black. To get the desired effect you need to switch this. Do this by clicking the arrow button on the bottom left.
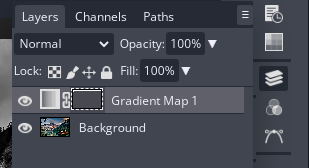
3. Add a Gradient Map
After properly setting the foreground and background colors you’ll be adding a gradient map adjustment layer. A gradient map adjustment layer will sit on top of your original image and change it to black and white. This will then act as a mask on your image to enable you to bring back some of the color using the brush tool.
To add a gradient map
- Open the Layers panel from the right
- Go to adjustment layers (half-black, half-white circle icon)
- Select Gradient Map
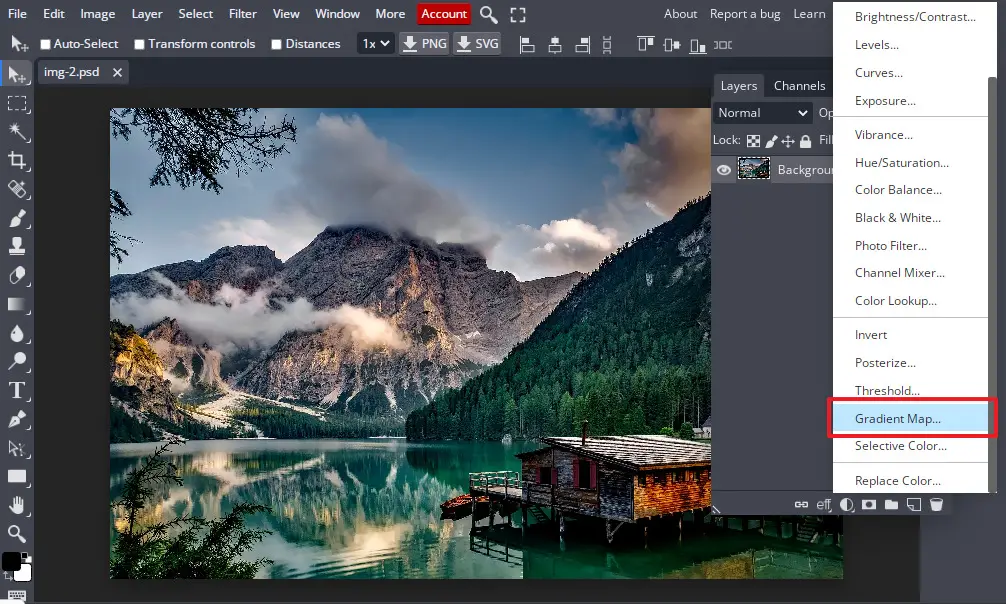
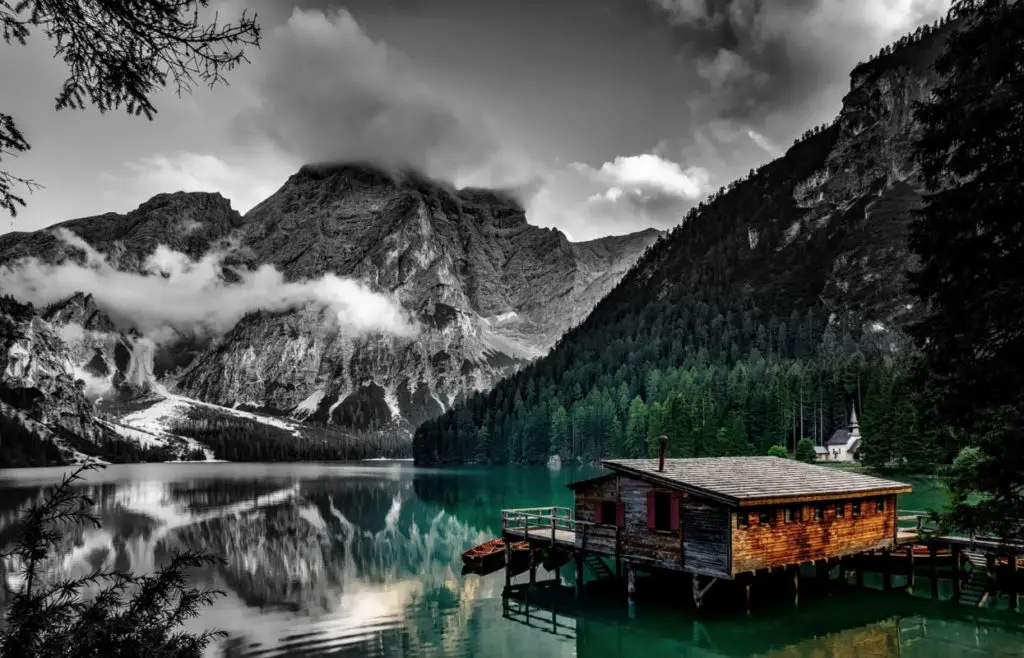
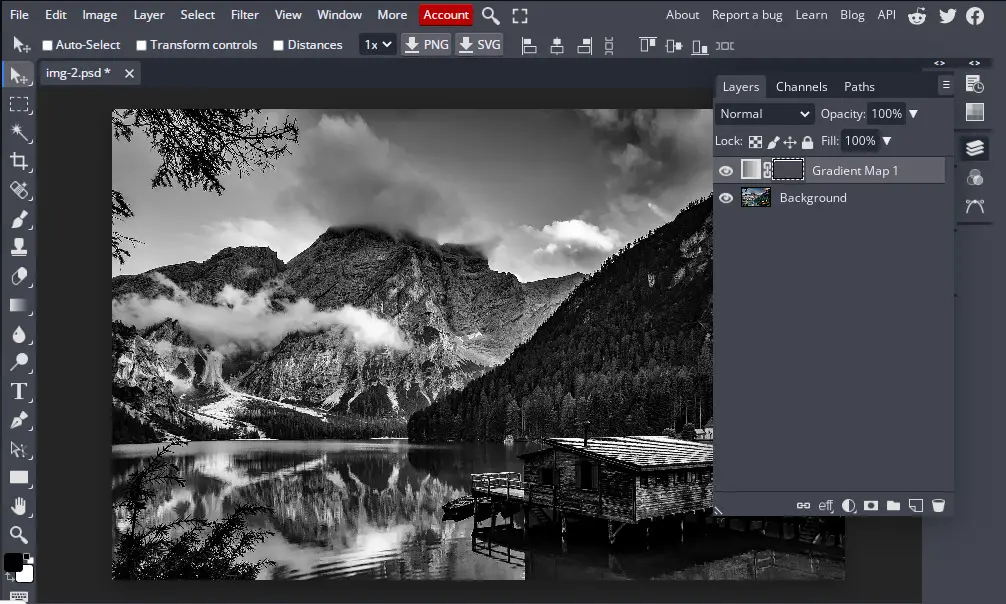
After adding the gradient map a new layer will appear above your background layer and your image should be in black and white like this:
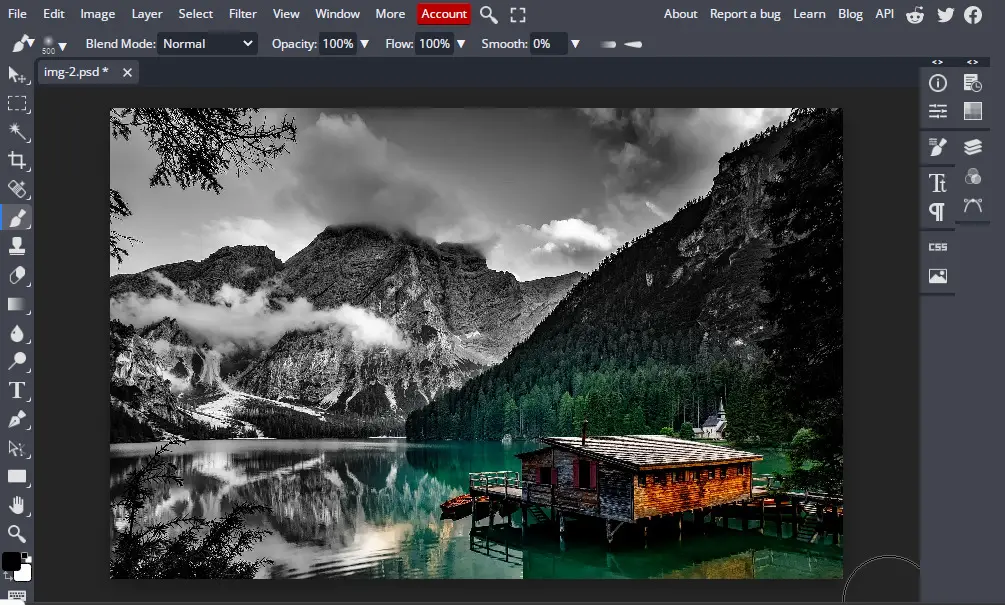
4. Add the Color Splash Effect with the Brush Tool
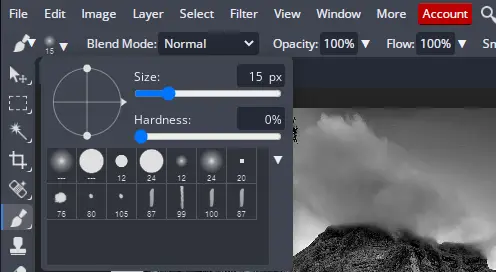
Now that our image is perfectly set up we can add the color splash effect. Select the brush tool from the left toolbar and adjust the brush setting to apply a more realistic splash effect. To do that we’ll need a soft feathered brush so bring down the hardness to 0.
Before adding the color you first need to select the gradient map mask. On the gradient map layer you’ll see a greyish colored rectangle that is the mask layer. Click on it and a white border should appear around it to confirm you’ve selected it.
With the mask selected paint over part of the image you want to add color to. You can increase the brush size by tapping the right bracket key (]) and decrease it with the left bracket key ([). After painting over the specific spot you want to add the color splash to your image should be looking something like this:
5. Tweak the Density of Your Color Mask
Our color splash is applied to the photo but it’s still not perfect. The colors in the above photo are way too intense and have a very high contrast from the rest of the image. To correct this we can fade the image slightly using the mask properties of the gradient map.
To do this:
- Open the Layers panel
- double-click on the gradient map mask
- Turn the density to a lower value to blend the colors slightly and give it a faded look

After lowering the density you can see our color splash effect is looking much better:

That’s all! We managed to easily create a stunning color splash effect to make our photos a lot more special. There are many other photo editing tricks you can do with BunnyPic. Whether it’s removing unwanted items from images or making a photo collage, it’s all possible with BunnyPic – explore our blog for more tutorials.