We can’t be on our feet all the time. When we’re in a rut or need a dose of inspiration we often look at quotes. On social media, many quotes collect hundreds of likes and shares every day.
If you’ve been on social media then you’d be familiar with hashtags like: #motivation, #quotes, or #inspiration. Click on one of them and you’ll be shown thousands of quotes that make you feel inspired and motivated to take on the world.
Seeing how popular quotes can be you’d have a few quotes in mind that you would want to share as well. But, using free apps and templates might not give you a lot of freedom to write quotes on pictures. That’s why using a free tool like BunnyPic is the best option for creating picture quotes.
How to Write Quotes on Pictures Online With BunnyPic
Whether you’re making quotes to share on social media or embed them into your website, BunnyPic makes it easy. With BunnyPic you can make amazing picture quotes effortlessly. First grab a quote you like or write one yourself. Done? Great, let’s look at how to make a simple picture quote online.
1. Upload Your Picture
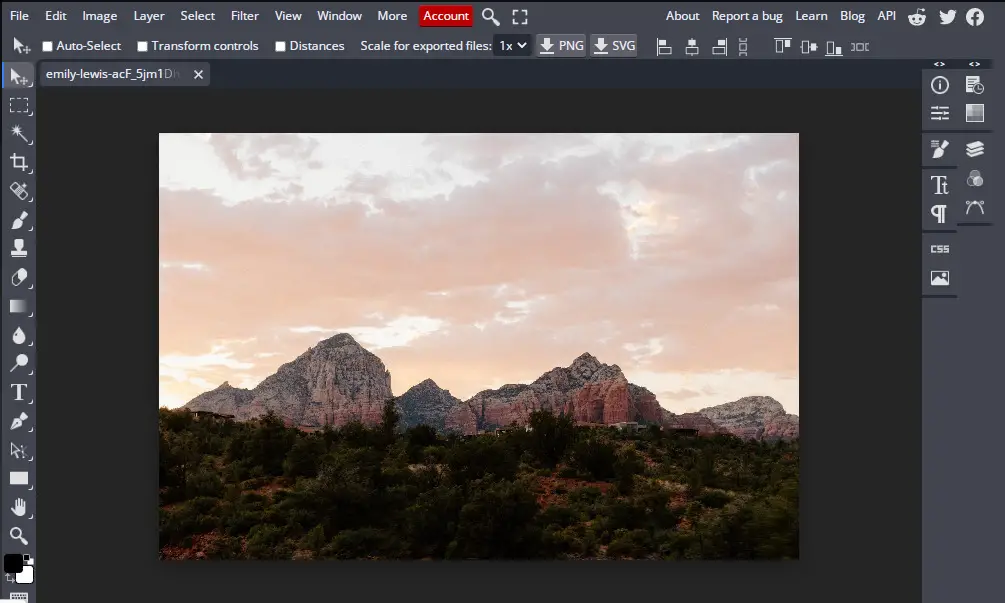
Before starting you should have two things with you: your quote and the image you want to use. If you don’t have an image, you can download one for free from a stock photo site like Pexels or Unsplash. Landscape photos of mountains and trees can add to the beauty of your photo, so use scenic images for better results.
With your image downloaded go to the BunnyPic Editor. Upload your photo by clicking Open from Computer and selecting your image. You can also drag the photo in the editor to upload it directly.
2. Add a Graphic on Top of Your Image
After adding your image you should place a semi-transparent graphic above it. This will improve the legibility of your text by preventing it from blending into the background. To add a graphic to your image:
- Select the Rectangle shape tool from the left toolbar
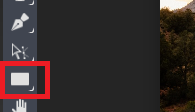
- Drag your cursor on top of the image to create a rectangle. This is where your quote will be placed
- Fill the color of the rectangle with black
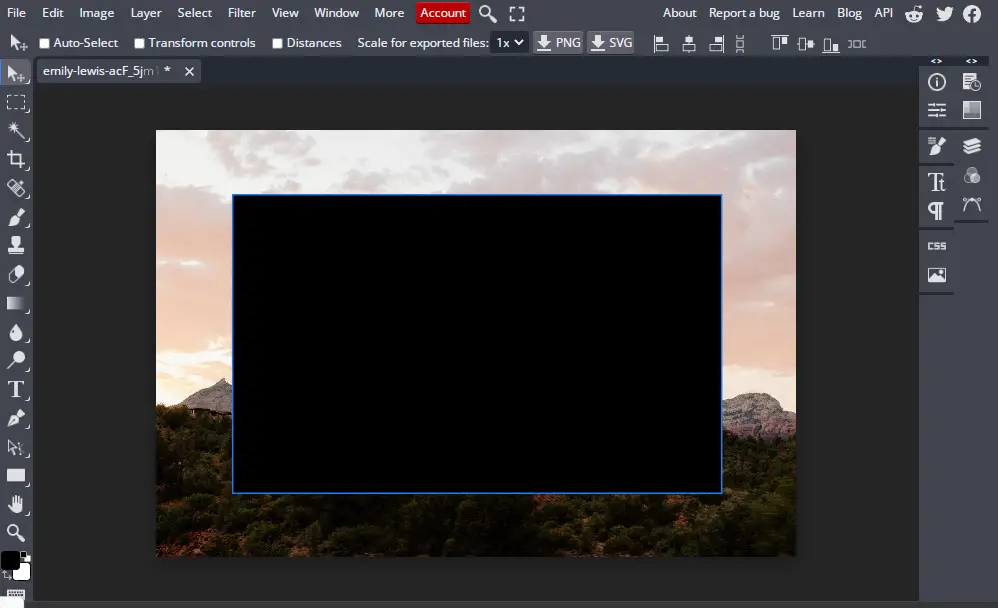
- Next, open the Layers panel from the right toolbar. From there click on the opacity and turn it down to a lower number

- Finally, set the rectangle in the center. Do this by dragging it along the center until the guides align like this:

3. Add Your Quote
After adding the graphic you can write your quote on top of the picture. To add text to your photo you’ll need to first select the Type tool.

With the Type tool selected click and drag anywhere on your photo to add a text box and type in your quote.
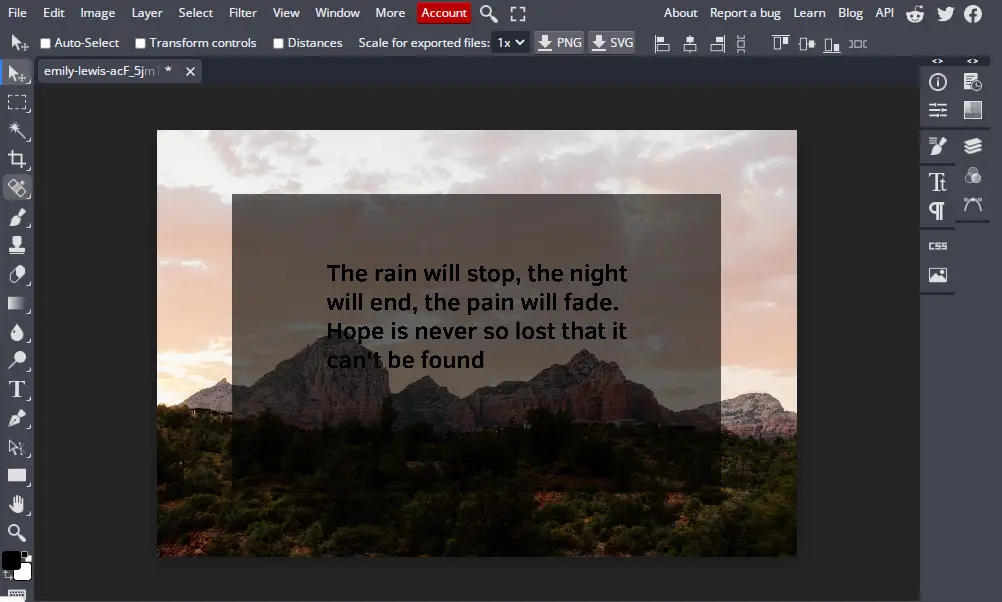
Our quote is there but you’ll notice a few problems right away. The font is basic, color isn’t legible and the leading seems a bit tight. We can fix these issues by adjusting the font a bit.
By selecting the text you can start editing it. Firstly we’ll change the color of the text to white from the top toolbar:
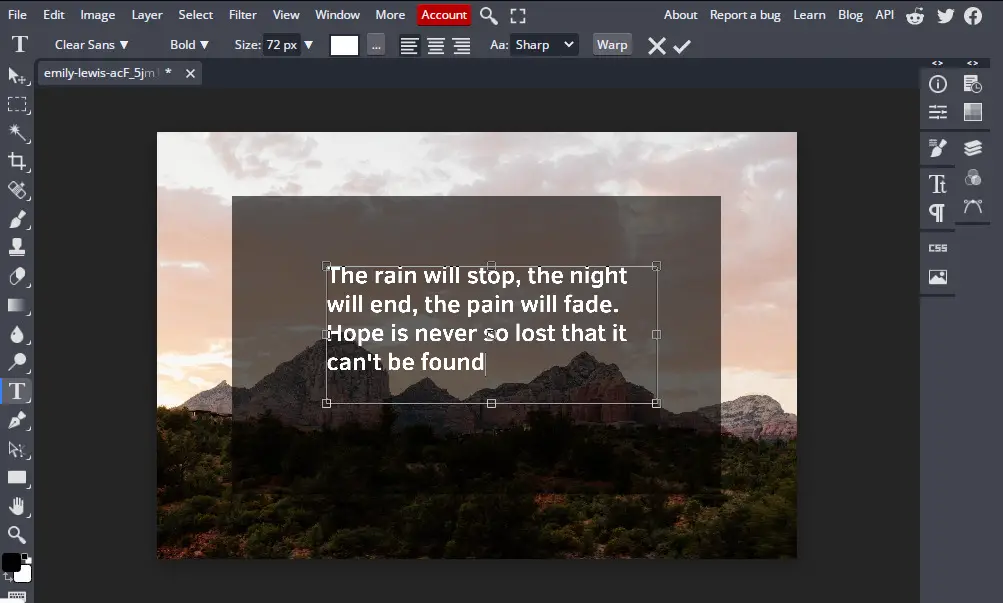
Next, we’ll choose a better font. Some of the most popular fonts for quotes are:
- Georgia
- Helvetica
- Playfair Display
- Open Sans
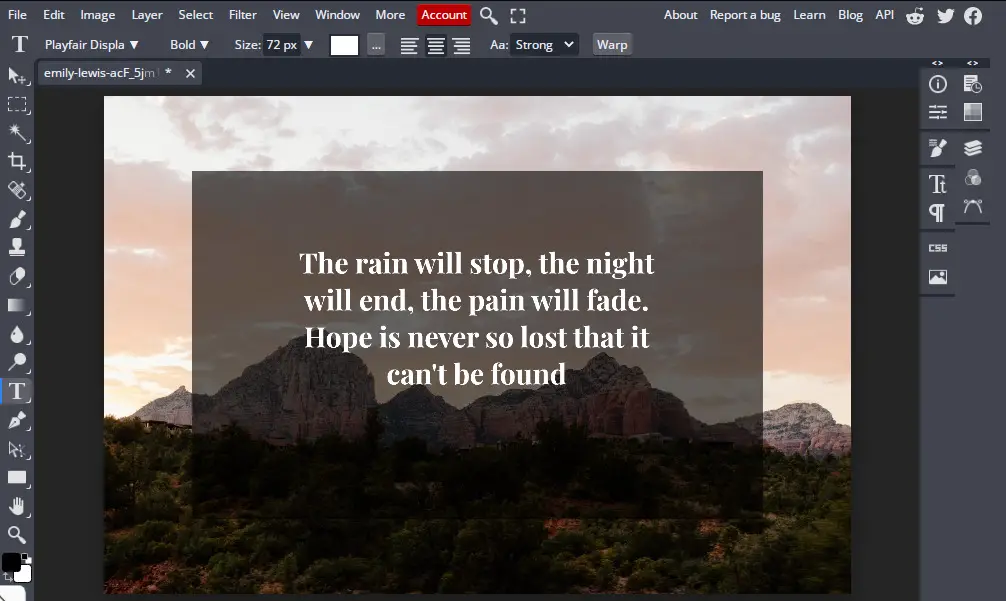
BunnyPic has a large library of preloaded fonts. Also, if you want to add your own fonts you can upload them in the editor. Select your text and then select the font you like. Here’s what Playfair Display looks like on our picture quote with center-alignment and 95px leading:
4. Add Name of the Person
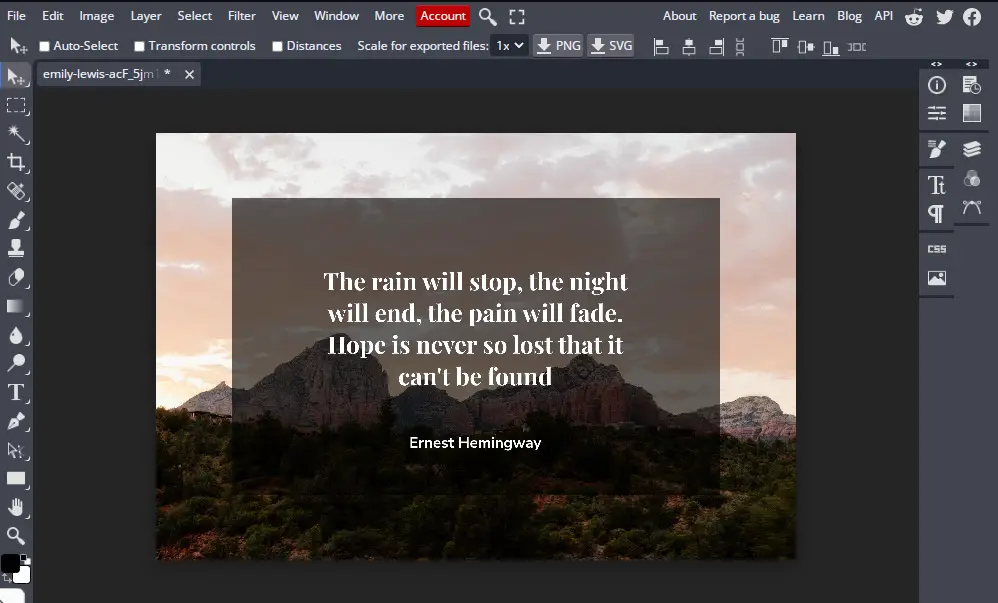
If you’re quoting a person it’s important you add their name. Especially if it’s a famous person it can add credibility to your post. To add the name of the person we’ll add another text layer just below the quote. Select the Type tool and click below the quote to start typing.
5. Add Some Final Touches
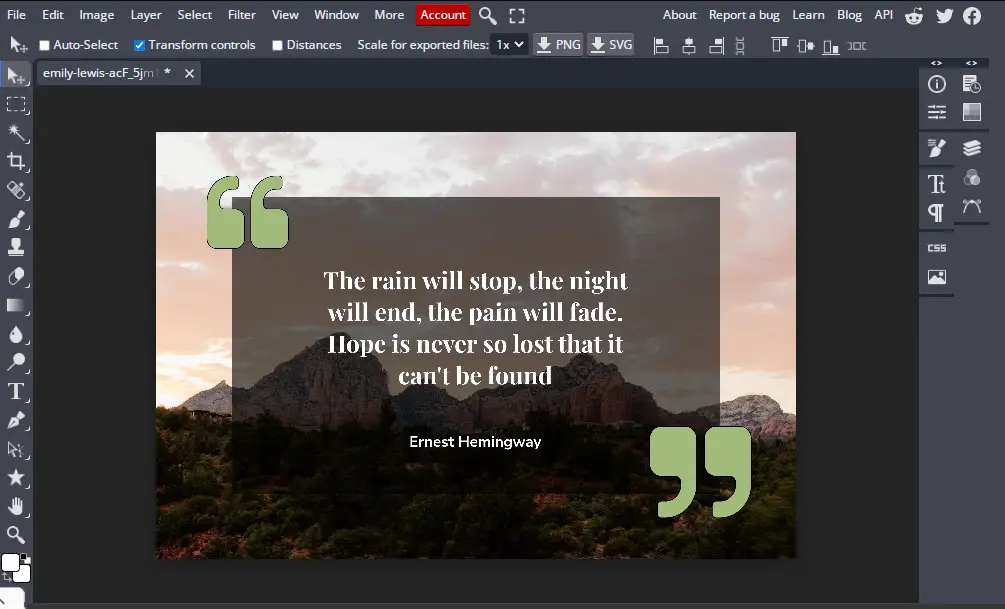
Our picture quote isn’t done yet. We can add graphics, illustrations, and borders to enrich the quote. I’ll be adding a few graphics to decorate the image. To add graphics to the image you can either place in your own by click File > Open & Place and selecting your graphic. Or you can place custom shapes from BunnyPic’s library of 100+ shapes. To add custom shapes to your image:
- Click and hold the Rectangle Shape tool from the left toolbar
- From the drop down menu select Custom Shape
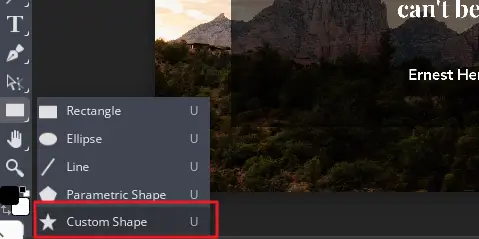
- Now go to shape in the top toolbar and click on it
- From the drop down menu select the shape you want to add. Here I’ll be selecting the quotes icon
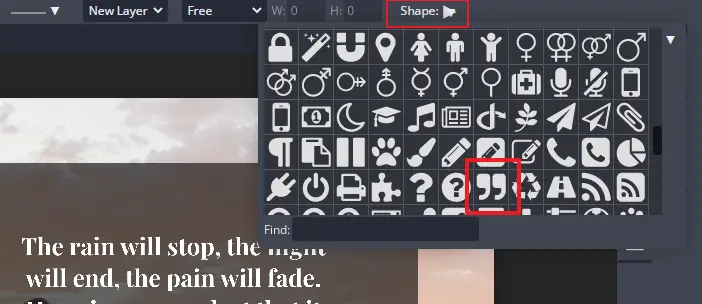
- Click and drag the shape on your image to create the shape
6. Save Your Image
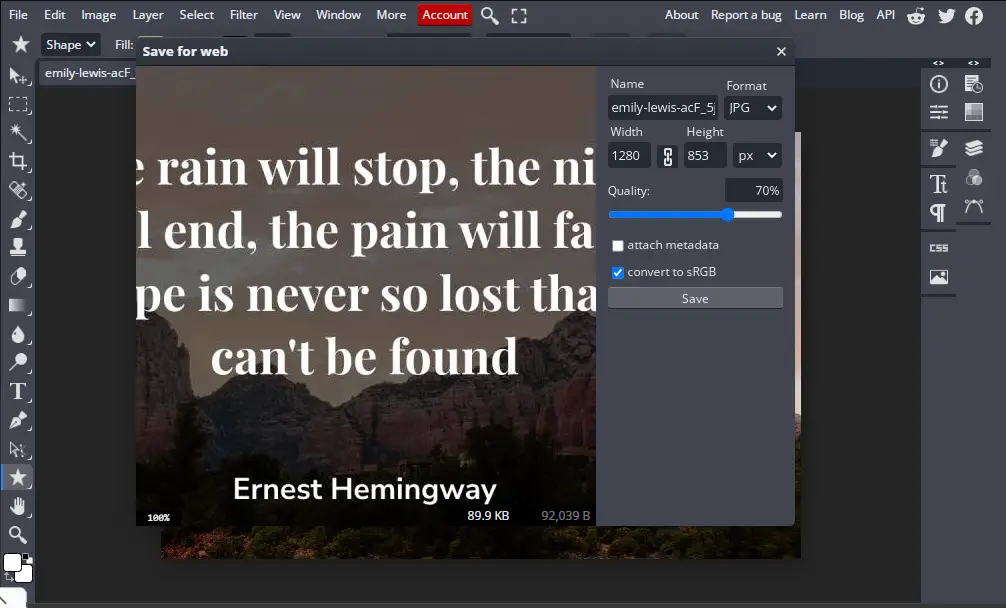
Our quote looks great and is ready to be shared with the world. One last thing to do is export it in the right format. To save your image go to File > Export As > PNG or JPG. Saving as PNG will preserve the colors better and allow you to have a transparent background (if needed.) For sharing on social media platforms and websites JPG might be better as it is a smaller file size.
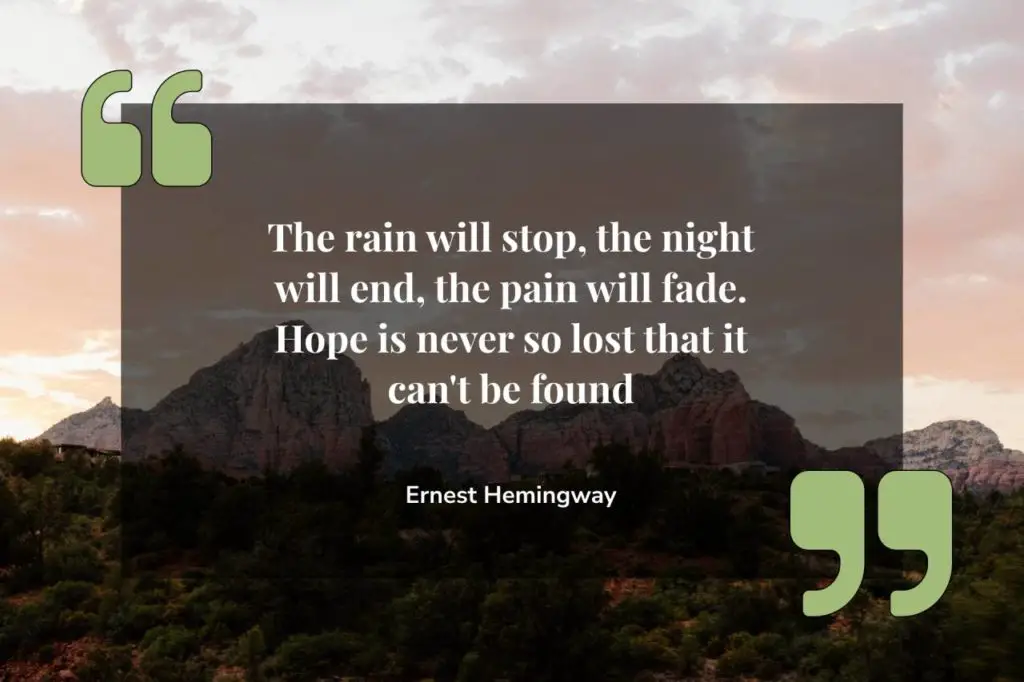
Here’s what our final image looks like:
Other Ways to Write Quotes on Pictures
There are other types of picture quotes that you can create. Varying the style of your quotes can help your pictures stand out from the crowd. Not to mention that some quotes need a style change to tell its message effectively.
1. Quotes on Author Portraits
These quotes are popularly used for quoting sayings of famous celebrities, authors and writers. You take a photo of the person you’re quoting. Place it in the background or on the side and add the quote on the picture.
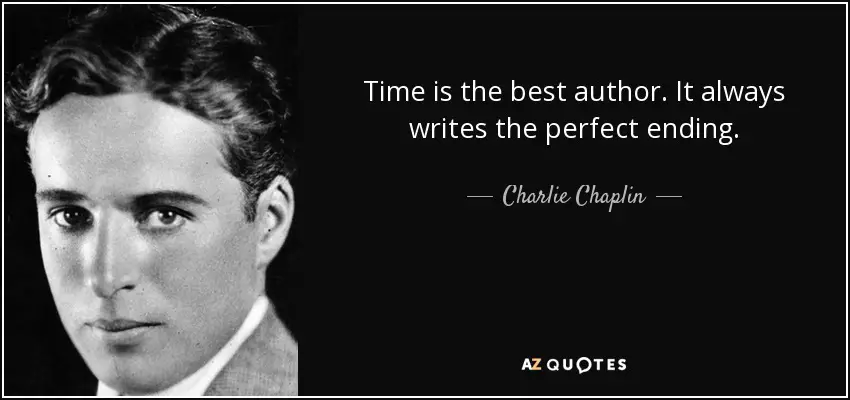
Apart from looking attractive, these types of quote pictures are also the most engaging.
2. Short Caption Post
Brands have been leveraging these types of quotes for greater engagement on their posts. It offers a bold display of the picture as the short caption with a huge image shifts the focus on the picture rather than the quote.
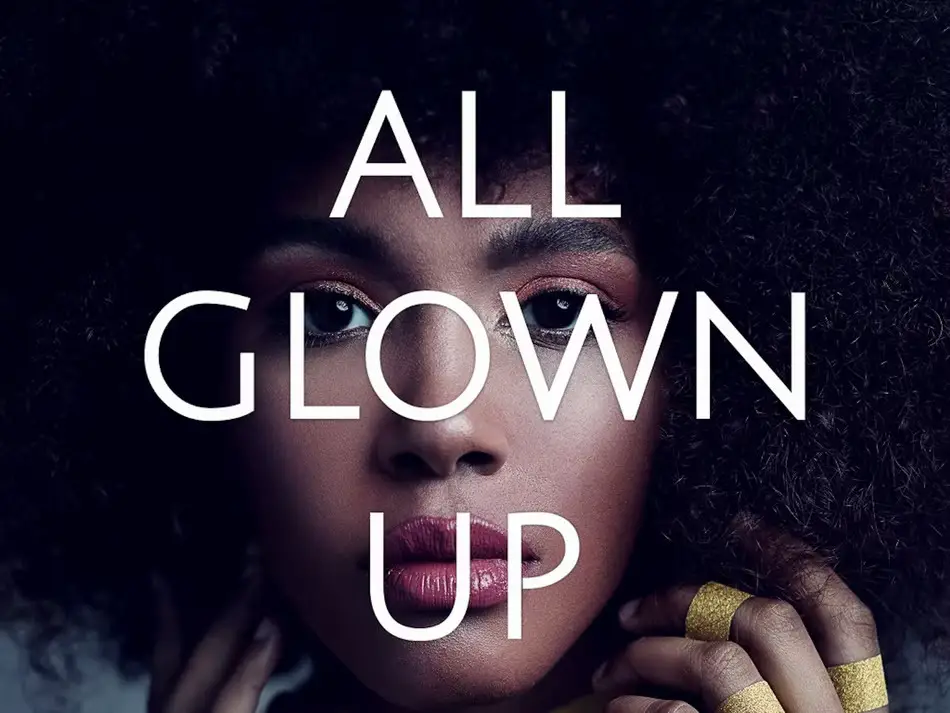
Using the above type of picture quote is great for selfies and teasers.
3. Twitter Quotes
Recently came across a noteworthy tweet? Why not share it as a quote! Sharing tweets on social media platforms like Instagram, LinkedIn and Facebook is common. They’re not only easy to make but help cross-sharing between different platforms.
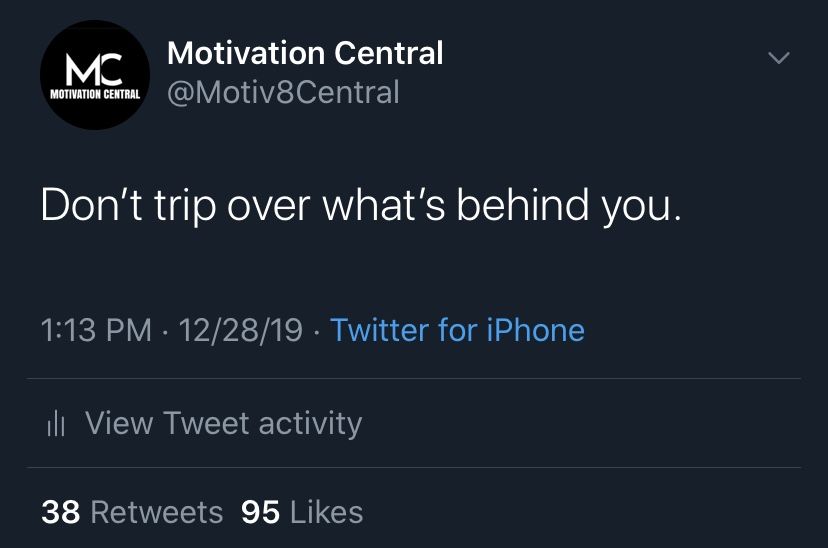
Making a Twitter quote is just as easy as screenshotting the tweet and cropping it to size. Then just upload it on another platform. If you plan on uploading it to Instagram check out our tutorial on how to make Instagram images fit without cropping.
Frequently Asked Questions (FAQs)
How Can I Write My Own Quotes?
Everyone has a voice and each voice is unique. If you feel you have something motivating or inspiring to share with the world you shouldn’t shy away. But, before writing your quote you need to write it in a way that it moves your audience.
To start writing your own quotes you should first consider the type of readers you have. Avoid jargon and technical terms and make sure it applies to the general public. Write it in a simple manner so most people understand it and know what you’re trying to say. Finally, make sure to proofread before sharing for any grammatical errors or spelling mistakes.
How Do I Print Quotes to Hang on My Wall?
Waking up to a motivational poster can make us take on the day with a head start. If you wish to print out your quote pictures you can do this by saving your image as a PDF in the BunnyPic Editor. After saving the file you can go to your local printer or use a printer at home to create a print out of the quote.
For quote pictures it’s best to use card paper to preserve the colors and a higher quality print. Once you’ve printed the picture you can frame it and then hang it on your wall.
What Font Should I Use to Add Quotes on Pictures?
Choosing the right font is important for picture quotes. Since most readers will focus on the text you need to have an attractive font to hook them in. But, there are thousands of fonts both free and paid which can make it hard to decide on the right one.
When deciding on which font to use for your quote, you can take a look at some of the most common quote fonts:
- Garamond
- Lucinda Grande
- Open Sans
- Nunito Sans
- Playfair Display
- Helvetica
- Georgia
- Gotham
As a best practice you should use two fonts that look good at different sizes. One for the quote and the other for typing the name of the person saying the quote. Using two different fonts adds contrast to the image and makes it easy to distinguish the name of the person from the quote.
How Do I Put Quotes on Instagram?
People commonly upload quotes on Instagram by screenshotting the quote and sharing it. However, these images look basic and low effort. If you want to put a bit more heart into it you can create your own quote picture by following our tutorial. Keep in mind that you’ll have to maintain Instagram’s size guidelines when making your image.
After creating your picture quote make sure it fits for Instagram. You can check out our guide to correctly size images for Instagram. After correctly sizing it, upload the quote as you would any normal Instagram post and share it.
