
Have you ever wanted to add some text to your images but it looks unrealistic or “photoshopped?” Or maybe you wanted to add a texture to your photo but it looked odd and misplaced. Using the warp tool helps you tackle all these issues.
Learning how to warp your photos and text would allow you to add realistic details to your images and enable you to do advanced retouching. Whether it’s face slimming or styling text, the warp tool allows you to manipulate photos and text to add subtle details in your image.
In this article, we’ll learn how to use the warp tool in our free photo editing software, BunnyPic to warp photos and text in your images.
How to Warp Photos using BunnyPic
BunnyPic is a free online photo editor that has similar features to Photoshop. It’s totally free-to-use and fully online – no sign up or installation needed. This makes it pretty convenient to use for editing your photos online.
One of the most common ways of using the warp tool is for photo retouching. This includes manipulating your portraits and making subtle changes to them.
To get started using the warp tool on your photos go to the BunnyPic editor and open the image you want to warp. Do this by clicking on Open from Computer and selecting your image or dragging it into the editor.
Once we have our image open in the editor we have a range of tools at our disposal to warp our image.
Free Transform
The free transform tool allows you to reshape, rotate, stretch, or squeeze your image. To start using the free transform tool go to Edit > Free Transform from the top toolbar.
You should now see anchor points at the edges and corners of your image. By clicking and dragging one of these points you can transform your image by rotating or scaling it.
But perhaps the most powerful tool to manipulate your images would be the Warp tool.
Warping Your Photo
The free transform tool is only the tip of the iceberg when it comes to warping your photos, You may need to learn how to warp your images to fit a certain shape or add a certain style.
This includes wrapping your images on 3d objects such as mugs, bottles, and bags. By adding your photo directly to these items you won’t achieve a realistic effect and rather it would look odd.
1. Open the Image you want to Warp
Go to the BunnyPic editor and first open the image you want to apply a warped photo on.
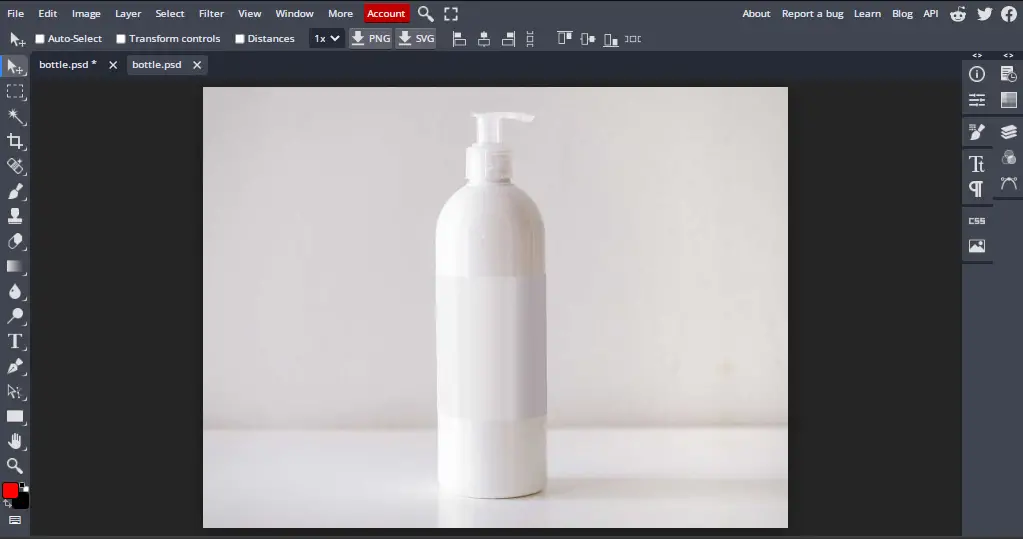
Next, go to File > Open and Place and select the image you want to warp
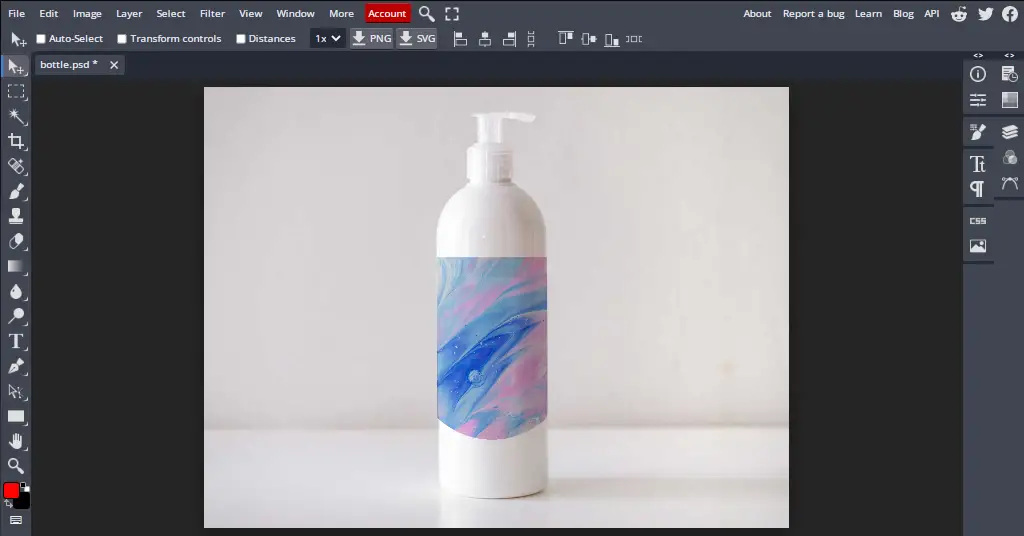
So, we’ll make our texture properly appear on our bottle and make it realistic with the warp tool.
2. Warp Your Image with the Warp Tool
By using the warp tool we can manipulate the texture and curve it. This will help us shape it in a way that it fits on to the bottle.
To do this:
- Select the image you want to warp and go to Edit > Free Transform
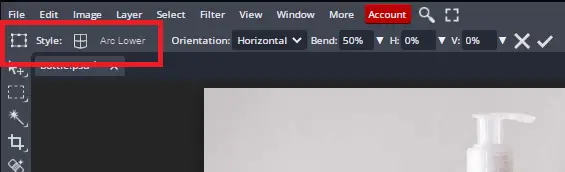
- Now with the free transform active click on Warp located in the top right of the toolbar.

Now you should see multiple anchor points on your image. You can click and drag these anchor points to curve and manipulate your image so that it matches the shape of the object. You can also apply one of our preset shapes to quickly shape your image by selecting a style from the top left of the toolbar.
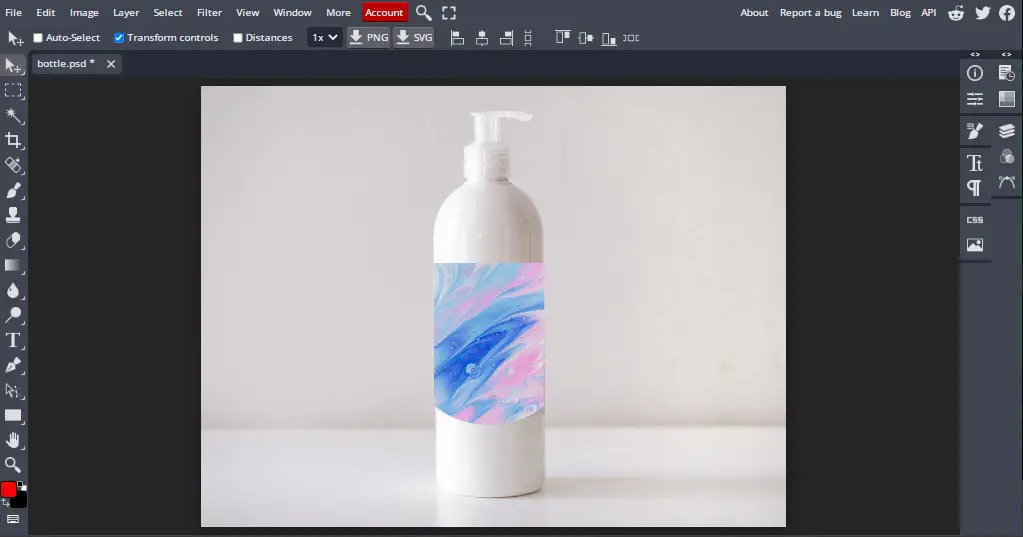
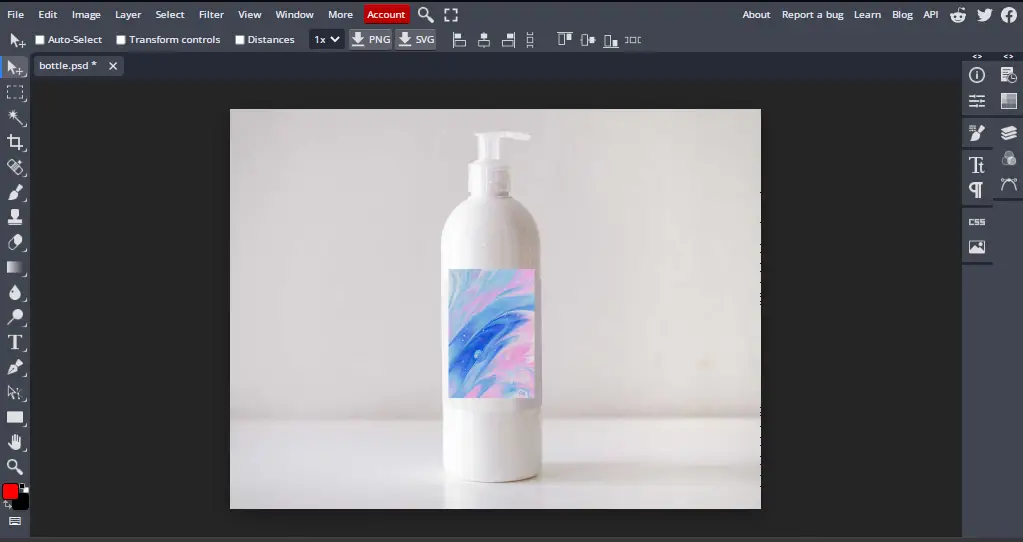
Our texture is starting to look better and much more fitted to the bottle however it still doesn’t look realistic. To do that we will have to blend the texture with our image by using blending modes.
3. Blend your Warped Photo
BunnyPic’s blending modes allow you to blend layers together to create realistic and subtle effects. To blend your warped photo:
- Open the Layers panel from the right toolbar
- Select your warped photo and click the blending mode. This will open a dropdown list of multiple blending options.
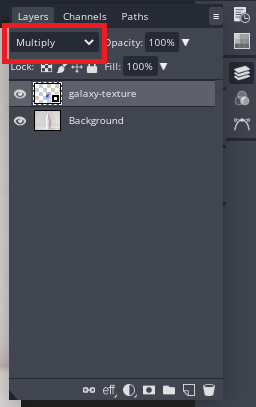
- Select Multiply to blend your photo.
How to Warp Text in BunnyPic
Warping your text online lets you realistically add text to your images and stylize it for greeting cards, menus, and flyers as well. There are many ways you can warp your text using the warp tool – such as making it wiggle or arching it.
Let’s dive into how to warp text in BunnyPic
1. Type Your Text
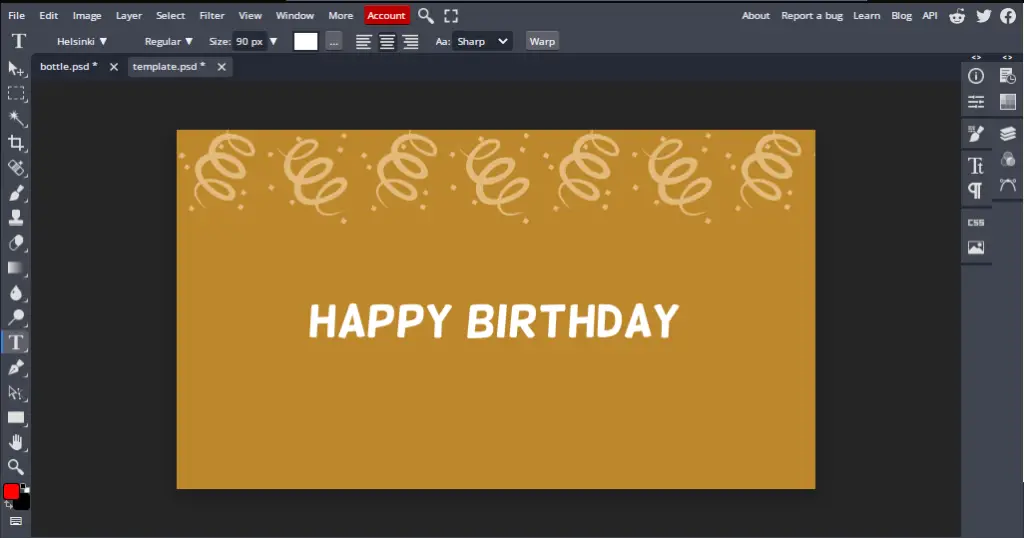
- Go to the BunnyPic editor and open the image you want to add text to. I’ll be using one of BunnyPic’s own greeting card template.
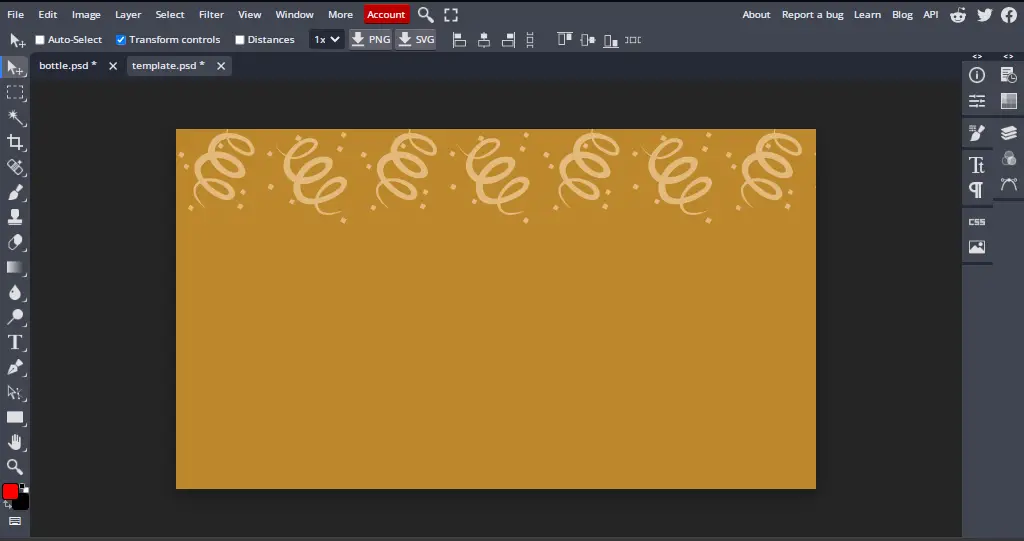
- Next, select the Type tool from the left toolbar and click anywhere on your canvas to start typing.
- With the type tool active, write your text and click on the Tick icon to save your text.
Although we have added our text, it’s very small and has a pretty basic font. So, we’ll edit our text.
2. Edit Your Text
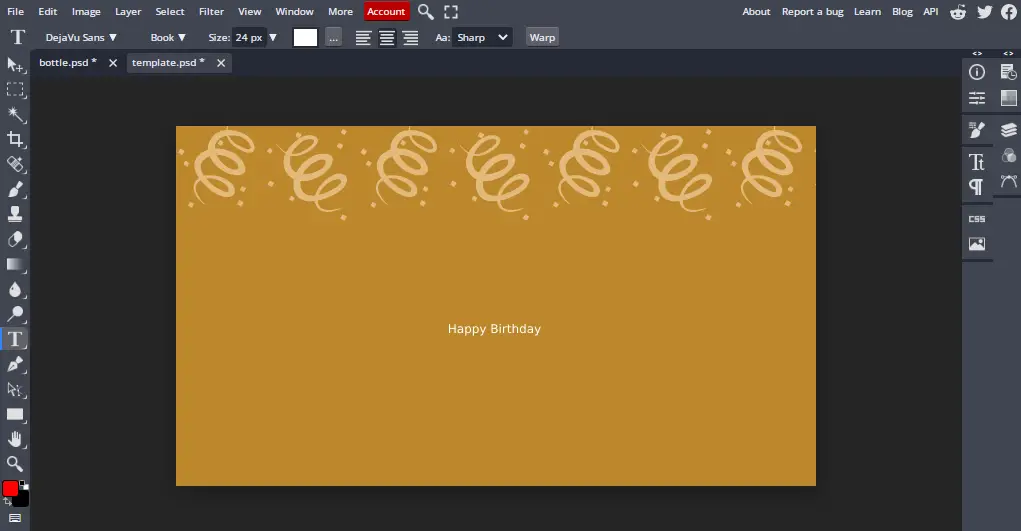
We’ll be using a different font to match our template and also make our text larger so it is clearly visible.
To do this:
- Select your text and highlight it. With the text selected, change your font by going to the top left of the toolbar.
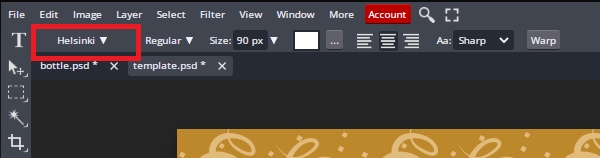
- Your text can be resized by adjusting the Size slider in front of the font. Now, our new text is looking like this:
Now that our text is looking great all that’s left is to warp it into different styles to suit our liking.
3. Warp Your Text
Warping your text can produce some interesting results. BunnyPic has a lot of options to warp your text.
To warp your text:
- Select the Type tool and highlight your text
- Next, from the top toolbar click on Warp to open text warp options.
- From the warp options select the warp style you want and adjust the sliders to have more control over your text warp. You can manually adjust the bend of your text including the horizontal and vertical distortion.
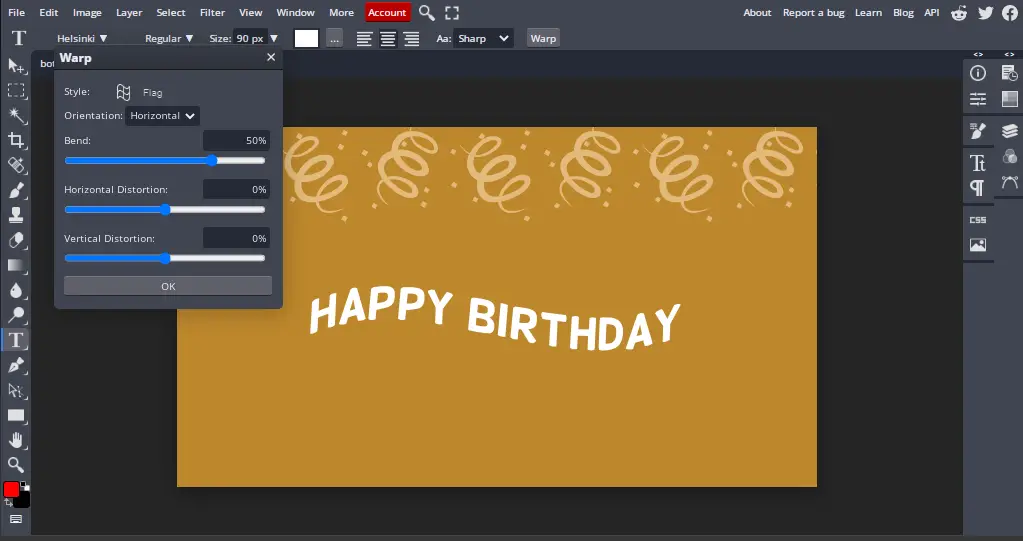
- Once done hit OK.
Congratulations you just warped your text. To save it as an image go to File > Export As > Save as PNG or JPG.