
Have you ever had that problem where you’re trying to edit one thing in your photo but it just applies to everything? I know I do and saying that it’s annoying is an understatement. But thanks to modern photo editors, we have the ability to add layers to our photos so we can edit each element individually.
The ability to add layers to your photos is very useful as it gives you more control over your designs. Many professional photographers wouldn’t be able to make stunning visuals without this life-saving feature.
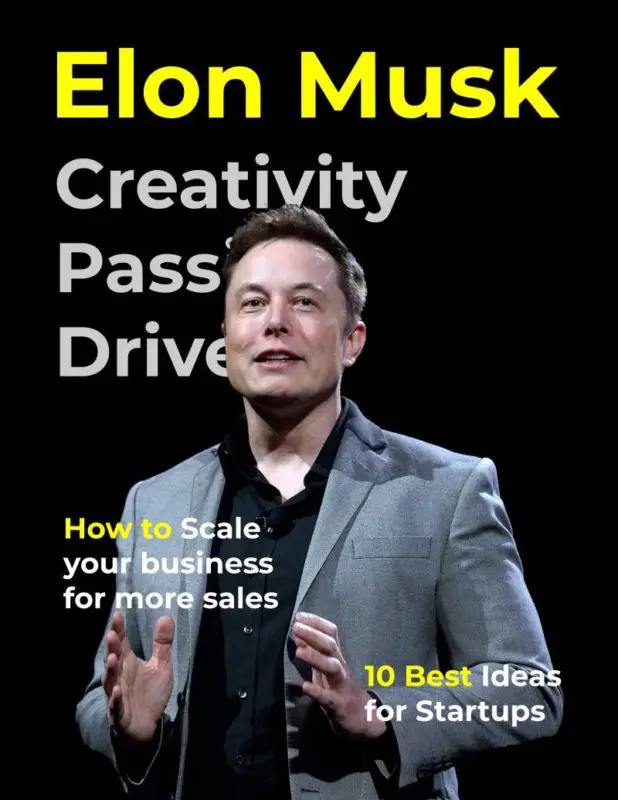
Learning how to add and use layers is crucial to being a good photo editor. Today, we’ll learn how to use layers in BunnyPic and create this business magazine cover to test our skills:
What are Layers?
Layers are like stacks of glass on top of each other – you can edit one layer while seeing through the other. You can also move these layers behind or in front of each other for more control over the placement of your design elements. Finally, you can even add effects for existing layers using adjustment layers or effects.
How to Use Layers in BunnyPic
BunnyPic is a free online photo editor with similar tools to Photoshop. When using layers in BunnyPic it is important to know what features are available to you. Here are some of the ways you can use layers in your design.
- Copy layers – You can copy layers by going to Layer > Duplicate layer or press CTRL + J
- Hide/show layer – Clicking on the eye icon besides a layer can hide it or reveal the layer.
- Rearrange layers – You can bring layers to front and back by clicking and dragging them on top or bottom of each other.
- Add effects to your layer – Once you’ve created a layer, you can add effects to it by clicking on Layer style at the bottom of the Layers panel or use adjustment layers.
Now that you have a general understanding of layers and what they are let’s get into how to use them in an actual project.
1. Open a New Document
First, we’ll go to the BunnyPic editor and create a new document by clicking New Project. Choose the dimensions of your design and click OK.
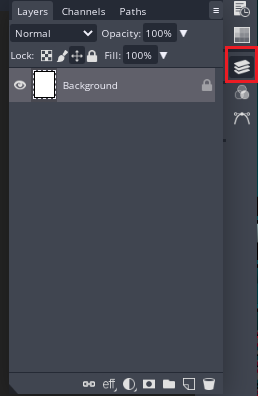
Next, we’ll need to keep an eye on our layers so open the Layers panel by clicking on the stacked layers icon on the right toolbar.
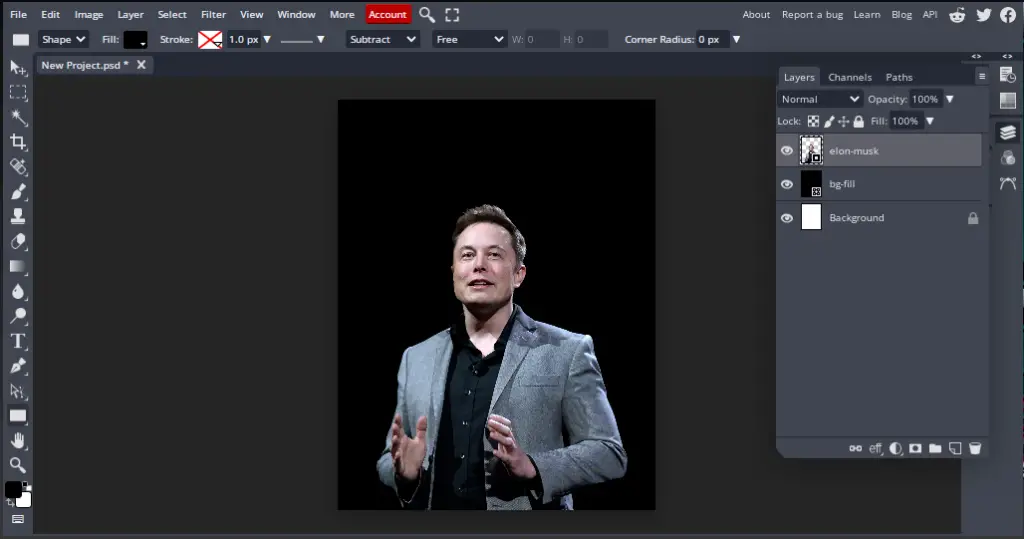
2. Open your Image
With our document in place, open and place your image into the document by going to File > Open and Place and selecting your image.
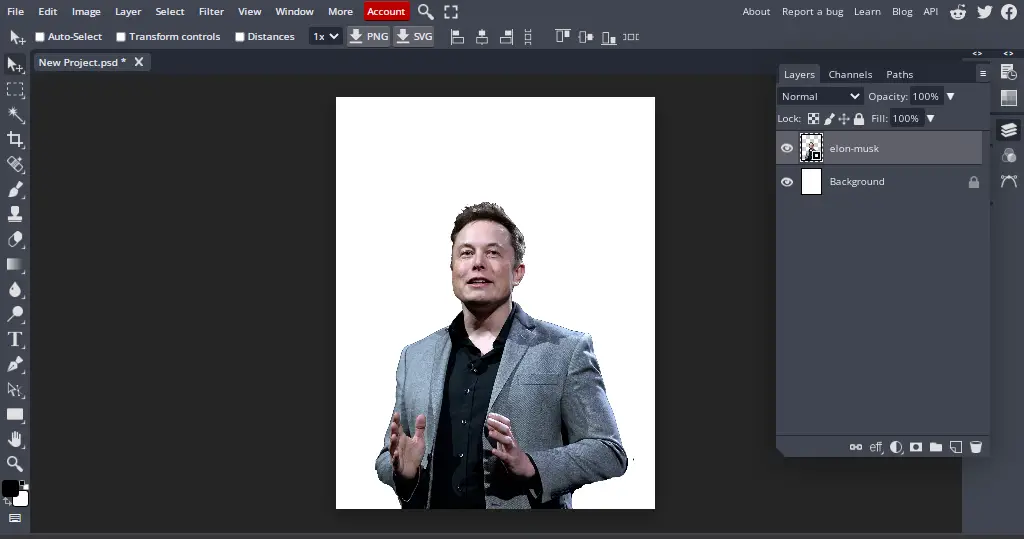
You will notice that the image is automatically placed on a new layer with the image name.
3. Create a Background Layer
Our background is a plain and boring white color. We can change our background by adding a new layer and filling it with our choice of color.
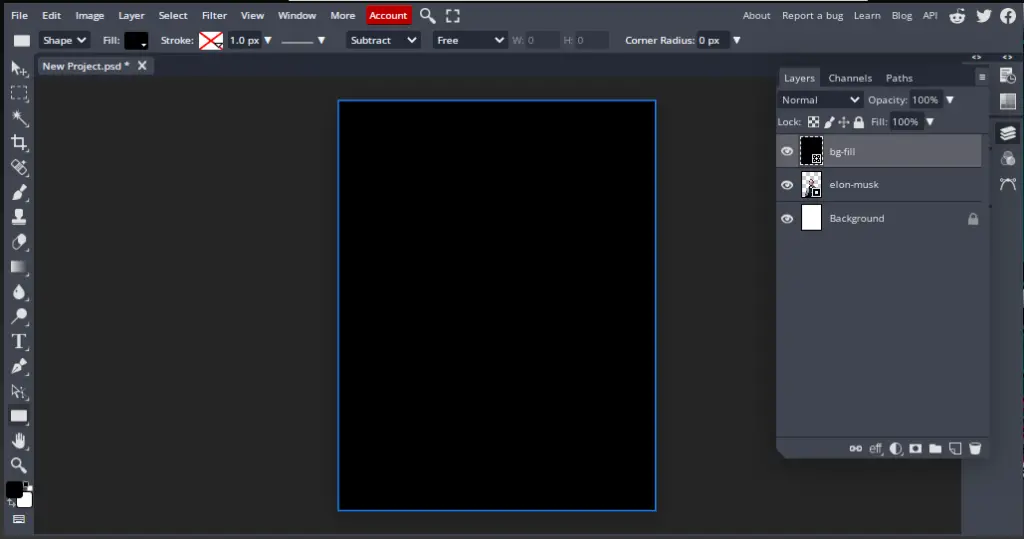
Once done, we’ll drag the layer below our image so that the layer is in the background.
4. Add Text Layers
Now, we’ll add some text to our image. If we wanted we could just place our text as it is and save the file. However, by using layers for different types of text (headings, body, etc.) we have more control over how our text looks.
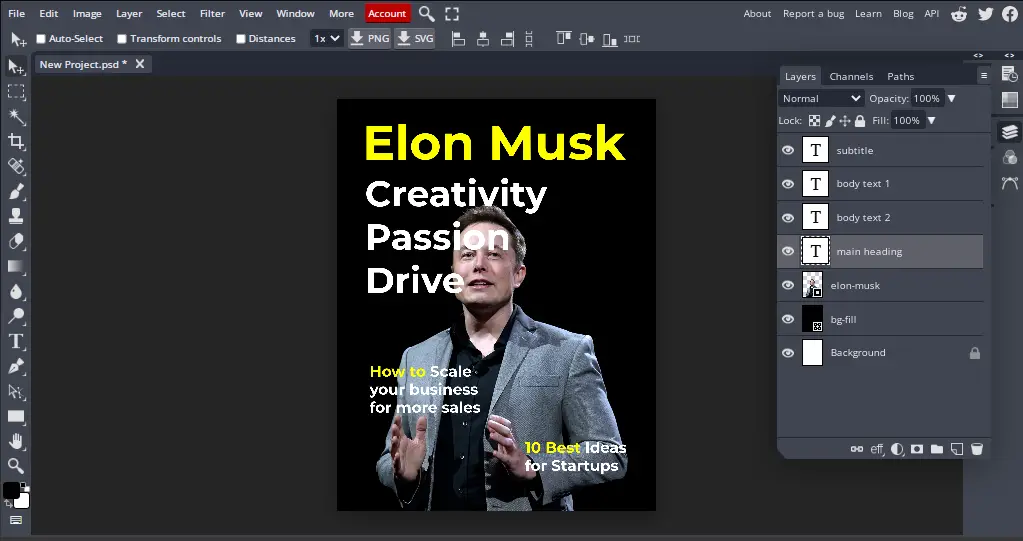
Be sure to name your text layers appropriately. This will help in making changes to the layers and also let you know which layer controls what element.
As you can see our design is filled with text but it looks very messy. So, let’s dive into manipulating the text layers to create cool effects.
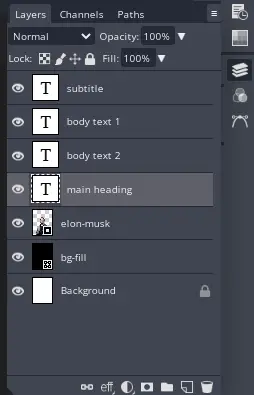
5. Manipulate the Text Layers
Our text is overlapping our main image so we can reorder and arrange our layers so that the image stays clear and the text is placed properly.
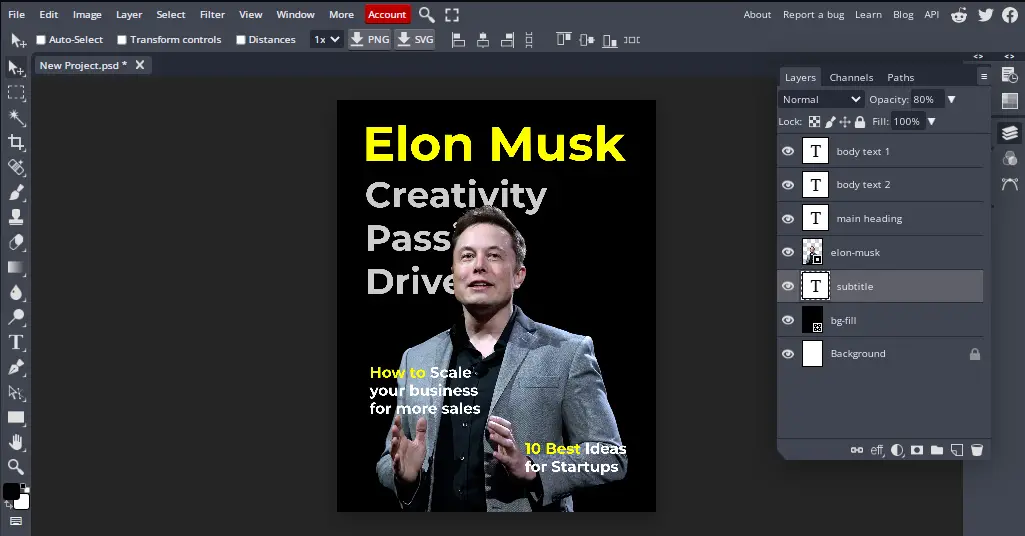
Now the subtitle text that was overlapping the face of our main subject has been resolved. I moved the layer below the image so that it hides behind it. I also toned down the opacity to 80% so the text gets a nice fading effect.
6. Save your Image
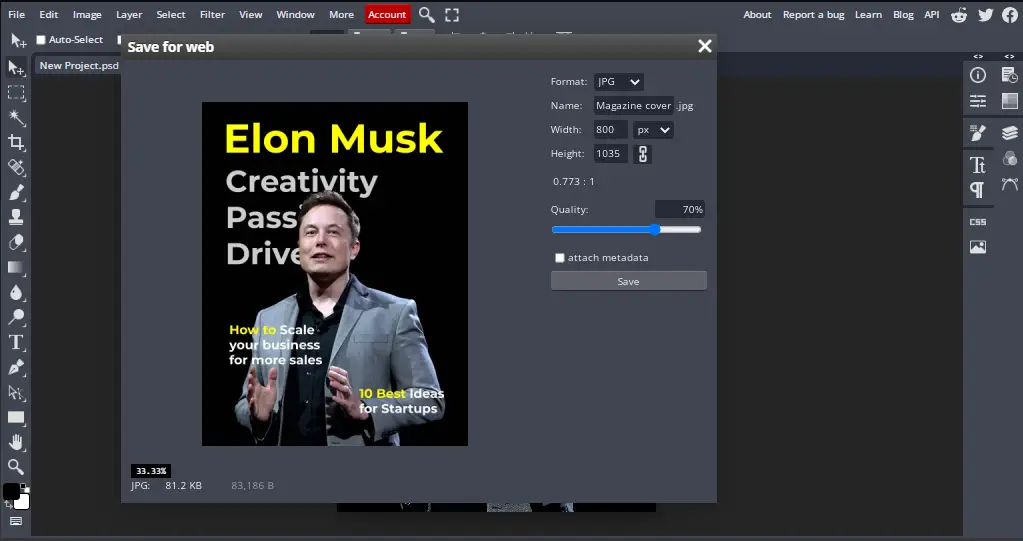
Finally, we are all done and now just have to save our image. To save your image, go to File > Export As > PNG or JPG. Rename your file and hit Save to save the photo on your computer.
If you wish to keep the layers of your photo intact you can do that by going to File > Save as PSD. This will save your image as an editable Photoshop file which would save your layers for the next time you want to access your document.