
Photoshop is a great tool used by creatives for photo manipulation and retouching.
Photographers often use Photoshop to edit their images in ways most tools cannot, this includes changing the background of a photo.
Changing the background of a photo might seem impossible to do with just editing software but Photoshop makes it possible and super easy to do.
Even though Photoshop is a complicated tool to learn replacing and changing background is easy to do with this guide.
In this article you’ll learn how to:
- Change background of an image
- Change the background color of an image
Let’s get started.
How to change the background of an image
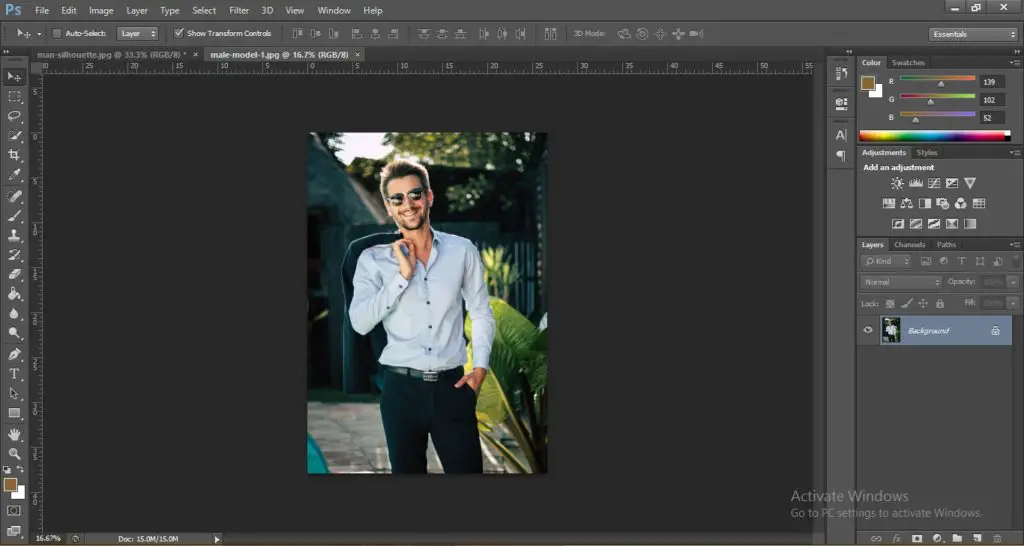
To change the background of an image, follow the instructions below.

- Next, select the quick selection tool from the left toolbar and select your subject.
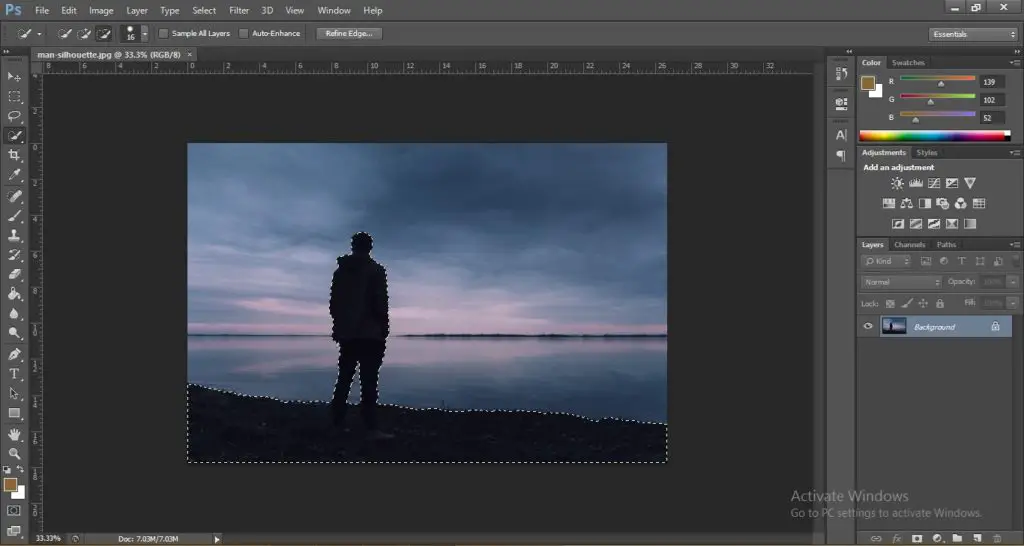
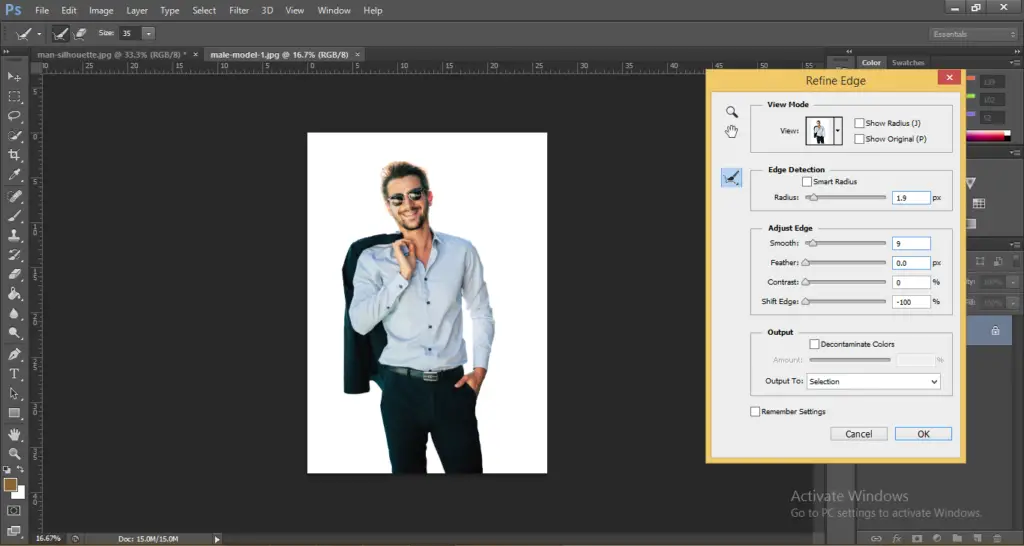
- With the subject selected, click on Refine edge and a box of options would appear allowing you to further refine your selection. Adjust the edges of the selection to make it fit perfectly to the subject from the sliders. Some options worth considering are the Radius and Shift Edge that will help you get a sharper and more accurate selection.
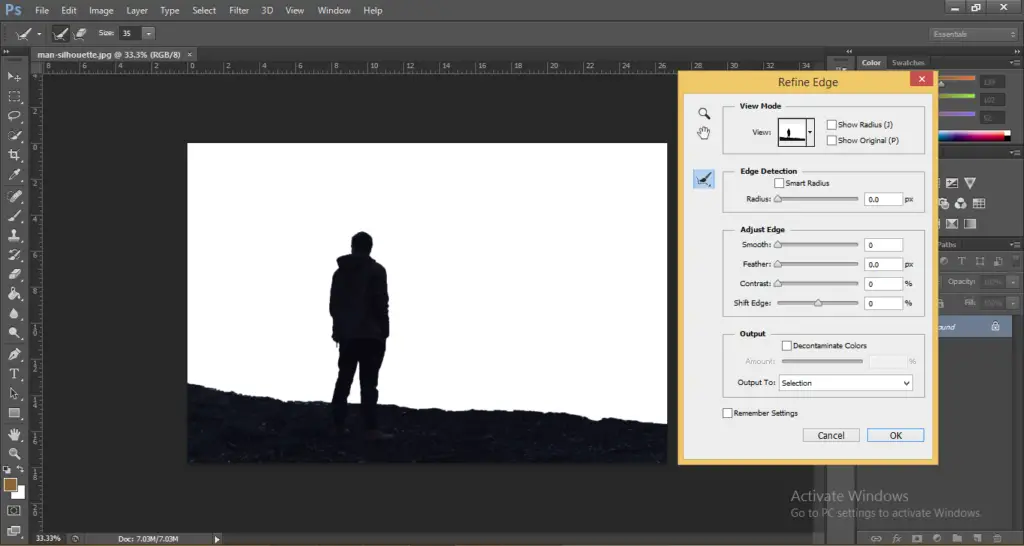
- After making your adjustments click OK this will preview your selection. With the subject selected copy your selection on to another layer either by copy and pasting it or pressing CTRL + J.
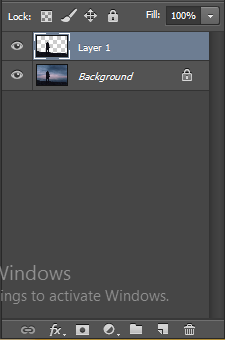
- Now, you can delete or hide the Background layer and go to File > Place and place your image on a new layer. Make sure the image layer is placed below the subject layer.
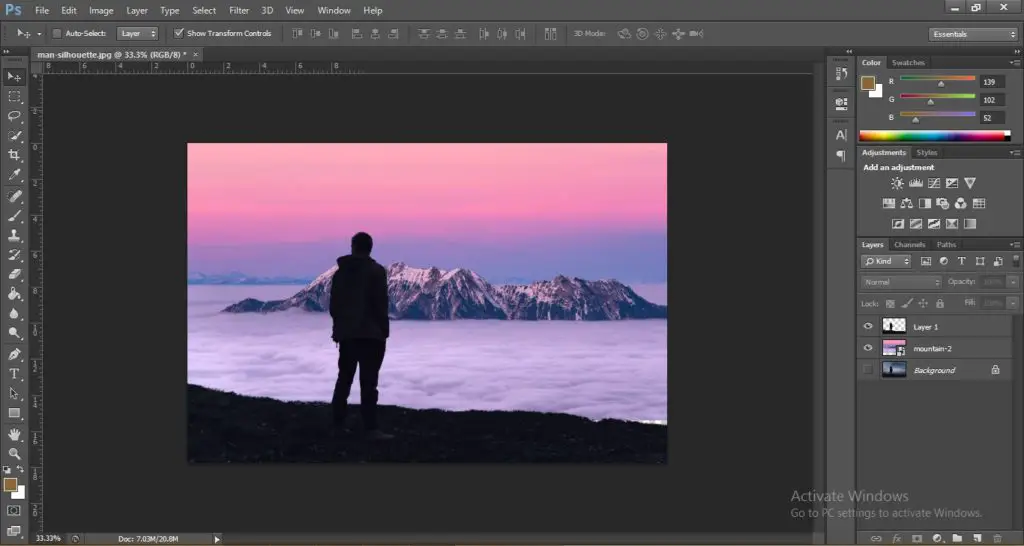
And voila just like that you have changed the background of your image using Photoshop.
How to change the background color of an image
We will now take another example image and convert its background into a different color.
To do that, follow the instructions below.
- Select the quick selection tool from the left toolbar and select your subject. Since this is a detailed image you might also need to use the minus selection option to deselect some parts of the background.

- With the subject selected, click on Refine edge. A box of options would appear to further refine your selection. I made some slight adjustments to perfect my selection. Increased Radius by 1.9%, Smoothness by 9 and reduced Shift Edge to -100% to make the strokes more accurate. After making the adjustments click OK.
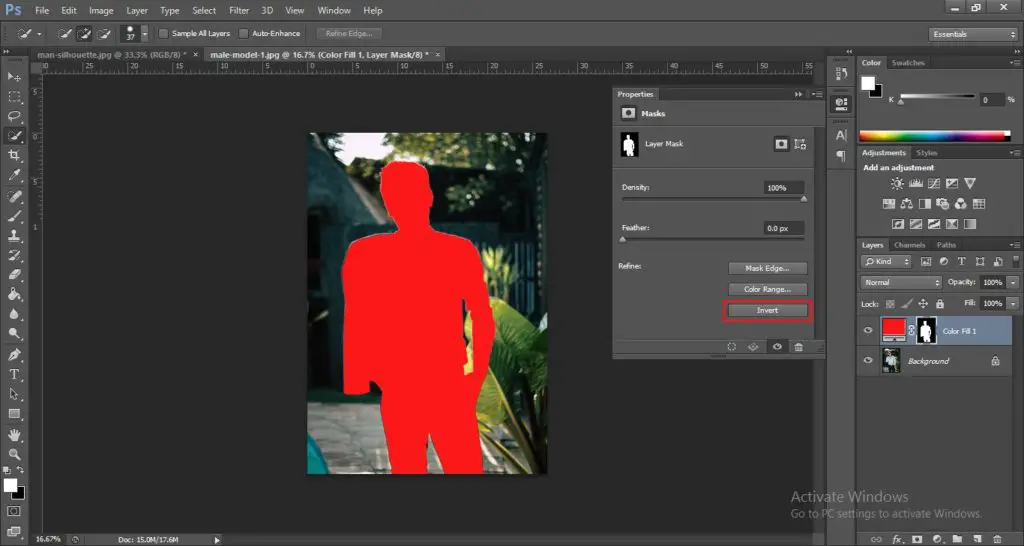
- With the Subject selected navigate to the Layers panel and from the bottom icon click add adjustment layer
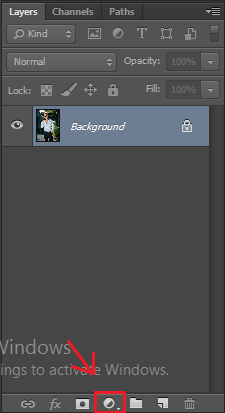
- After clicking on add adjustment layer select solid color, this will color your subject.
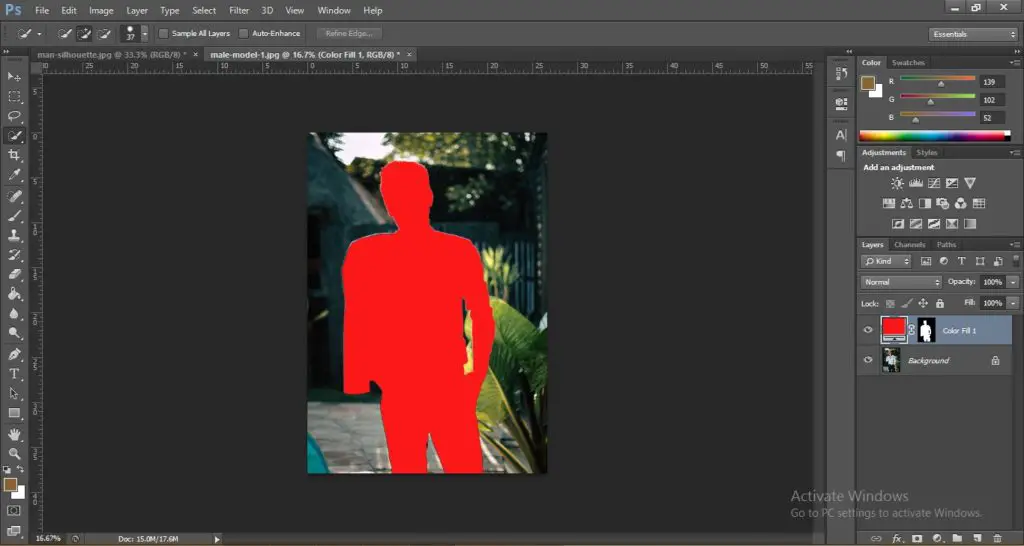
- Now, all we have to do is invert this color from our subject to the background. To do this, double-click on the subject’s mask (the black and white image) under the Layers panel this will open up a window with the properties for the mask. Once here click Invert.
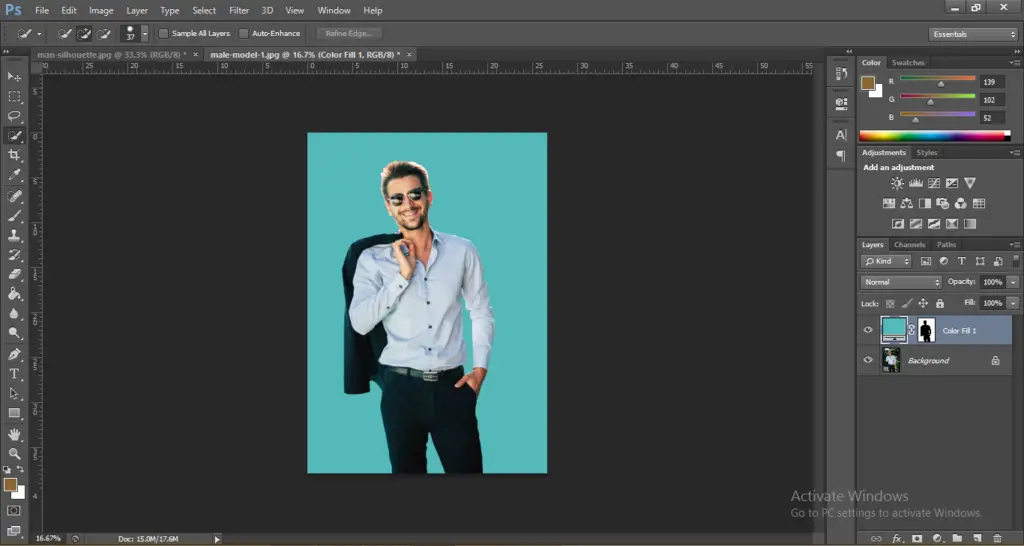
- Your background is now colored!

- Now, you can adjust the color to your liking. Double-click on the color layer and choose your color.
- If you want, you can take this a step further by adding the color to the original background. You can do this by blending the layer with the background using the blend options.
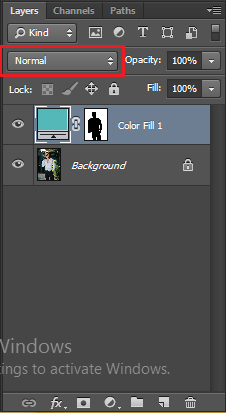
- Here I have applied a Soft Light blend on my image:
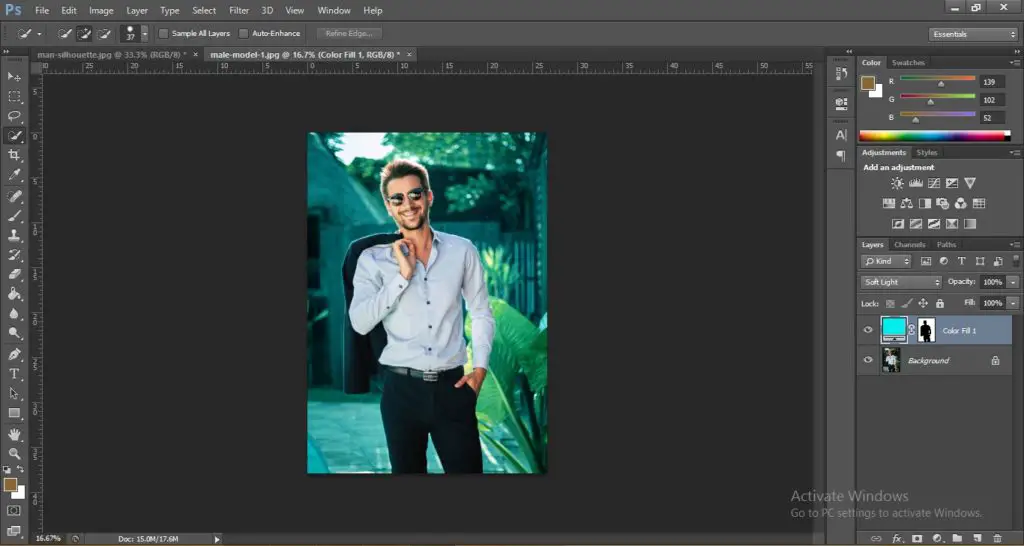
And that’s how you color the background of an image.
The great thing about this specific feature is that it is also available on BunnyPic which is a free online Photoshop tool.
You can go to our editor and start designing for free with no installation or sign-ups just open your project and start applying these tips.
If you want to learn more check out our blog for our full list of helpful guides and tutorials.