
Speech bubbles can be a great way to add text to your photos to convey dialogue. It is far better than using boring old quotation marks and can be better for storytelling. If you’ve ever wanted to create a comic, meme or flyer read on to learn how to add speech bubbles to your photos online.
Our BunnyPic editor will allow you to do just that for free and it is totally online – no sign-up, no installation required. BunnyPic is an online Photoshop tool, meaning it has almost all the features and benefits of Photoshop without the hefty costs.
In this article, I’ll teach you how to add simple speech bubbles to your photos online using BunnyPic and how to edit them so that the text fits properly and they make sense to illustrate your story.
What is a Speech Bubble?
A speech bubble or balloon is a graphic shape that appears on top of characters to show their thoughts or speech. A speech bubble is most commonly used in comics, books, cartoons, and promotional flyers.
How to Add Speech Bubbles Online Using BunnyPic
Adding speech bubbles to comics might be more complicated but below we’ll learn how to add simple speech bubbles to your photos. These can be great for your social media feed or just making your family photos a bit playful. If you are thinking of creating memes it’s also great for that.
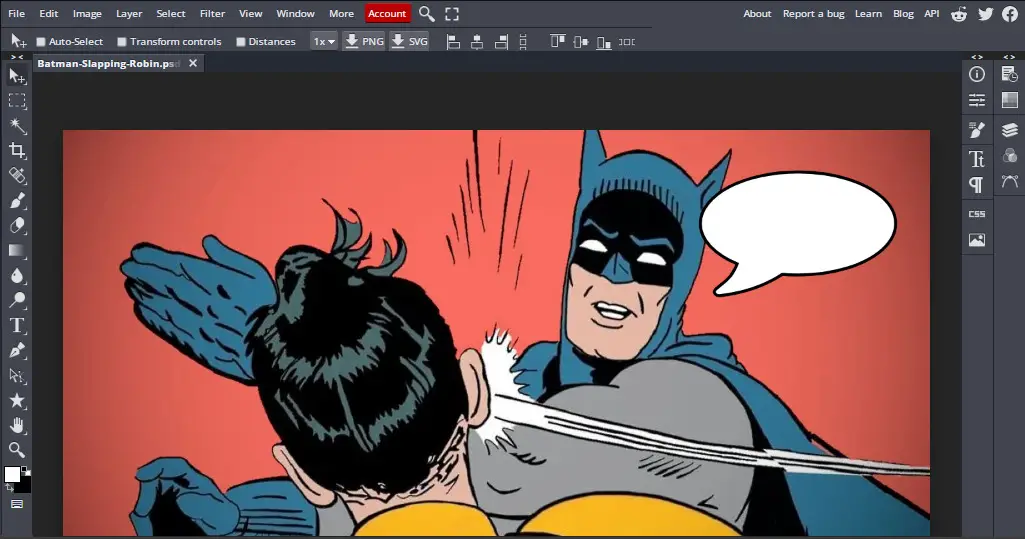
1. Open Your Image
First, we’ll need to import our image into the editor. Go to the Bunnypic editor, click Open from Computer and select the photo you want to add a speech bubble to.

2. Create the Speech Bubble Shape
Next, we need to create the shape of the speech bubble. This is really easy to do as BunnyPic provides a huge library of custom shapes that you can access.
To add a speech bubble:
- On the left toolbar, click and hold the Rectangle Shape tool.
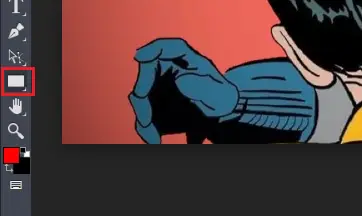
- From the menu, select Custom Shape option.
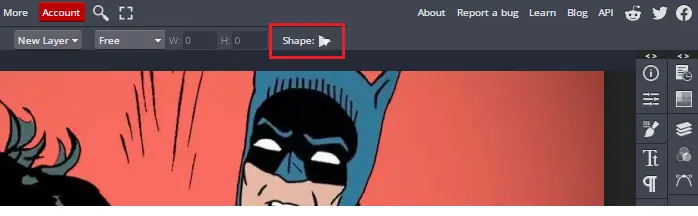
- Now, from the top toolbar click on the shape. This will open a library of different shapes – select the speech bubble icon.
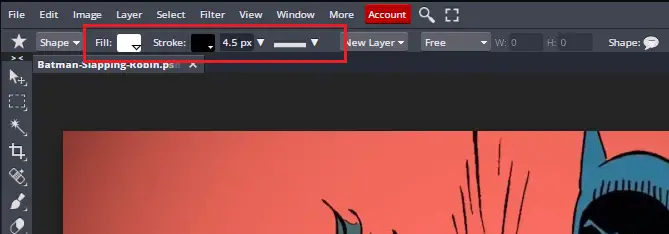
- Select the fill and stroke colors for your speech bubble. I’m going with the traditional black and white.
- Click and drag on the screen where you want the speech bubble to draw it.
We have created the speech bubble now all we have to do is add text inside of it.
3. Add Text inside the Speech Bubble
To add dialogues to our image we have to add text to convey our story. You can easily do this by selecting the Type Tool and typing in your text onto the image.
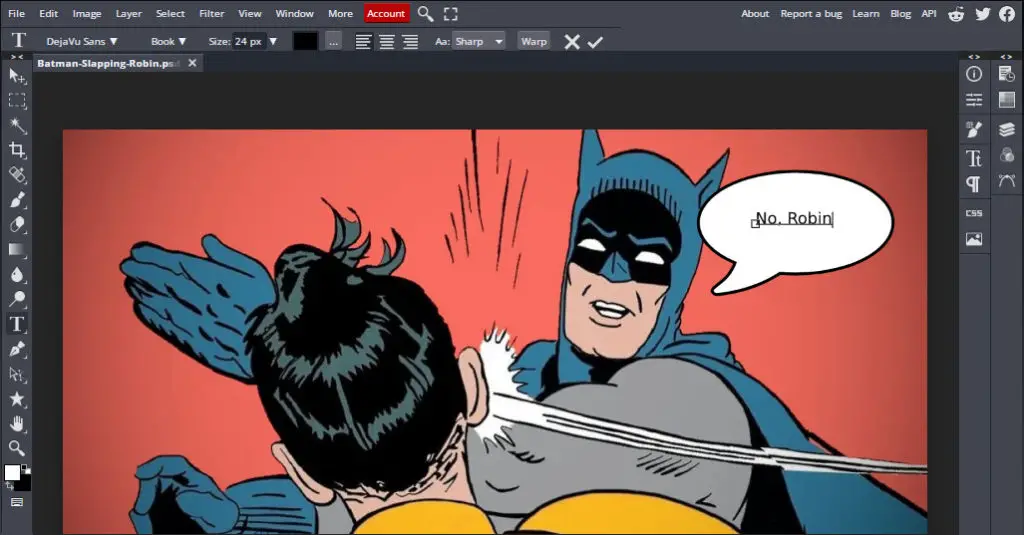
However, as you can see the text is pretty plain and boring. We can make it more interesting by changing up the font. To do this, go to the top toolbar and select a different font from the thousands of fonts from the BunnyPic library.

Now it looks much better.
How to Add Multiple Speech Bubbles in Your Photos
If you are making a comic or just want to add more than one speech bubble into your photos you might have to follow a different process. Adding multiple speech bubbles can make the image look congested so it’s important to properly arrange and edit your text and shape so they are consistent.
Here’s how to add multiple speech bubbles to your photos online with BunnyPic.
1. Add Text to your Image
With your image open in the BunnyPic editor type some text to add to your speech bubbles. It’s better to create text boxes by clicking and dragging with the Type tool. Inside the text box type in your text.

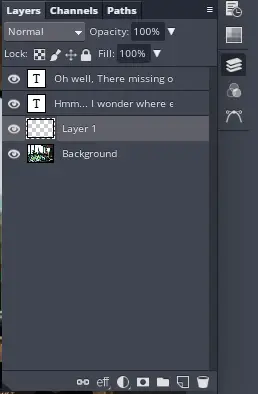
2. Create a New Layer
Next, you need to create a new layer for the speech bubbles.
- Open the Layers panel by clicking on the layers icon on the right toolbar.
- Click on the New Layer icon (folding page icon) to create a new layer.
- Next click on Effects (marked with an “eff” icon) and select Stroke.
- From the prompt, adjust the sliders to your liking. Adjust the Stroke Size to 5px, Position: Outside and a Black Fill.
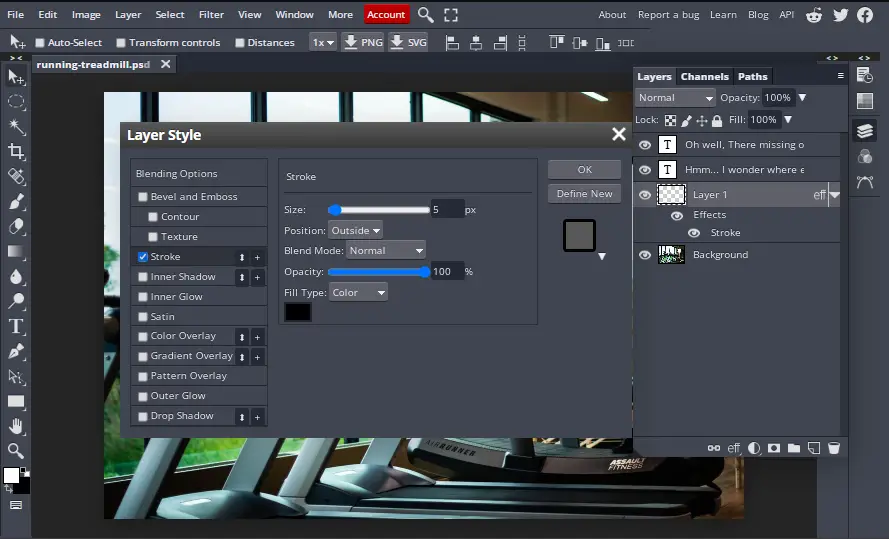
- Click OK.
Now that we have our layer created we will create the speech bubble.
3. Create the Speech Bubble
We have everything in place and now all that’s left is to create the actual speech bubble. Before proceeding with the steps, make sure you have your new layer selected at all times.
- With the new layer selected, select the Eclipse Selection tool. You can select any other selection tool you like if you want a different shape for your speech bubble.
- With the Eclipse selection tool create a selection covering your text.
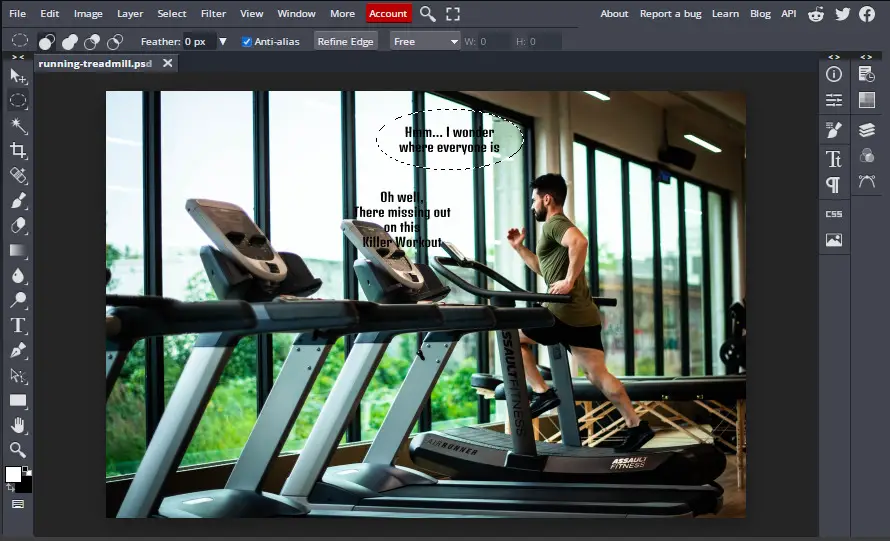
- Once you’re happy with the selection go to Edit > Fill > Foreground color and click OK.
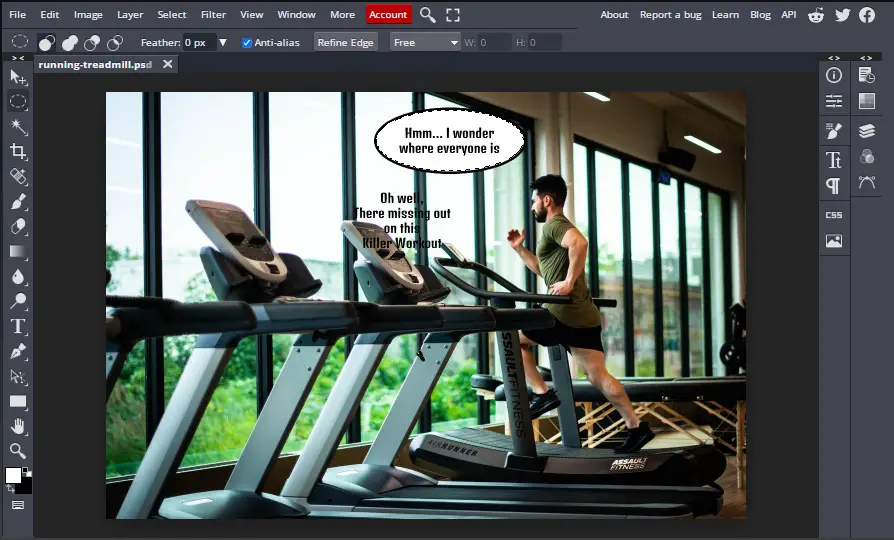
Your speech bubble should appear with a black stroke and white fill. If it doesn’t have a white fill it might be that the foreground color is incorrect. You can change the foreground color from the bottom-left and choose the color you want your speech bubble to be.
Once done repeat it for the other text and your image should be looking something like this:
4. Add the Final Touches
You can stop after creating the speech bubble if you like however you can add some final touches to make your speech bubble neater.
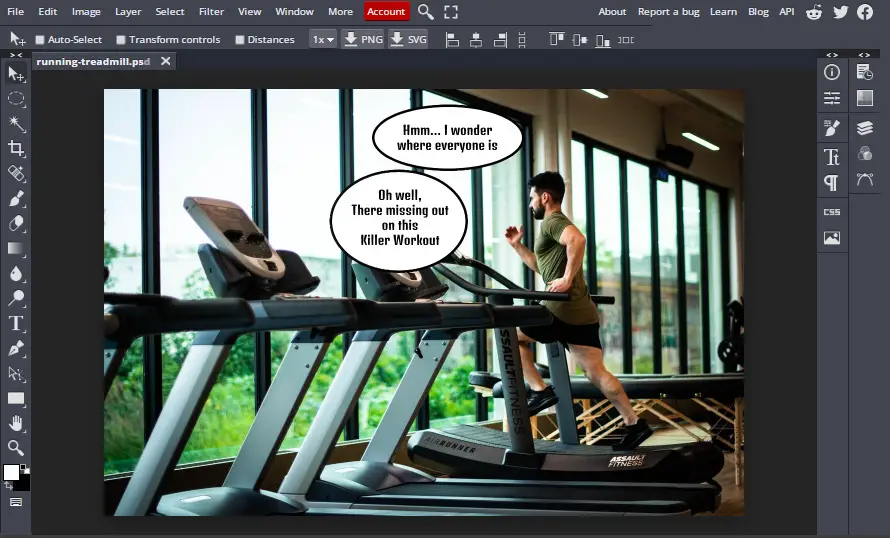
First, we’re going to connect the two speech bubbles with each other so that the order would be proper. And then we’ll draw a shape with the speech bubble to show the character saying it.
- With the Speech Bubble layer selected click on the Brush tool or press B on your keyboard.
- Next, draw a stroke connecting the two speech bubbles together.

- When that’s done select the Pen tool or press P on your keyboard.
- Create a shape with a black outline and white fill similar to this one.

Congratulations! You’ve just learned how to add multiple speech bubbles into your photo.
If you want a more detailed video tutorial on adding speech bubbles to comics you can check out this video:
Conclusion
At the end of this tutorial, you would have learned how to add speech bubbles to your photos online for free using BunnyPic – a free online Photoshop alternative. Speech bubbles are a great playful way to add dialogue to your photos. Our free Photoshop tool, BunnyPic makes it easy to add speech bubbles and gives you full control over the editing.
Try out BunnyPic today! It’s free.