
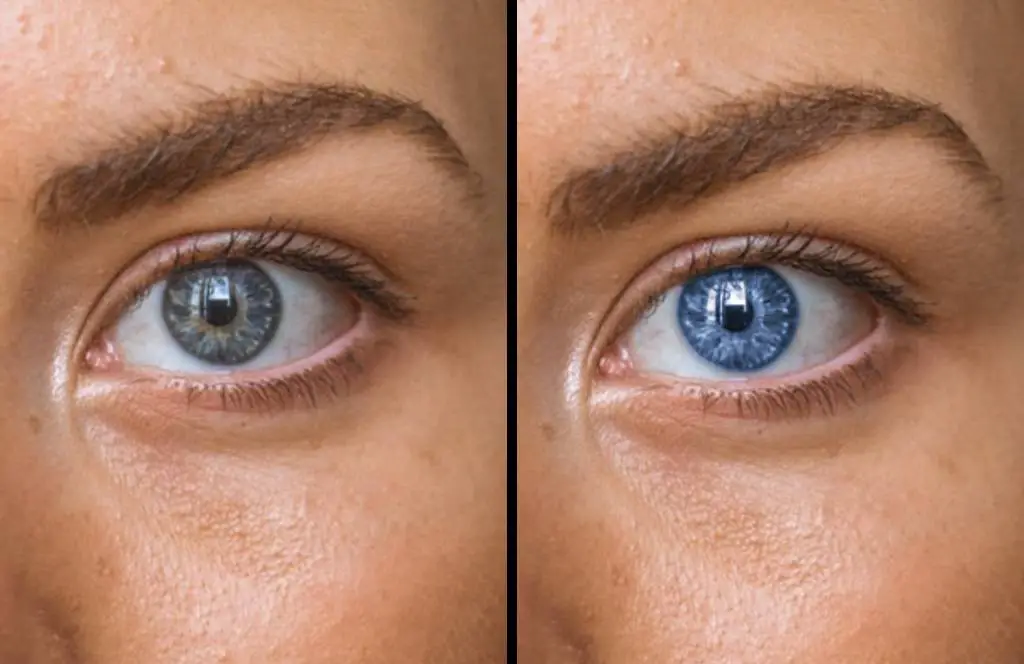
If you want to give your photos a creative touch, changing your eye color into a different color can be a cool way to enhance your photos for a more vivid look. Not everyone has access to expensive Photoshop software so in this tutorial, I’ll be using the BunnyPic Editor which is a free online Photoshop tool.
BunnyPic doesn’t require any sign-up and is totally free-to-use; including an intuitive beginner-friendly interface. In this guide, I’ll be teaching you how to change, brighten, and enhance the eye color of your photos online using BunnyPic.
How to Change Eye Color in BunnyPic
Once you have your high-quality photo ready all you need to do is import it into the editor by going to Open from Computer and selecting the image you want to edit. If you want to follow along you can download the sample image from Unsplash.
Once done, follow the steps below.
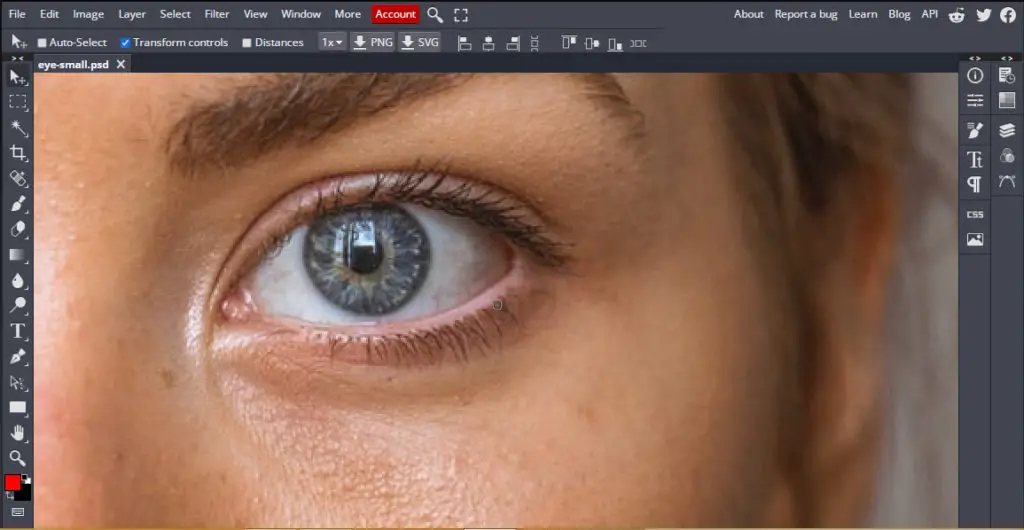
1. Zoom In on the Eyes
In order to color the eyes of our photo, we need to be sure to make precise selections, and to do that we have to zoom in on the eyes. To zoom into your image select the Zoom tool (magnifying glass with plus icon) and click on your subject. You can also use the hotkey CTRL and the “+” icon together to Zoom in and CTRL+“-” to Zoom out.
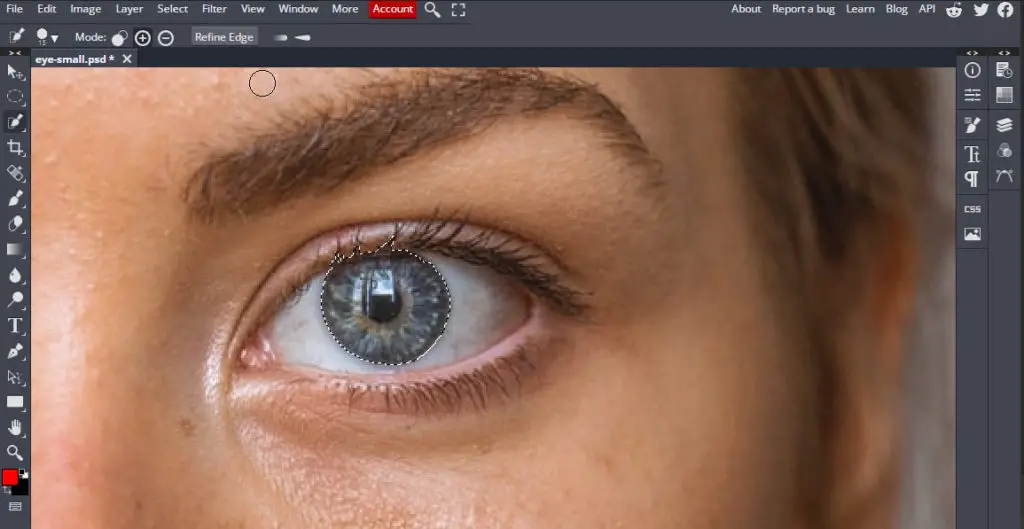
2. Select the Eyes
Now, we have to select the eyes. To do that, follow the below steps.
- Select your image layer and from the left tool bar select the Quick Selection tool or Eclipse Selection tool.
- With the Quick Selection/Eclipse Selection tool select the eye. The selection doesn’t have to be perfect as we’ll adjust it later on.
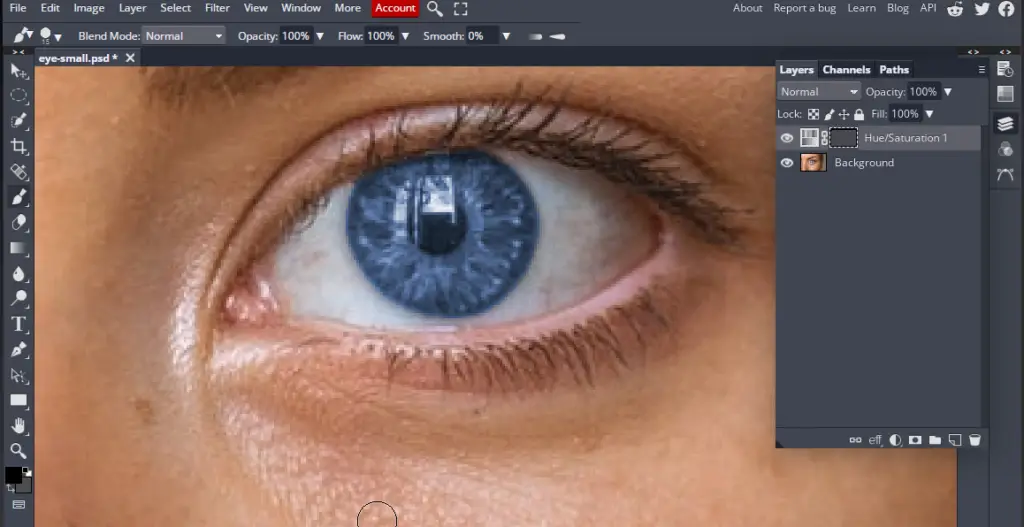
3. Add Hue/Saturation Adjustment Layer
With your eyes selected it is time to color them using the Hue/Saturation adjustment layer.
- Click on the Layers icon on the right toolbar to open the Layers panel.
- From the bottom of the Layers panel click on the adjustment layer icon (it will be a half-black half-white circle).
- Click on Hue/Saturation. This will open a panel with additional options and adjustment sliders.
- Select the Colorize option and adjust the sliders until you get the color you want.
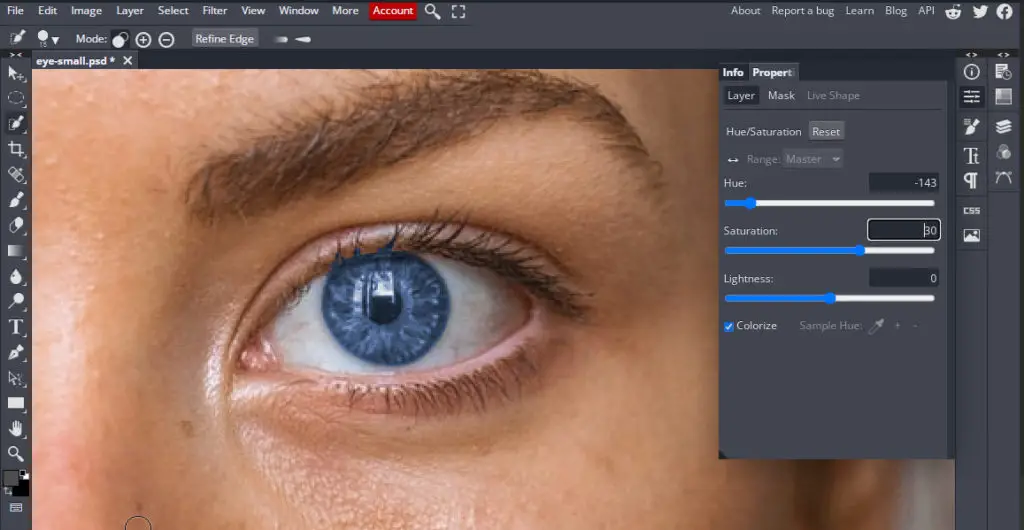
The subject’s eyes would now be a different color but since our selection wasn’t perfect you’ll notice that some of the eyelashes are also colored. We don’t want that and to clean it up we need to refine the selection a bit.
4. Refine the Selection
Since we didn’t have an accurate selection at the start we’ll need to remove some of the additional colors that we don’t want.
- Go to the Layers Panel and select the Hue/Saturation Layer Mask (the box on the right of the layer).
- Select the Brush tool from the left toolbar and set the foreground color to black.
- Next, brush over the areas you don’t want to be colored. In this case, I’ll brush over the eyelashes as I just want the blue color to be on the eyes.
There you go, we have successfully managed to change the eye color of our photo. However, an issue you’ll come across is that the brightness cannot be adjusted or it applies to the whole image rather than just the eyes. So, now we’ll look at how to brighten or darken the eyes
How to Adjust Brightness of Eyes in BunnyPic
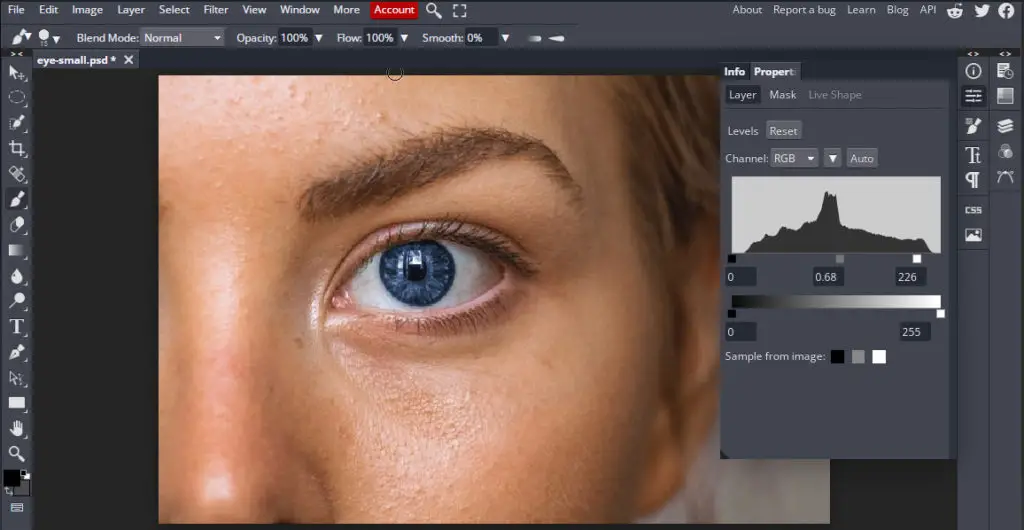
You might want to adjust the brightness of the eyes to give it a more realistic effect or add contrast. To adjust the brightness of the eyes we’ll use the Levels adjustment layer on top of the Hue/Saturation layer.
- Go to the Layers panel and create a New Folder.
- Drag the Hue/Saturation mask and merge it with the folder.
- Next, drag the Hue/Saturation adjustment layer and place it inside the folder.
- Now add the Levels layer by clicking on the Adjustment Layer icon and selecting Levels.
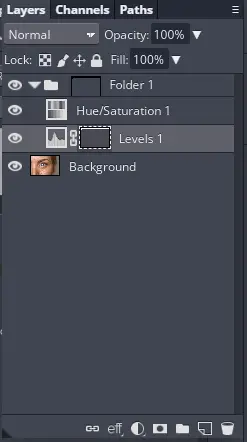
- Adjust the sliders to brighten or darken the eye color. In my example, I have darkened the blue color of the eyes.
Now the color of our subject’s eye is looking great. However, you don’t have to stop here you can take it a step further by adding more adjustment layers to really enhance your photo’s eyes.
How to Enhance the Eye Color in BunnyPic
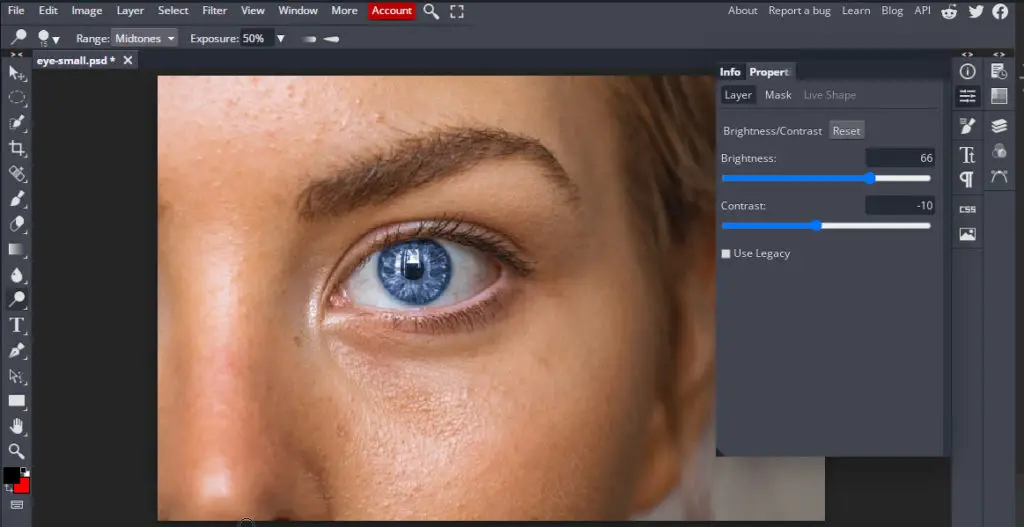
If you want to take things further and really beautify your subject’s eyes then you can use the Brightness/Contrast adjustment layer for some great effects – It’s super simple.
- Go to the Layers Panel and select the effects folder we created to adjust the brightness.
- Click on the Adjustment Layers icon and select the Brightness/Contrast adjustment layer.
- From the prompt adjust the sliders until you achieve the effect you want.
Here’s what our final image looks like:
Congratulations! You just learned how to change the eye color of a photo with our free online photo editor BunnyPic. If you liked this post and want to learn other great Photoshop techniques check out our blog for more tutorials.