
We live in the age of social media. We constantly send pictures and videos to one another. You’ve probably sent someone a 4 to 5-second soundless video, but have you ever considered what it could be? They’re known as GIFs. GIF is an abbreviation for Graphical Interchange Format. It’s simply an image format. It was invented by Steve Wilhite in 1987.
Steps for Adding a GIF to a Still Image:
First of all, you need to download the image and the gif on which you are going to work.
Download Image
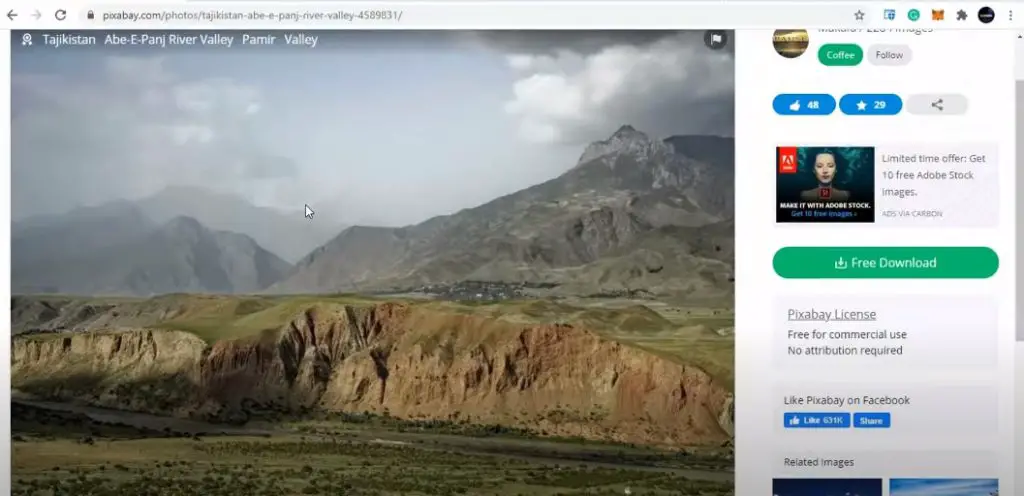
So, first and foremost, choose an image. You can get the image you need from pixabay.com. It is free for commercial use, and you will not face any copyright issues. So, download the image you require. Click the free download button and then the download button. The image will be downloaded to the folder you specify.
Download a Gif
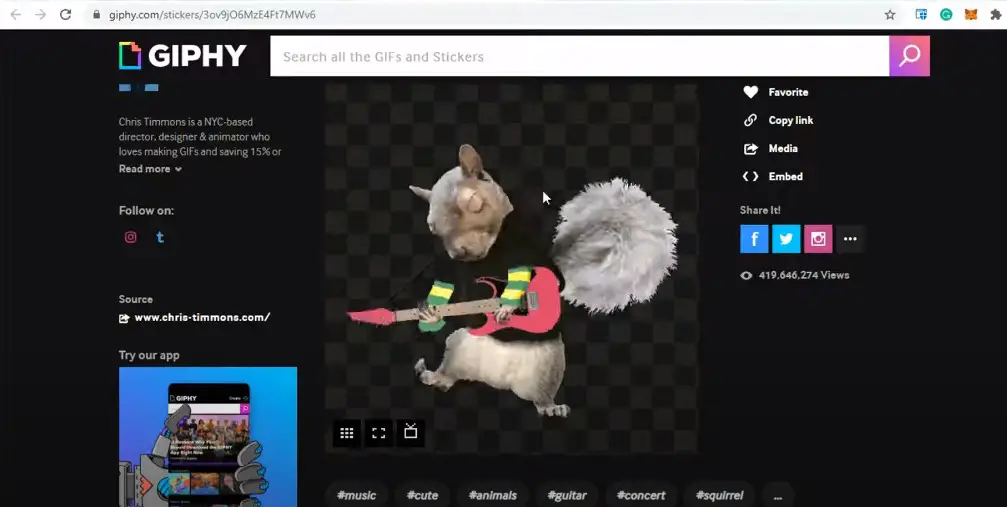
To begin, get the gif you want to use for your image. You can use giphy.com to download the required GIF. Let’s pretend you want to use a gif of a rock star (Rabbit playing guitar). It’s a wacky imagination, to put it that way. You can now either make your gif in Photoshop or another tool or simply download one that has already been created. We’ll use a gif that’s already been created. GIFs from giphy.com can be used for commercial purposes without the fear of infringement of copyright. You will be presented with two options when you click the download button. Get a gif or a sticker. Select gif as a format. The gif image will be saved in the directory you specify.
Add GIF onto a Still Image
Now let’s talk about how you are going to add gif onto an image fast and for free.
Open Image
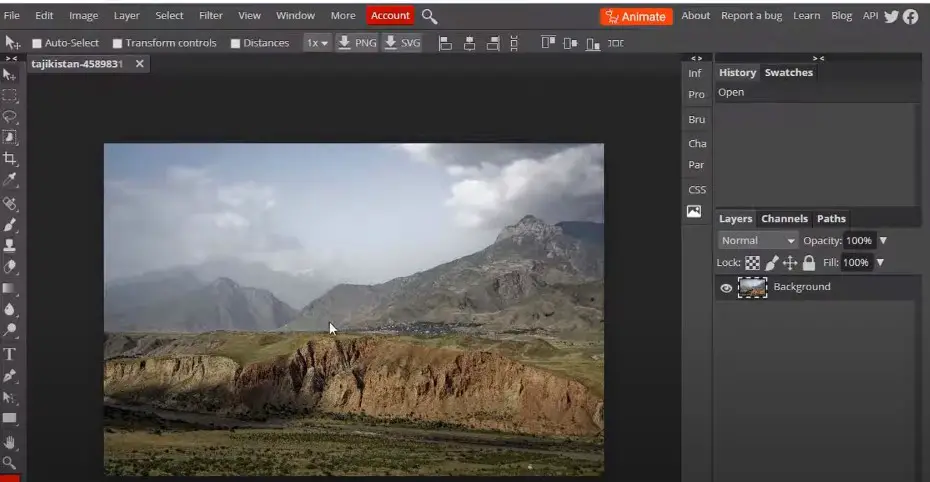
We’ll be using bunnypic.com for this. This is an online web photo editor. You can easily incorporate our gif into the still image, so this editor is the best, according to our experience. Look in the upper left corner of your screen.

There will be a file option there. You must open the still image by clicking on File>open. Give the path to the image that you downloaded from Pixabay.
Open the GIF
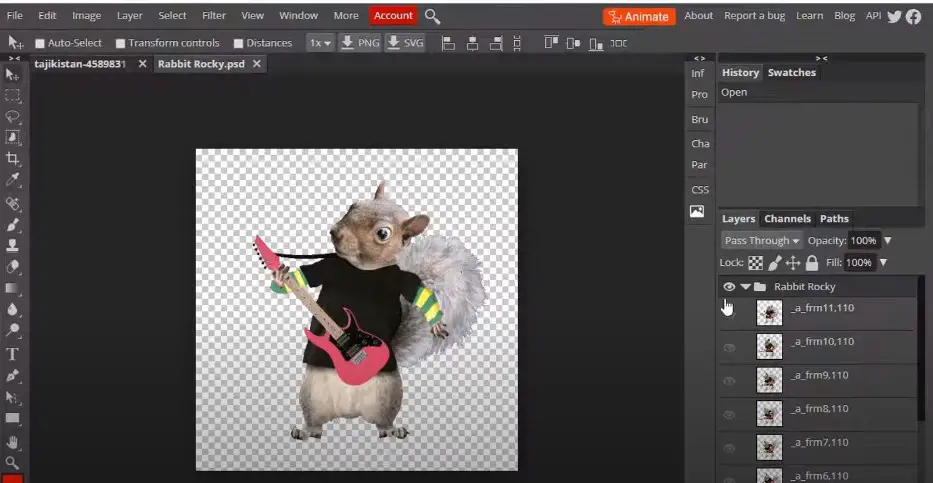
Now that the still image is visible, you need to open the gif file as well. So again, you need to click on the file and click on open and provide the path where the gif is located. With that being done, you have successfully opened the gif file.
Duplicate Layers
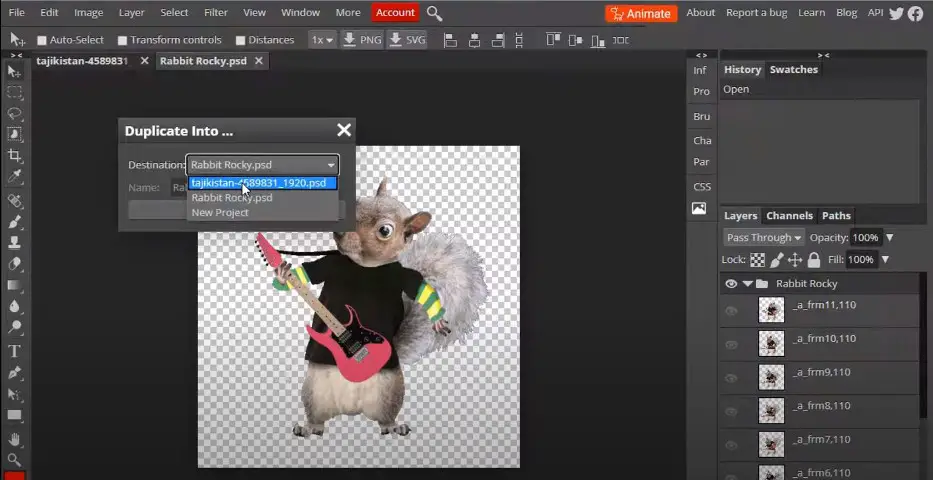
Next, you need to add this gif (of a rabbit playing guitar in this case) to our mountain image. What you need to do is navigate to this file option. Navigate to the gif that you have to use with your image. As a result, you must right-click on it and select duplicate-in. You are required to change your destination.
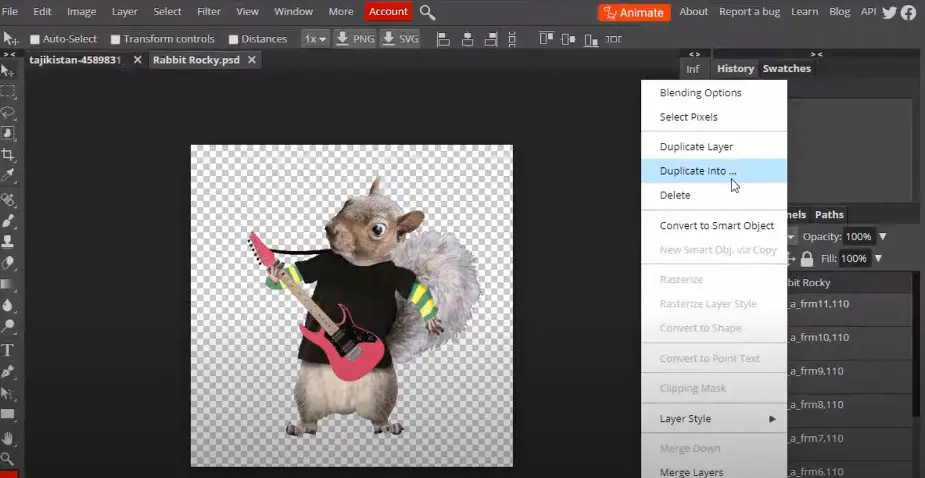
You need to make this a destination for still images. Mountain is the destination for the still image. So, you need to change this to the same and then click OK. The gif has now been added here.
Adjust positioning and size
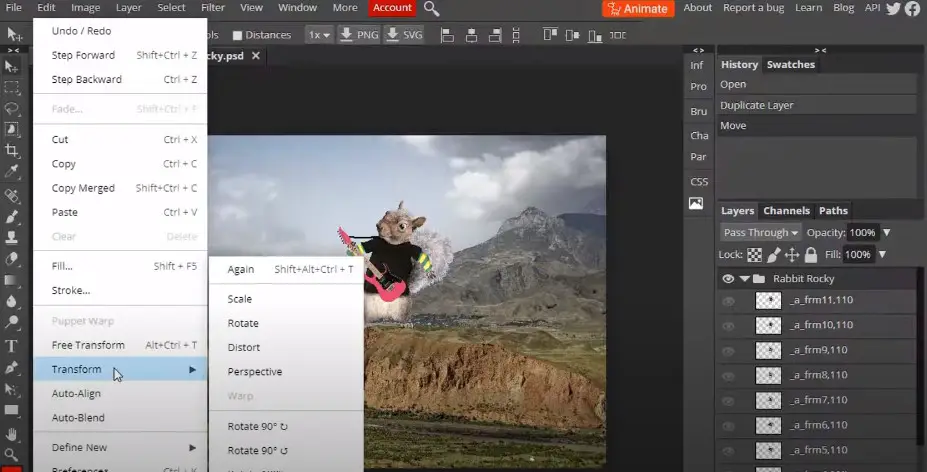
All that remains is to place it in the proper position. The gif’s position can be changed. Its size can be increased or decreased.
So, all you have to do now is click edit and free transform. You can now simply increase or decrease its size by using the shift key. After we’ve adjusted the position and size of the image, we’ll need to save it.
Save the Image
Simply click on the file and then export as, and you’ll see a variety of options here. Click on the gif so that the gif file is ready to download. You can also change the width, height, quality, and speed according to your needs. You can also reverse the frame from here. There are several options, and you can make these changes based on your needs. For the time being, it’s fine because it’s just a demo. For now, we’ll simply click save and the gif will be downloaded here.
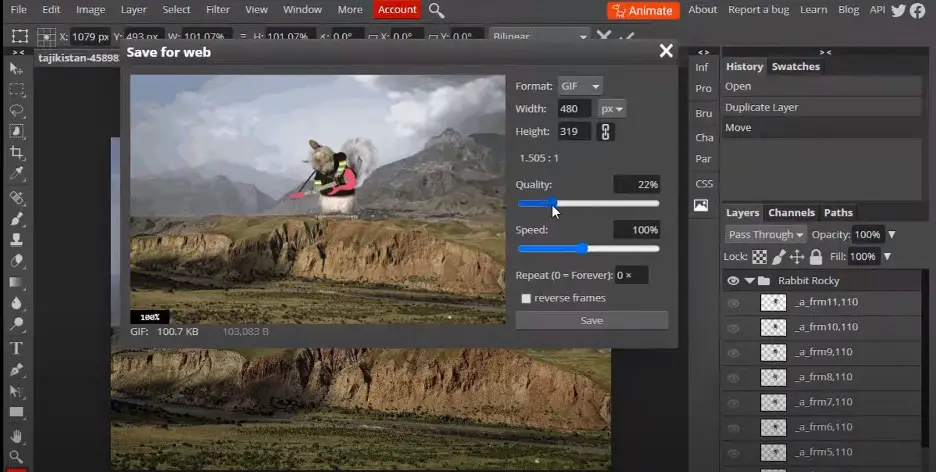
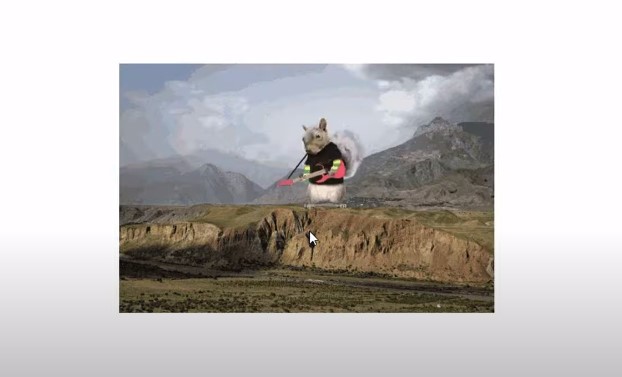
Now you can click on open. Our image is ready and looks just as we imagined it to be. The rabbit rock star is playing happily in the Rocky Mountains.
What is a Gif (Animated Image)?
GIFs (pronounced “gif” or “jiff”) are image files in their most basic form. GIF files can be used to create still images in the same way as JPEG and PNG files. On the other hand, the GIF format has a distinguishing feature. It also allows for the creation of animated images.
GIFs are animated images rather than videos. They resemble flipbooks more than anything else. For starters, they are lacking sound (you probably noticed that). Furthermore, the GIF format was not created with the intention of being used for animation; it just happened that way. People realized that because GIF files can hold multiple images at once, they could load them sequentially if they were decoded in a specific way (again, like a flipbook).
How animated GIFs can be created?
An animated GIF file can be created in a variety of ways. One of the most common methods is to use a series of frames from a previously recorded video. Imgur, MakeAGIF, and IMGFlip are some of the few websites that can help you make a GIF from a video.
A GIF can also be made from a series of still images. Several of the sites mentioned above can perform this task for you automatically. Manually creating a GIF with programs like GIMP or Photoshop is also an option, but it’s more difficult.
What is the Reason for GIFs gaining Popularity?
GIFs, like memes, are becoming increasingly popular as a way to convey jokes, emotions, and ideas. Furthermore, sites like GIPHY and Gyfcat make it simple to share and create GIFs. These services are built into apps like Twitter, WhatsApp, Messenger, and your phone’s keyboard, making them as easy to use as emoji and stickers.
Which Free Software to Use?
Photo editing software has improved dramatically as a result of advancements in the photography and filmmaking industries. BunnyPic is one of them. Bunnypic makes it simple to edit your photos. It’s an online photo editor that you can use. In just a few simple clicks, you’ll be able to unleash your creativity. Bunnypic helps you make significant picture changes more intuitively than before.
Why Use Bunnypic?
Bunnypic, like Photoshop, is a powerful photo editor. It’s capable of handling any photo editing task you can think of. BunnyPic is a cloud-based photo editor that claims to make photo editing painless. It’s similar to Pixlr or Photoshop, but with more features and the added benefit of being completely online. You can use the free version of the site, which includes advertising and 30 steps of history.
The user interface of BunnyPic is simple to understand due to its innovative and straightforward design. The most recent version of the program includes the Puppet Warp tool, the Normal Map filter, and the Oil Paint filter. Object bending is aided by the Puppet Warp feature. Create different anchor points and move them to the appropriate locations to use the Puppet Warp feature. PSD files are supported, as are Puppet Warp transform operations. As a result, it could be saved as a Smart Object and used as a smart filter.