
So, you got a pic or a meme and you want to change the text it contains? Being a beginner it can be a hectic task to do on any professional photo editing software. One more problem you can face is the lack of any photo editing software. Downloading or buying a photo editing tool just to alter the text of an image does not seem to be a good idea for me, At least.
So here at this point, bunnypic.comes into play. You can use the bunny pic to easily add, remove or change the text in any photo. It is either your own created photo or downloaded one it does not matter. The best part about the bunny pic is that you do not have to wait hours to download it and then use it. You can just simply log on to bunnypic.com and get going. Furthermore, you can use bunny pic on any smartphone or laptop with android, IOS or any other OS.
Here is a quick guide on how to get things done by using the Bunny pic:
REMOVING TEXT
Removing text from an image using bunny pic is as easy as removing hairs from your forehead. All you have to do is:
- Go into the top left corner of the screen, click on the file button, and select OPEN.
- Open the photo from which you want to remove any text
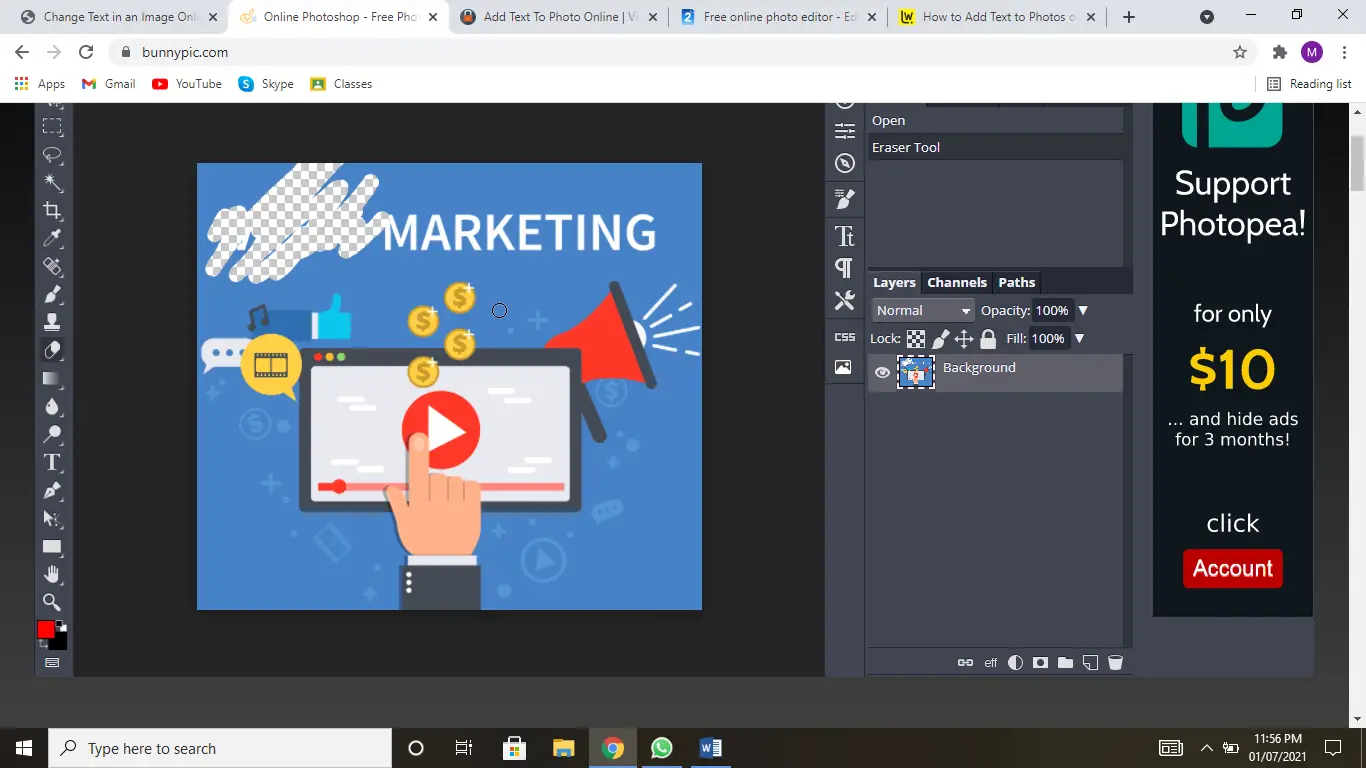
- Once the photo is open, you have to select the eraser tool.

- Now press the left mouse button and drag the cursor to the text you want to remove and it will do the job for you.
As illustrated in the photo below
You can then choose to layer afterward and give the erased space any color, which you want. You can customize the brush intensity in the bunny pic as well as its opacity and filling. In the top menu, you may change the brush size (to erase quickly). If there are multiple colors behind each portion of the text, you may need to select the color multiple times.
COMPLEX BACKGROUND
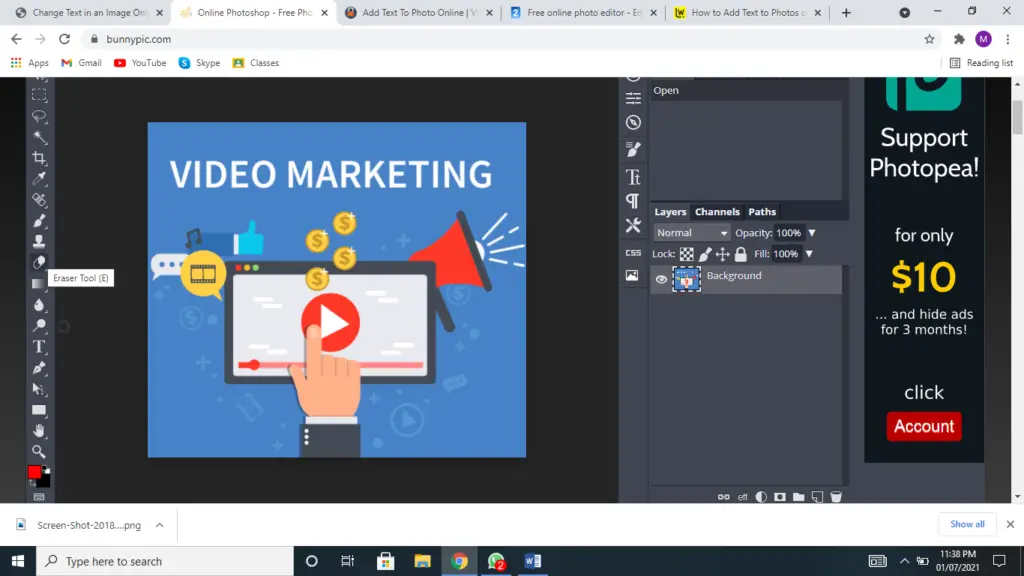
If there is a complex background and you just want to erase the text and not the background then the eraser tool is not recommended for you. Our “repair” would be too evident if we used a solid color. Rather, we will clone the backdrop and overlay the copied portion over the text. Follow the steps below:
- Open the photo from which you want to remove text
- In the toolbar, select the spot healing brush tool. It is just above the brush tool.
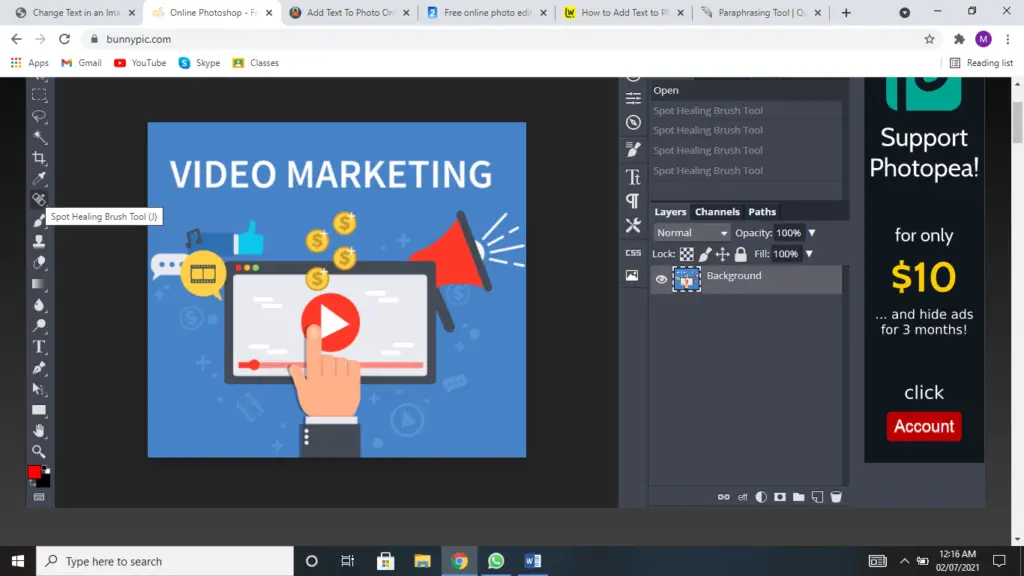
- After selecting this tool, take the cursor on the text which you want to remove. Now, press the right mouse button and rub the text which you want to erase and flush with the background, the intelligent bunny pic spot healing brush tool will clone the background and paste at the erased blank space.
This tool can be used to remove anything from the photo like grass, people, tree, car, a tattoo and etc.
ADD NEW TEXT
To add any new text to the image, follow the given steps:
- First of all select the text tool from the taskbar, it is right below the dodge tool.
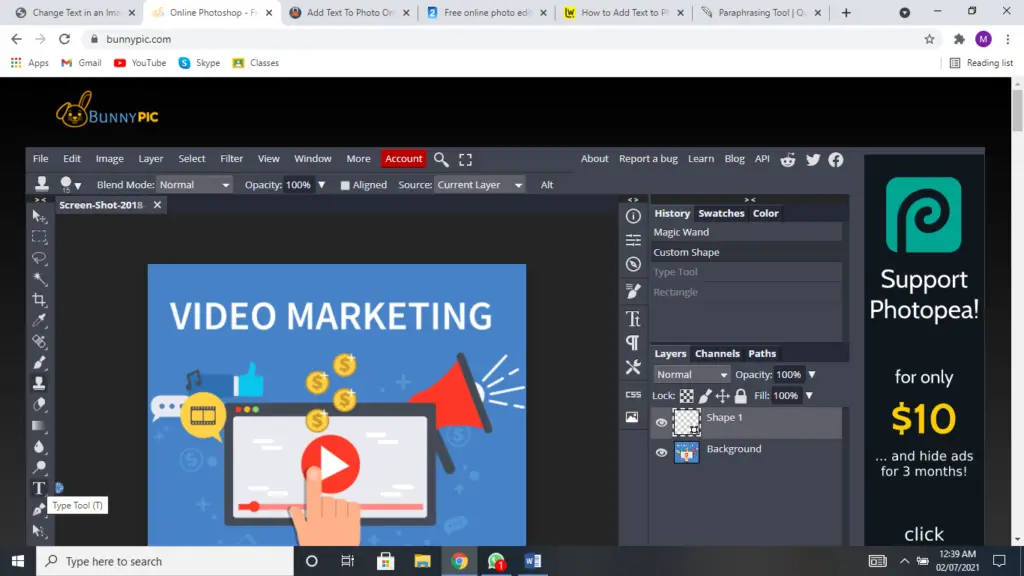
- Click where the text should start in the picture. You may now enter a new text (which will display on the screen as you type), however, it will likely not look exactly like the original text.
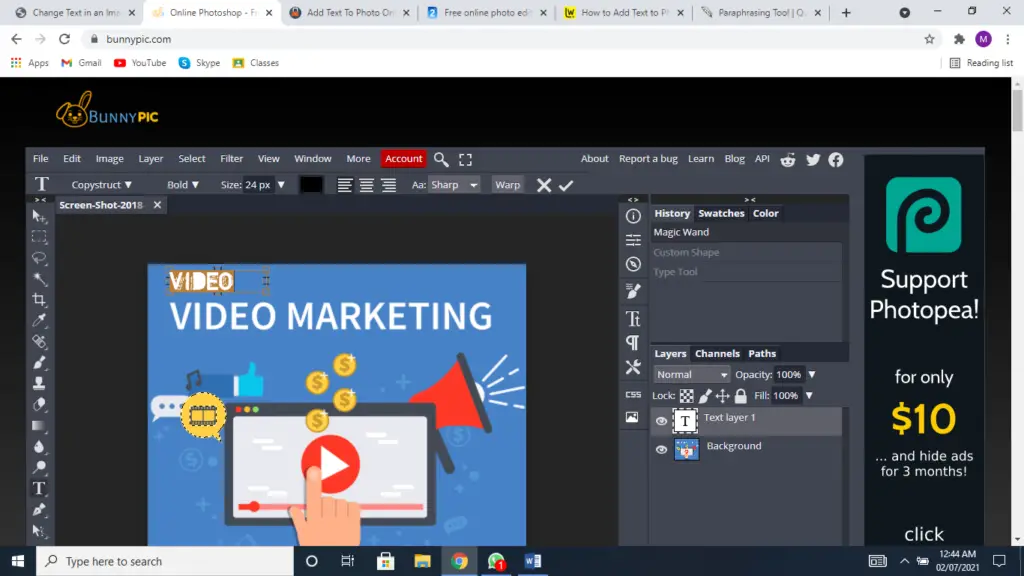
At this point, bunny pic offers you a lot of customizations in the text, to make it flush with the original text as much as possible. There are more than 100 different fonts available in the Bunny Pic, some of which are as follow:
- Bel Grano
- Belle Fair
- Bellota
- Benne
- Lalezar
- Lane – Narrow
- Lane – Posh
- Paint the sky
- Palo Alto
- Paprika
- Laila
- Paete Round
And some other exciting and cool-looking fonts. You can also customize the size and boldness of the text and make it sharp, crisp, smooth, or strong.
After you are done adding or erasing text, you can easily save the file with your desired format which include:
- PNG
- JPG
- SVG
- GIF
- And Etc
TEXT STYLE
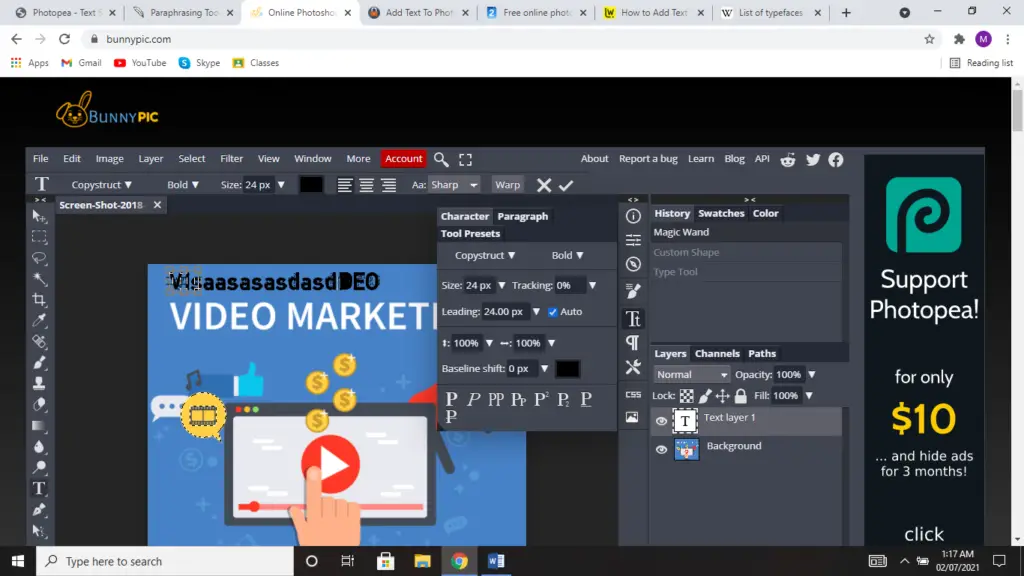
While adding text in a photo using bunny pic, there are 2 types of text style. Character Style (e.g. text size, color, etc.) can be distinct for each character, whereas Paragraph Style (e.g. text centering, spacing, etc.) is shared by the entire paragraph.
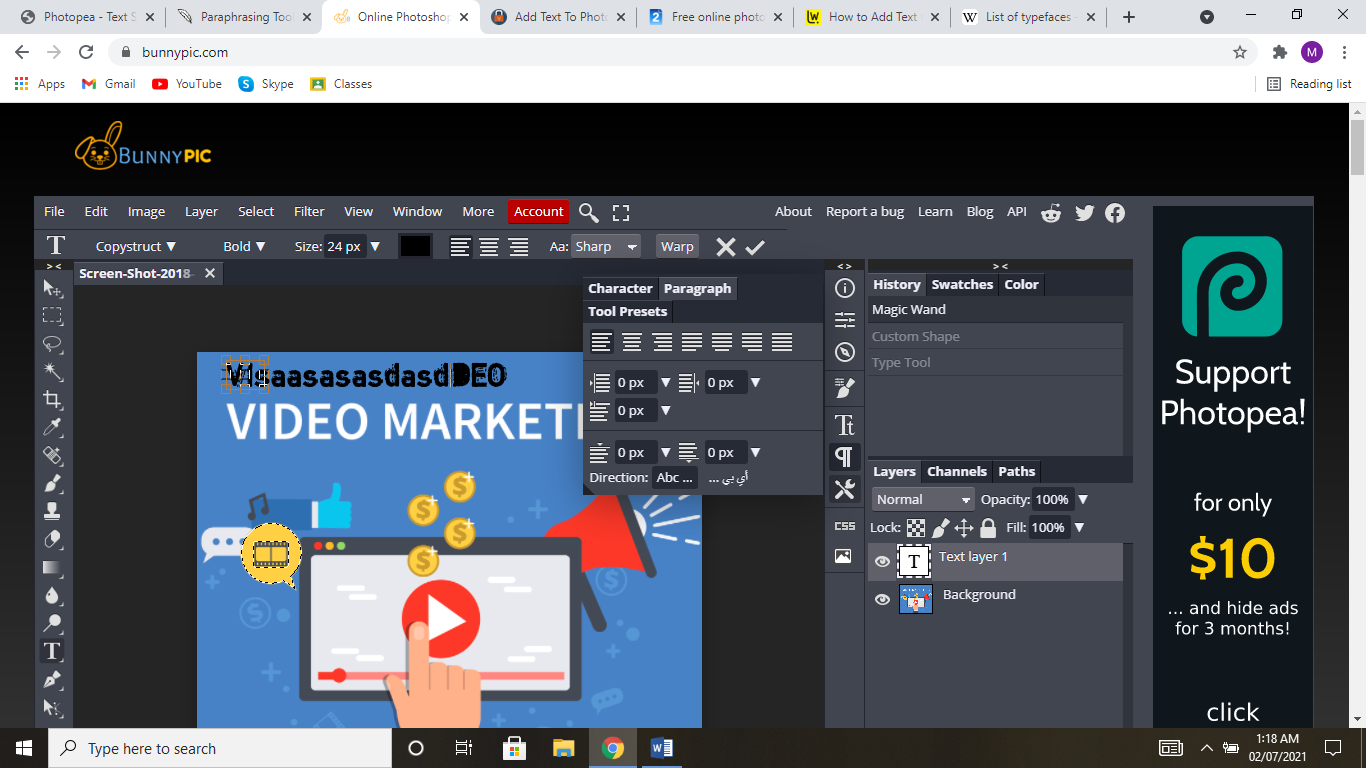
Paragraph attributes are accessible in the Paragraph panel (Window – Paragraph), whereas character properties are located in the Character panel (Window – Character) (Window – Paragraph). The top bar of a Type tool also contains some simple Text and Paragraph settings.
So when the type layer is chosen in the Settings option, you may alter the style of the entire layer (for example, font style or alignment). Entering the layer and selecting a specific section of the text is another method. When you alter the style, it will only affect the text in the specified area.
ALIGNMENT
The alignment of a paragraph text layer is calculated concerning the sides of the selection rectangle. The place of start is used to calculate the alignment of a Pointer font overlay.