
We all have pictures that contain sweet memories that we cherish and it would be a great idea to make these images a bit more special using the clipping mask tool. Using the clipping mask tool we can cut out our pictures into shapes such as circles, rectangles, and hearts.
The clipping mask tool can be used with the Bunnypic tool which is a free online Photoshop alternative
This post shows you how to cut out pictures into shapes using the Bunnypic tool.
Why use Bunnypic?
If you are just using this tool to transform your pictures into shapes without spending a lot of money on design software the best tool to use is our Bunnypic online Photoshop tool which uses powerful A.I for editing and transforming images are totally free to use and have almost all of the same features as Photoshop. You also don’t have to be an expert to figure out bunnypic as it is beginner-friendly.
How to Cut-out Pictures into Shapes Using Bunnypic
Go to bunnypic.com and then follow the below instructions:
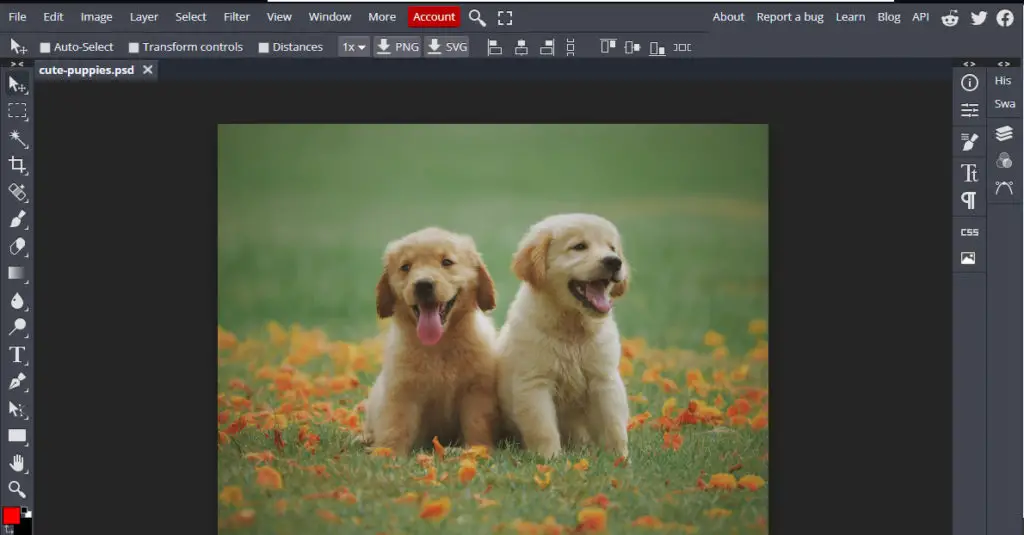
- On the main screen click on Open from Computer and choose the image you want to cut out.
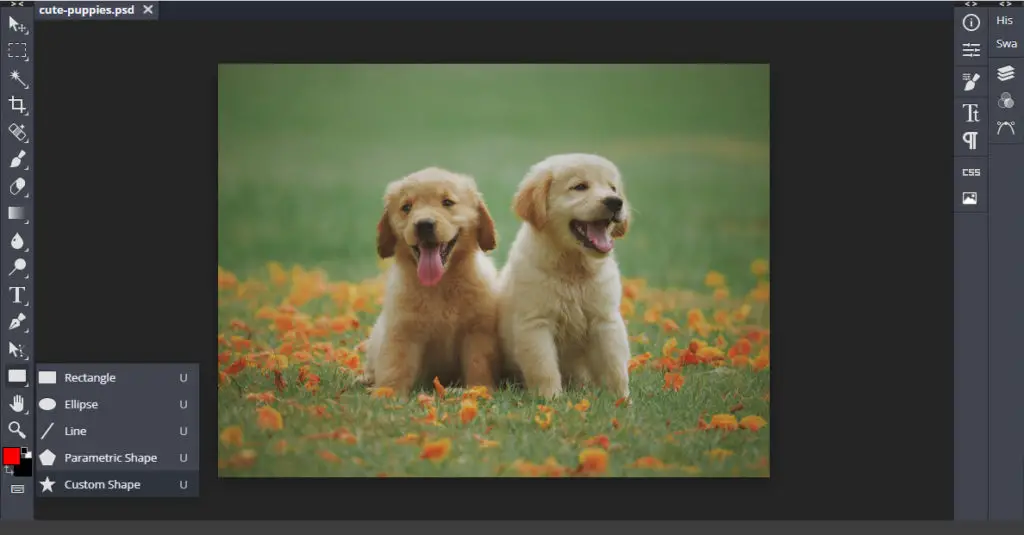
- Click the Shapes Tool and select the shape you want to cut-out your picture, here we are selecting the Custom Shape Tool.
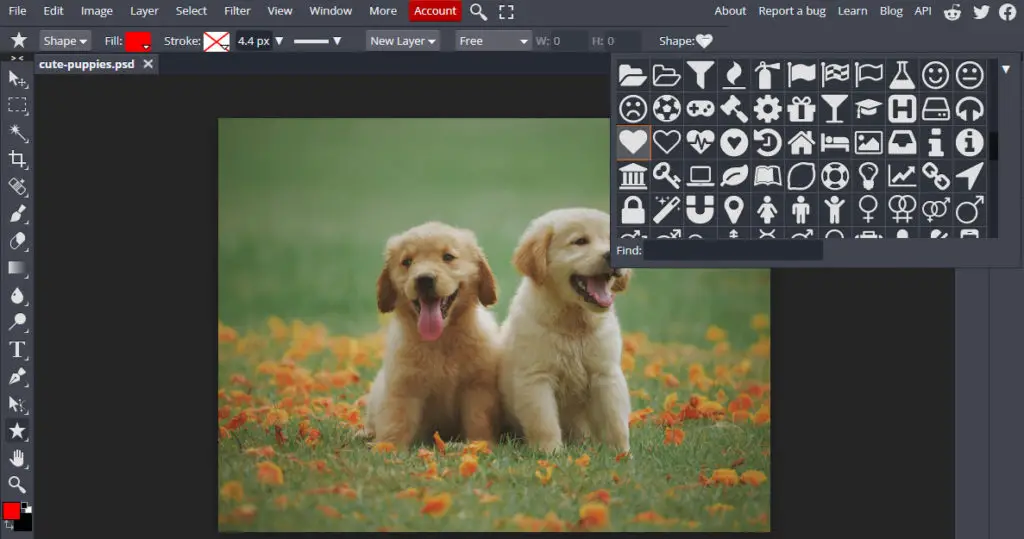
- After selecting the custom shape tool an option to change the type of shape will appear on the top bar, click on it and select the shape you want from the drop-down menu.
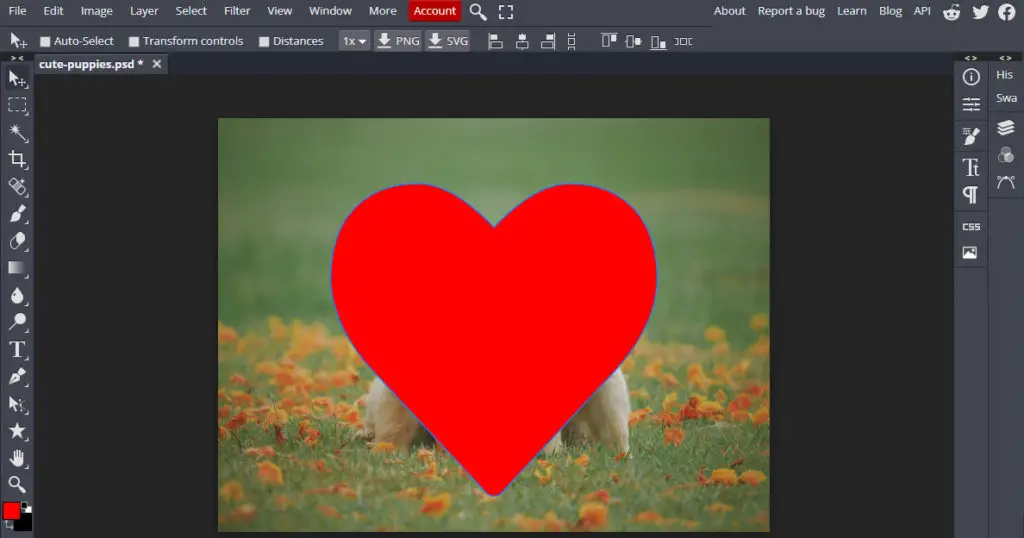
- Click and drag the shape on top of the image to the place you want to crop out.

- After letting go, you will now see the shape on top of the picture like this:
- Click on the Layers icon located in the right toolbar and grab the shape layer and place it below the main picture layer.
- Select the picture layer and right-click on it and select Clipping Mask or click on Edit > Clipping Mask to create a clipping mask.
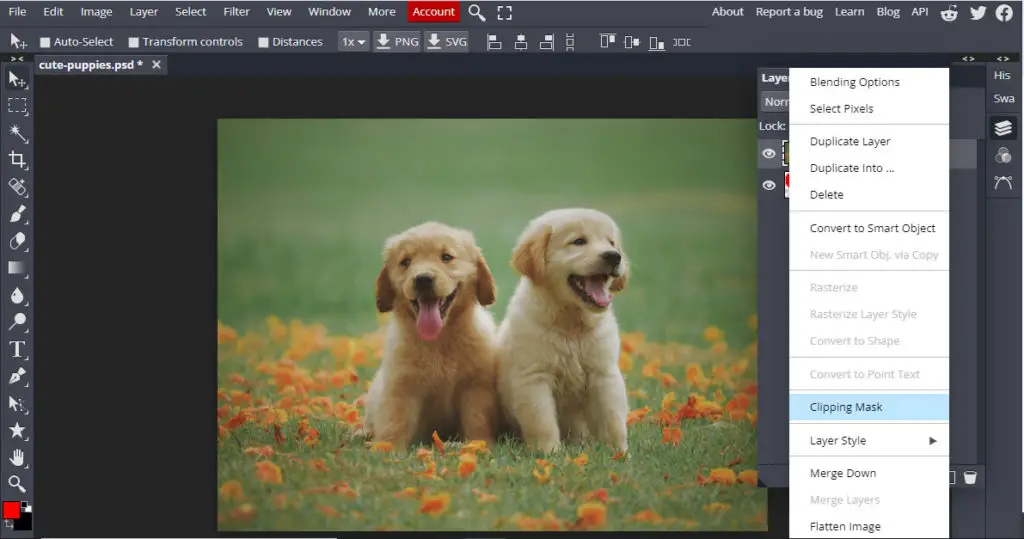
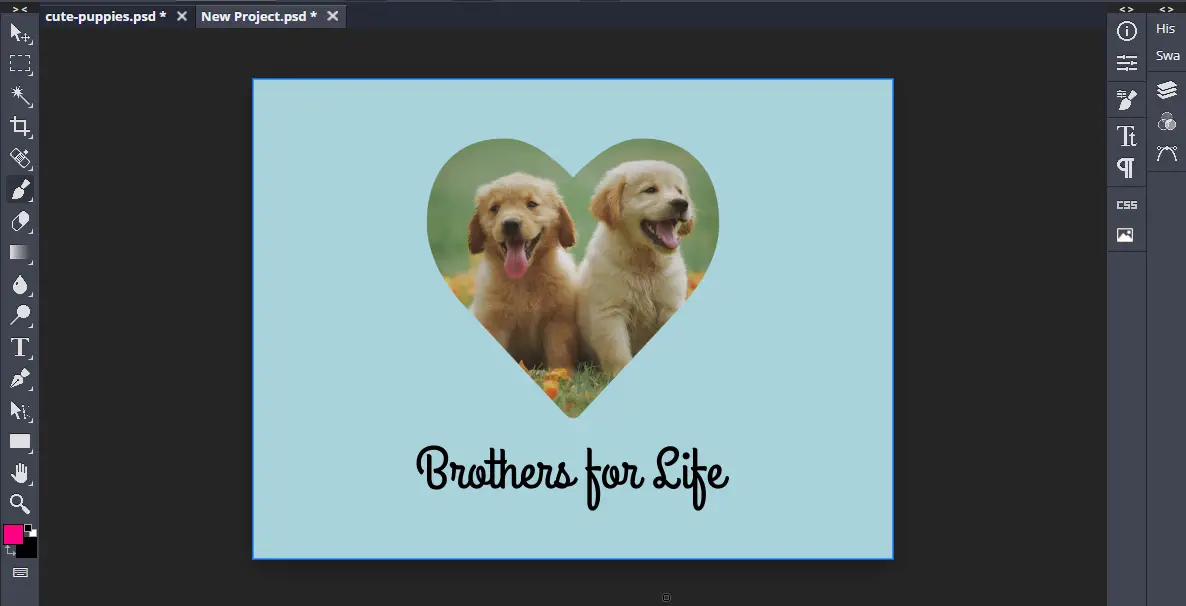
- After following all the steps correctly the results should look like this:
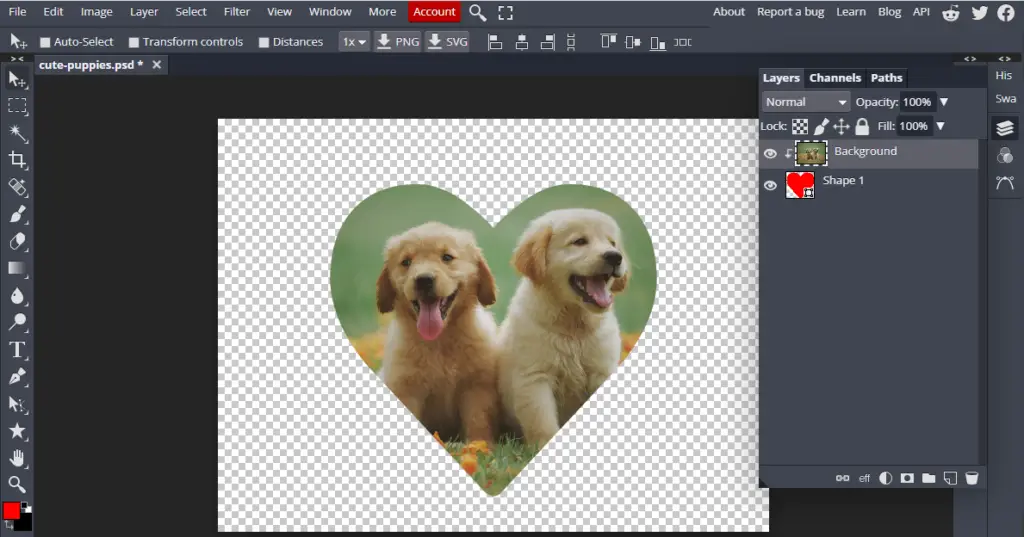
After cutting out your picture into a shape you might notice that a little arrow appears with the layer pointing down to the shape, this indicates that both the layers are merged together.
At this point, both the layers are independent of each other and can be moved freely meaning if you made a slight mistake in aligning the shape with the picture you can adjust the image from the inside by clicking on the picture layer then selecting the Move Tool to move the image. You can do the same to move the shape by selecting its layer and moving it with the move tool.
Saving and Exporting your Picture
If you want to use the image to place it somewhere else you can export it using a format that supports transparency such as PNG.
To do this click on File > Export as > PNG.
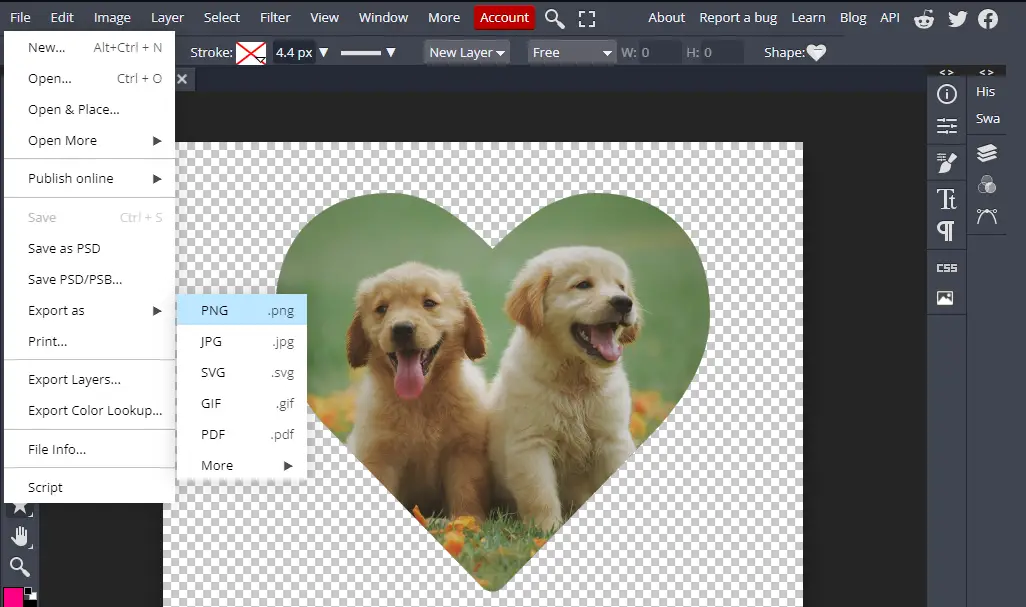
After choosing PNG you will be prompted with options to change the quality and dimensions of the image. After making the edits click on save.
If you want to save your image to be edited later the best way to do that is to save your project as a PSD. This way the layers would be editable. You can do this by clicking on File > Save as PSD.
Converting the Image into a Smart Object
When you cut out your picture into a shape the layers were still independent of each other meaning when you tried dragging the image it would rather move the image from the inside than the whole image, this was because the layers were merged together but were not a smart object.
To convert your image into a smart object click on Layers, select both the layers, and then right-click > Convert to Smart Object.
This will join the image enabling it to be dragged as a single image.
Copying and Using the Image on New Projects
After converting the image into a smart object you can just click and drag it onto another project in the tab and place it there.
However, if you want the image to remain in editable separate layers Press Ctrl + A (For Windows) or Command + A (For Mac) this will select everything on the canvas. With everything selected go to Edit > Copy Merged.
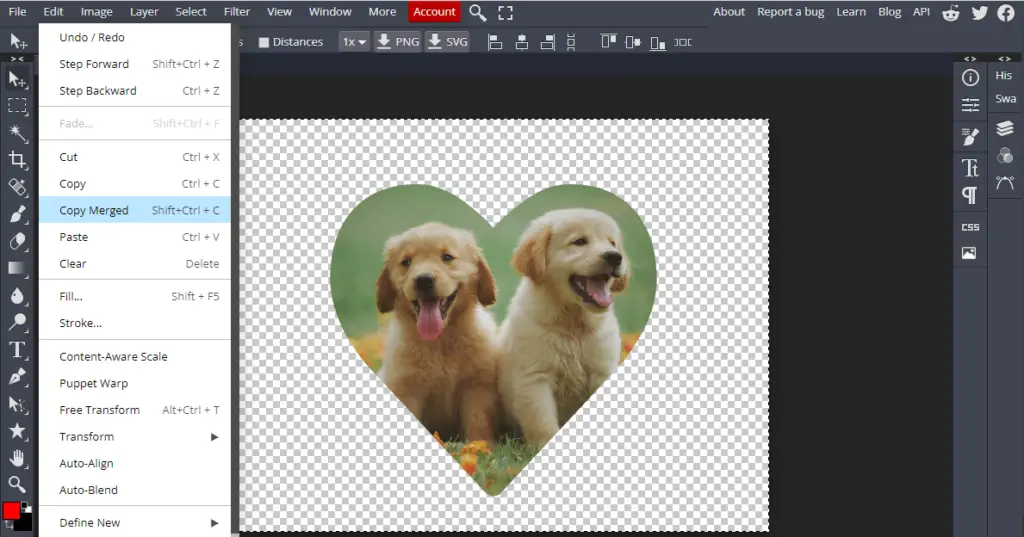
This will copy the layers on your clipboard, you can then go on another screen and paste your cut-out picture by pressing Ctrl + V (on Windows) or Command + V (on Mac) or you can go to Edit > Paste.
Just like that, you have your finalized result.
The clipping mask is great for cutting out your pictures into custom shapes to be used in other projects or to send to your family and friends.
Bunnypic is an online Photoshop tool that makes it super easy to do with its intuitive interface and is totally free of cost.